LYT0002-0X8A, GR-DVX2 specifications
The JVC GR-DVX2, also known by its model number LYT0002-0X8A, is a compact yet powerful digital camcorder that combines advanced technology with user-friendly features. Targeted at both amateur and professional videographers, this camcorder stands out for its remarkable performance and versatility.One of the primary features of the JVC GR-DVX2 is its high-definition video recording capability, capable of recording in resolutions that cater to modern viewing standards. The camcorder employs a 1/6-inch CCD lens, which ensures excellent image quality, rich colors, and sharp details. The inclusion of a vari-angle LCD screen allows for flexible shooting angles, empowering users to capture dynamic shots with ease.
In terms of storage, the GR-DVX2 utilizes SD/SDHC memory cards, providing ample space for long recording sessions. This digital format ensures easy transfer of footage to computers for editing and sharing, making it a convenient choice for videographers. The camcorder's flexibility is enhanced with features such as digital image stabilization, which effectively reduces shake and delivers smooth, stable footage even in challenging shooting conditions.
The JVC GR-DVX2 is also equipped with an impressive 20x optical zoom lens, offering significant reach for capturing distant objects or subjects without compromising on quality. Combined with the 800x digital zoom capability, this camcorder allows for versatile shooting, whether in close or far-away settings.
Advanced audio technologies are another highlight of the GR-DVX2, which incorporates a built-in microphone that captures high-quality sound, ensuring that the audio quality matches the impressive visuals. The camcorder also supports the use of external microphones, enabling users to achieve even higher sound fidelity when desired.
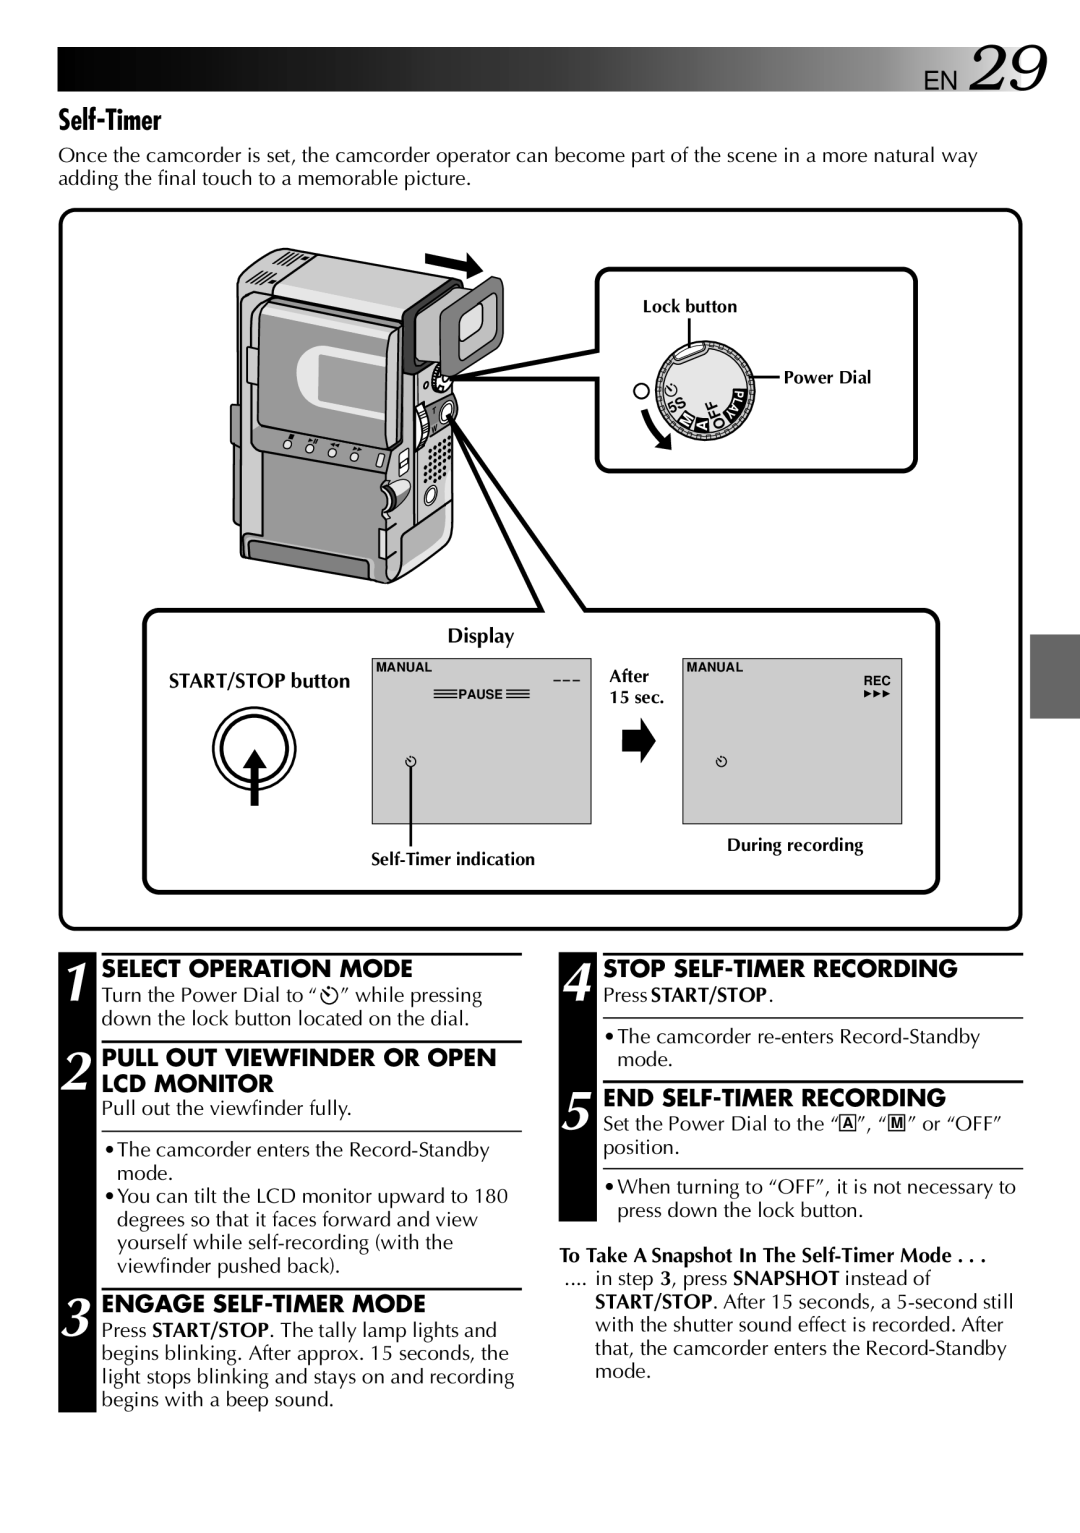
The camcorder's intuitive interface and ergonomic design facilitate easy operation, making it accessible for users of all experience levels. The various shooting modes, including portrait, landscape, and night modes, optimize settings for different environments, ensuring stunning results every time.
With its combination of high-definition recording, robust zoom capabilities, and user-friendly design, the JVC GR-DVX2 (LYT0002-0X8A) is an excellent choice for anyone looking to elevate their video recording experience, whether for personal memories or professional projects.

