GV-PT2U specifications
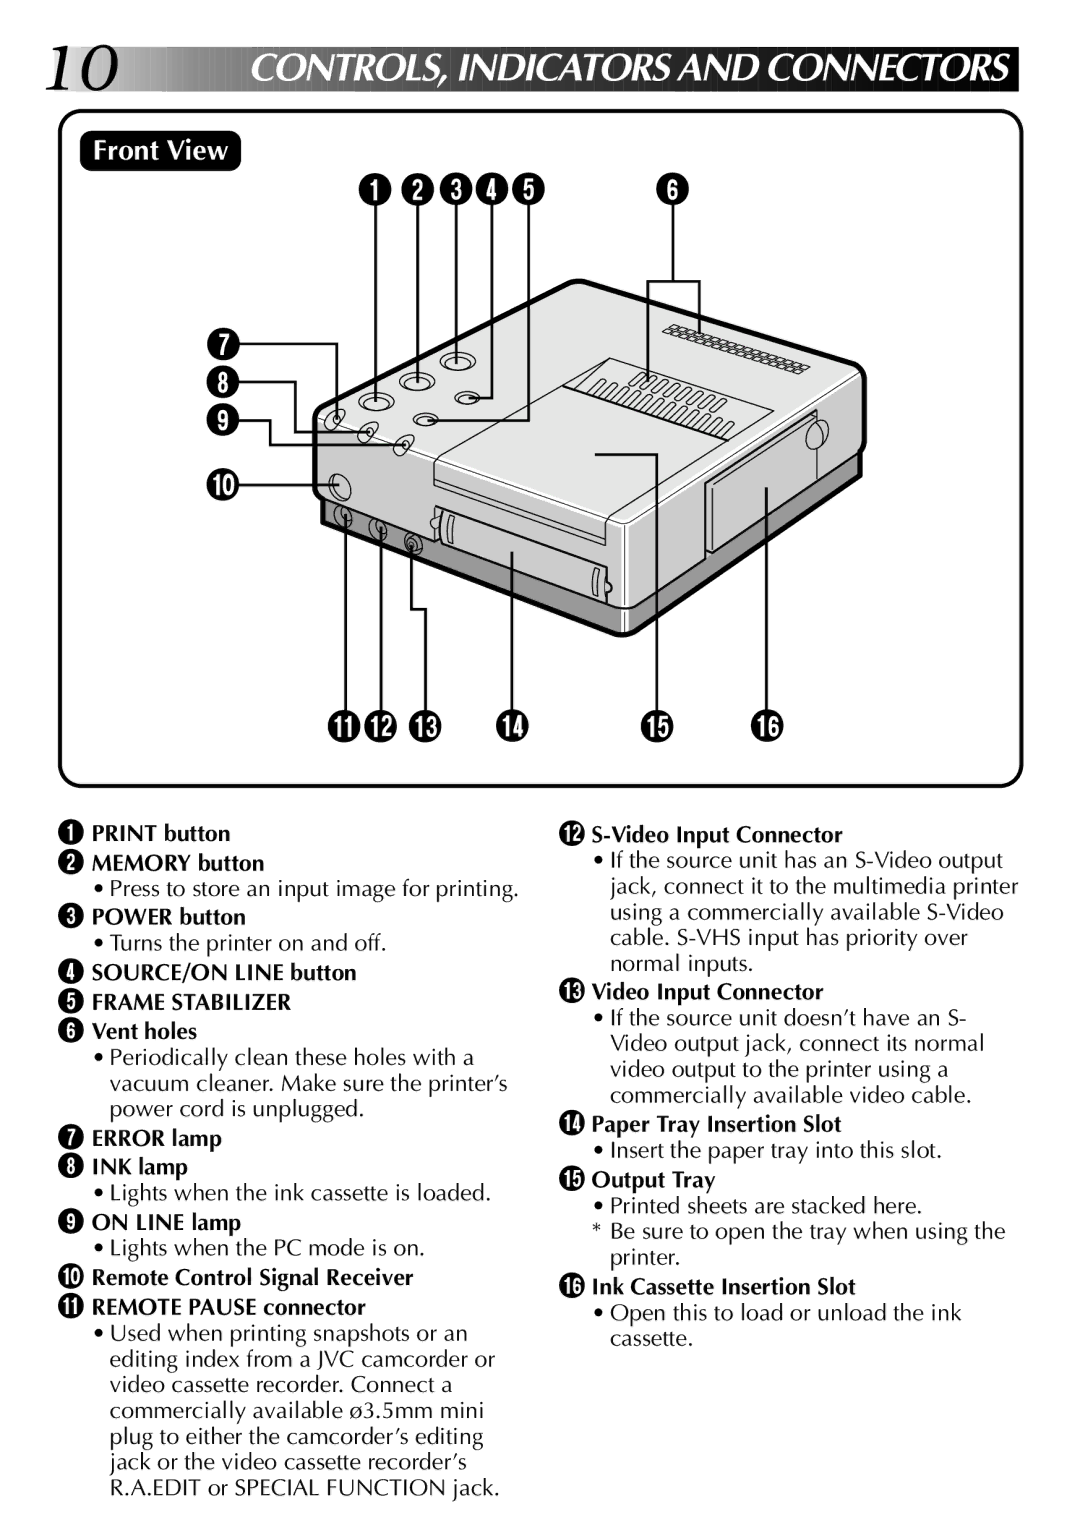
The JVC GV-PT2U is a compact yet versatile portable USB video capture device designed to provide high-quality video recording and live streaming capabilities. Aimed at content creators, educators, and professionals in fields like broadcasting and multimedia, this device integrates cutting-edge technologies and features that enhance its usability and performance.One of the standout features of the GV-PT2U is its robust video capture capabilities. It supports resolutions up to 1920x1080 at 60 frames per second, producing clear and smooth footage that is ideal for both live and recorded applications. The device uses advanced compression technology, enabling efficient video capture without sacrificing quality. This feature is particularly beneficial for users who need to store large amounts of video data but have limited storage capacity.
Another significant aspect of the GV-PT2U is its plug-and-play functionality, allowing for easy connection to various devices, including computers and laptops, through a standard USB interface. This ease of use makes it accessible to a wide range of users, from professionals to amateurs who might not have extensive technical expertise. The device is compatible with various video software applications, enabling seamless integration into existing workflows.
The GV-PT2U is also equipped with advanced audio capture capabilities, featuring built-in microphones and support for external audio sources. This enables users to capture high-fidelity sound along with video, ensuring that both elements of a production are of top quality. The audio features include various settings and configurations, allowing users to optimize the sound according to their specific needs.
In terms of design, the GV-PT2U is lightweight and portable, making it easy to transport for on-the-go recording and streaming. Its durable build quality ensures it can withstand the rigors of frequent use in different environments. Furthermore, it features a user-friendly interface, with intuitive controls that allow for quick adjustments during video capture.
Overall, the JVC GV-PT2U stands out as a multifunctional tool for video production and streaming. With its high-definition video capabilities, advanced audio features, and user-friendly design, it appeals to a diverse audience seeking to create professional-quality content with ease. Whether you are a vlogger, educator, or professional broadcaster, the GV-PT2U provides an accessible and powerful solution for your video needs.

