HR-J250E specifications
The JVC HR-J250E is a VHS VCR that showcases the brand's commitment to quality and performance in home cinema experiences. This model was designed to offer users an impressive mix of features, ensuring compatibility with various video formats while delivering an excellent playback performance.One of the standout features of the HR-J250E is its Super VHS (S-VHS) capabilities. This technology enhances the resolution of the video, allowing for superior image clarity when using S-VHS tapes. This makes the HR-J250E an excellent choice for those who prioritize picture quality, especially for users who engaged with high-resolution videotapes during the peak of the VHS era.
The HR-J250E also boasts an advanced video processing system designed to ensure sharpness and detail in playback. Its precise tracking features help to maintain picture stability, which is crucial for those watching their favorite films or home videos. Additionally, the model incorporates a built-in video stabilizer that reduces jitter and helps to refine overall video quality.
Another key characteristic of the HR-J250E is its multifunction remote control, allowing users to easily navigate through menus and control playback functions from a distance. The remote enhances convenience and user experience by providing a seamless way to access features without the need to physically interact with the device.
This VCR features an auto head cleaner that helps to maintain the longevity and performance of the video heads. By automatically cleaning the heads, users can enjoy consistent playback quality without the hassle of manual maintenance.
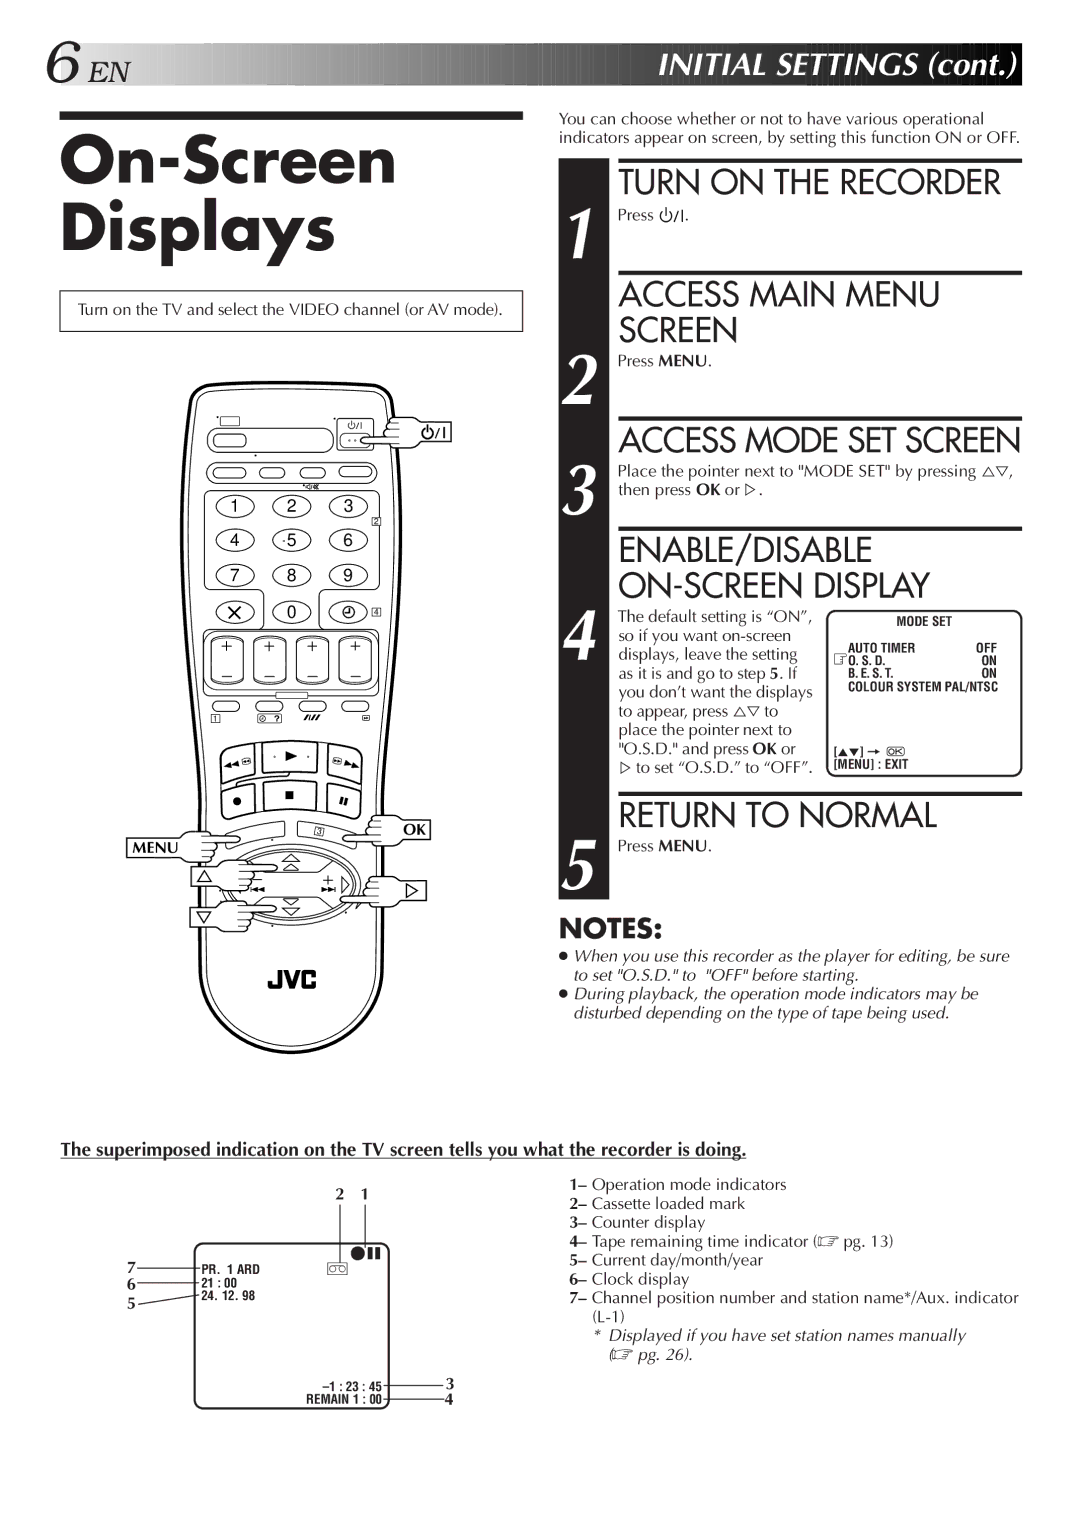
The JVC HR-J250E supports numerous recording features, including a timer recording function, which allows users to schedule recordings of their favorite shows without needing to be present. The one-touch recording feature also simplifies the process, enabling users to start recording with just the press of a button.
Furthermore, the model includes comprehensive connectivity options, making it compatible with various AV equipment. Users can connect their VCR to televisions, DVD players, and other devices, taking full advantage of its recording and playback features.
In summary, the JVC HR-J250E stands out as a robust VHS VCR packed with essential features and technologies. Its compatibility with S-VHS, advanced video processing, remote control convenience, auto head cleaner, and extensive recording capabilities make it a significant player in the home entertainment market, particularly for VHS enthusiasts. Whether for nostalgic movie nights or archiving memories on tape, the HR-J250E delivers quality and reliability.