EN 27

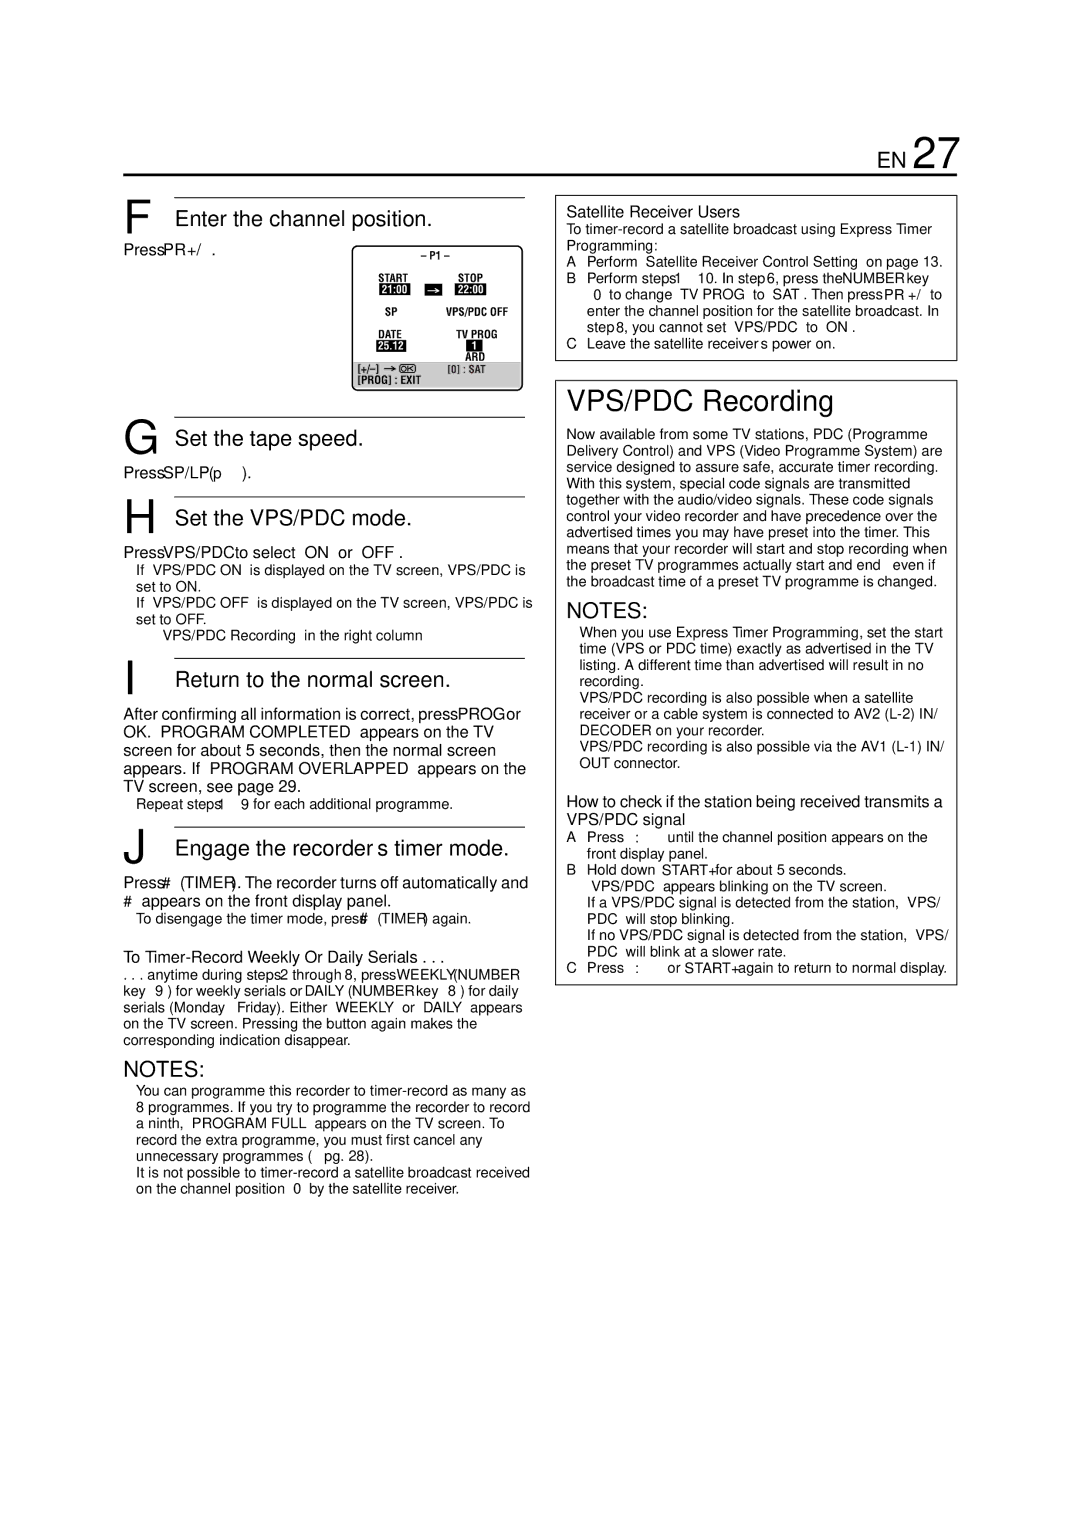
F Enter the channel position.

Press PR +/–.

G Set the tape speed.

Press SP/LP (p).

H Set the VPS/PDC mode.

Press VPS/PDC to select “ON” or “OFF”.

If “VPS/PDC ON” is displayed on the TV screen, VPS/PDC is set to ON.

If “VPS/PDC OFF” is displayed on the TV screen, VPS/PDC is

set to OFF.

 “VPS/PDC Recording” in the right column

I Return to the normal screen.

After confirming all information is correct, press PROG or OK. “PROGRAM COMPLETED” appears on the TV screen for about 5 seconds, then the normal screen appears. If “PROGRAM OVERLAPPED” appears on the TV screen, see page 29.

Repeat steps 1 9 for each additional programme.

J Engage the recorder’s timer mode.

Press #(TIMER). The recorder turns off automatically and

#appears on the front display panel.

To disengage the timer mode, press #(TIMER) again.

To Timer-Record Weekly Or Daily Serials . . .

. . . anytime during steps 2 through 8, press WEEKLY (NUMBER key “9”) for weekly serials or DAILY (NUMBER key “8”) for daily serials (Monday – Friday). Either “WEEKLY” or “DAILY” appears on the TV screen. Pressing the button again makes the corresponding indication disappear.

NOTES:

You can programme this recorder to timer-record as many as 8 programmes. If you try to programme the recorder to record a ninth, “PROGRAM FULL” appears on the TV screen. To

record the extra programme, you must first cancel any unnecessary programmes ( pg. 28).

It is not possible to timer-record a satellite broadcast received on the channel position “0” by the satellite receiver.

Satellite Receiver Users

To timer-record a satellite broadcast using Express Timer Programming:

APerform “Satellite Receiver Control Setting” on page 13.

BPerform steps 1 10. In step 6, press the NUMBER key

0” to change “TV PROG” to “SAT”. Then press PR +/– to enter the channel position for the satellite broadcast. In step 8, you cannot set “VPS/PDC” to “ON”.

CLeave the satellite receiver’s power on.

VPS/PDC Recording

Now available from some TV stations, PDC (Programme Delivery Control) and VPS (Video Programme System) are service designed to assure safe, accurate timer recording. With this system, special code signals are transmitted together with the audio/video signals. These code signals control your video recorder and have precedence over the advertised times you may have preset into the timer. This means that your recorder will start and stop recording when the preset TV programmes actually start and end — even if the broadcast time of a preset TV programme is changed.

NOTES:

When you use Express Timer Programming, set the start time (VPS or PDC time) exactly as advertised in the TV listing. A different time than advertised will result in no recording.

VPS/PDC recording is also possible when a satellite receiver or a cable system is connected to AV2 (L-2) IN/ DECODER on your recorder.

VPS/PDC recording is also possible via the AV1 (L-1) IN/ OUT connector.

How to check if the station being received transmits a VPS/PDC signal

APress –:–until the channel position appears on the front display panel.

BHold down START+ for about 5 seconds. “VPS/PDC” appears blinking on the TV screen.

If a VPS/PDC signal is detected from the station, “VPS/ PDC” will stop blinking.

If no VPS/PDC signal is detected from the station, “VPS/ PDC” will blink at a slower rate.

CPress –:–or START+ again to return to normal display.

Page 27
Image 27
JVC HR-J681, HR-J589EU VPS/PDC Recording, Enter the channel position, Press PR +, To Timer-Record Weekly Or Daily Serials

HR-J681, HR-J588, HR-J589EU, HR-J682EU specifications

The JVC HR-J682EU, HR-J589EU, HR-J588, and HR-J681 are notable models in JVC's lineup of VHS VCRs, showcasing the brand's commitment to quality and innovative technology in the realm of video recording and playback.

The JVC HR-J682EU stands out with its advanced features, including a built-in digital tuner, which allows users to receive and record digital broadcasts directly. This model supports SLV (S-VHS) playback, offering enhanced picture quality for compatible tapes. Additionally, it features the Auto Set-Up capability that simplifies installation by automatically tuning to available channels. The HR-J682EU also includes a VCR Plus+ feature, which allows for easy programming of recordings via a simple numeric code system, maximizing convenience for users.

The HR-J589EU offers a solid performance with similar features but is more focused on providing high-quality playback. It also supports S-VHS playback, ensuring that viewers can enjoy superior picture clarity with suitable tapes. This model includes features like the Jog/Shuttle dial, enabling effortless searching through tapes, as well as the capability for audio dubbing, allowing users to create audio commentary tracks on their videos seamlessly.

The JVC HR-J588 is another robust VCR model, known for its reliability and ease of use. It is designed with a more user-friendly interface, making it accessible for users of all ages. The HR-J588 incorporates features like Quick Start, which reduces the time it takes to begin playback after powering on, ensuring that users can enjoy their content without delay. This model also prioritizes accessibility with its straightforward remote control design.

Lastly, the JVC HR-J681 provides essential features with a focus on durability. While it lacks some of the more advanced functions of its contemporaries, its straightforward design and solid performance make it an appealing choice for those who prefer simplicity. This model is incredibly reliable, ensuring consistent playback and recording.

In summary, the JVC HR-J682EU, HR-J589EU, HR-J588, and HR-J681 offer a diverse range of features catering to various user preferences. From advanced digital tuning capabilities to user-friendly interfaces, these models exemplify JVC's dedication to delivering quality video solutions. These VCRs continue to hold their value as reliable devices for both casual viewers and avid recorders alike, maintaining a place in the hearts of those nostalgic for the classic VHS experience.