
HR-J768MS, HR-J667MS, HR-J767MS specifications
The JVC HR-J767MS, HR-J667MS, and HR-J768MS are standout VCR models released by JVC in the late 1990s, showcasing the company’s commitment to high-quality video recording technology. These machines are part of JVC's HR series, noted for their durability and operations tailored to meet consumer demands during the peak of VCR usage.One of the main features across these models is their superior video quality, enabled by JVC’s advanced Super VHS (S-VHS) technology. This feature significantly enhances the resolution of recordings compared to standard VHS, delivering sharper images and improved color quality. The HR-J768MS, in particular, is celebrated for its high-fidelity audio performance, supporting stereo sound that elevates the overall viewing experience.
Another notable technology utilized in these models is the Digital Tracking system. This innovative feature ensures that the video head aligns accurately with the tape, resulting in minimal distortion and enhanced playback quality. Furthermore, the models are equipped with features like Auto Sensing, which detects the type of tape in use and adjusts recording settings automatically, allowing for seamless user experiences.
The HR-J767MS and HR-J667MS incorporate a robust time base corrector. This technology stabilizes the video signal during playback and recording, minimizing jitter and enhancing picture stability. Users appreciate this feature for its significant impact on the quality of home recordings, particularly when capturing live events or personal memories.
In terms of convenience, these models come with programmable timers and an intuitive user interface, making it easy for users to schedule recordings effortlessly. The built-in Video Plus+ feature simplifies the process further by allowing viewers to record programs with just a few button presses.
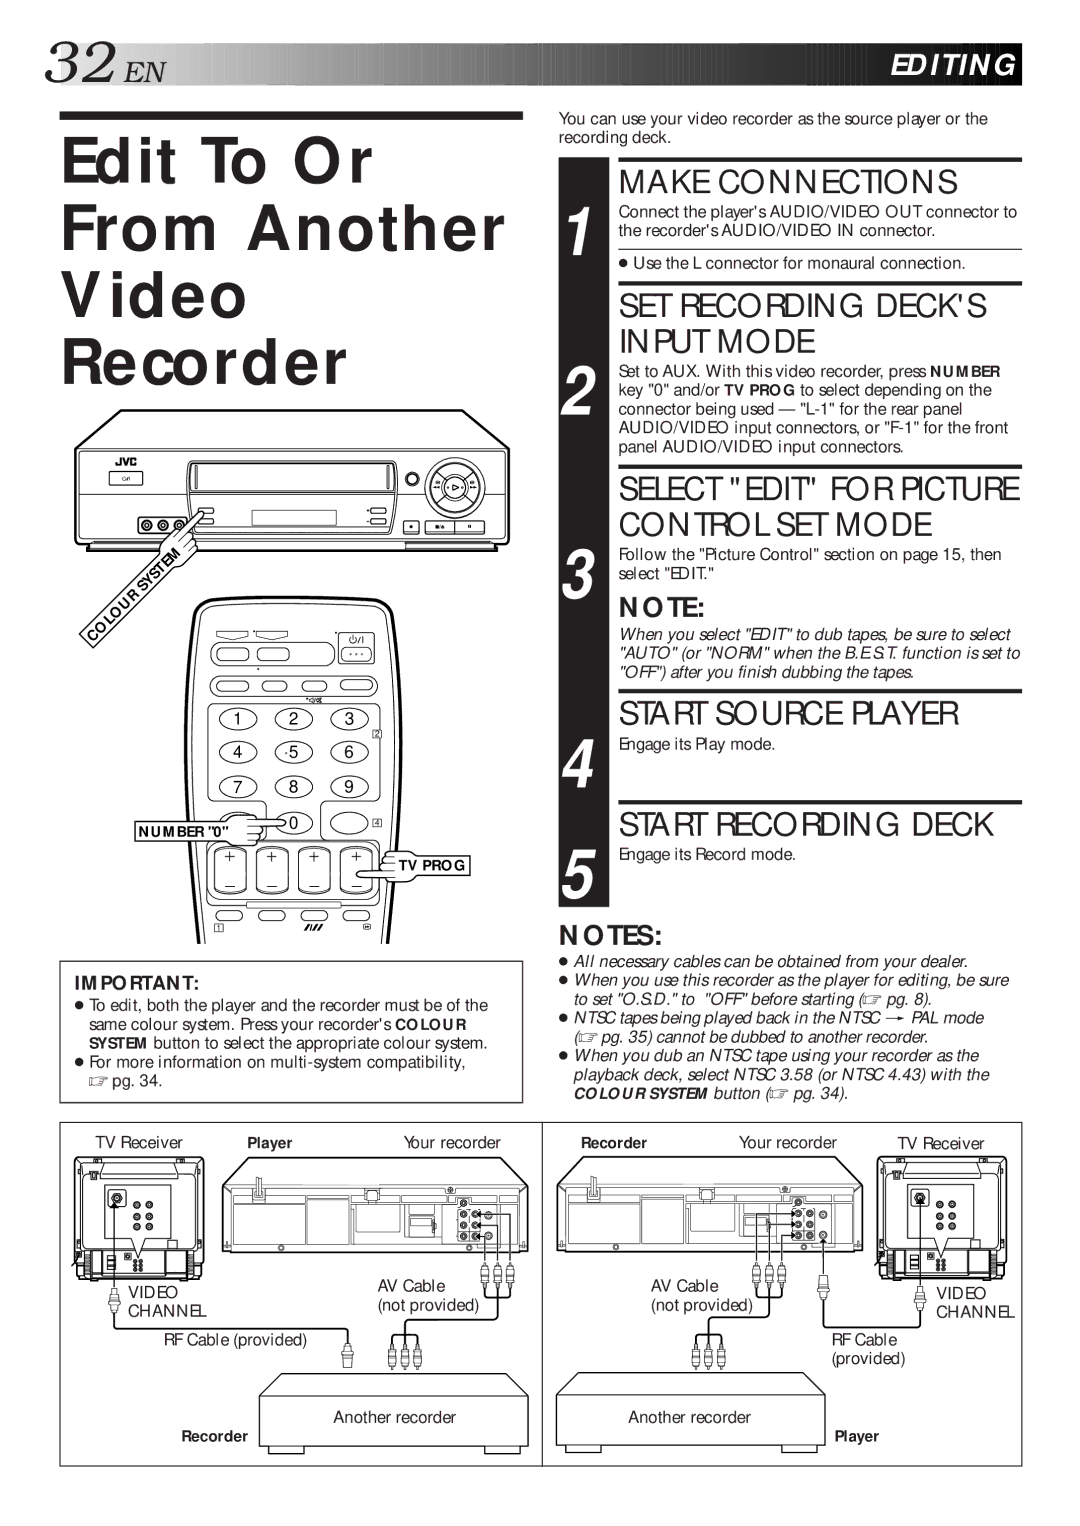
Connectivity options are also a highlight, as these VCRs support both composite and S-Video outputs, catering to various home theater setups. Additionally, the HR-J768MS includes a front AV input for quick access, making it user-friendly for attaching camcorders or gaming consoles.
Overall, the JVC HR-J767MS, HR-J667MS, and HR-J768MS exemplify the technological advancements made in VCR design during their time. Their combination of quality, ease of use, and innovative features made them popular choices for consumers looking to capture and cherish their memories on tape. Despite the rise of digital media, these models remain cherished collectibles for enthusiasts of vintage video technology.