EN 37

Automatic Satellite

Programme

Recording

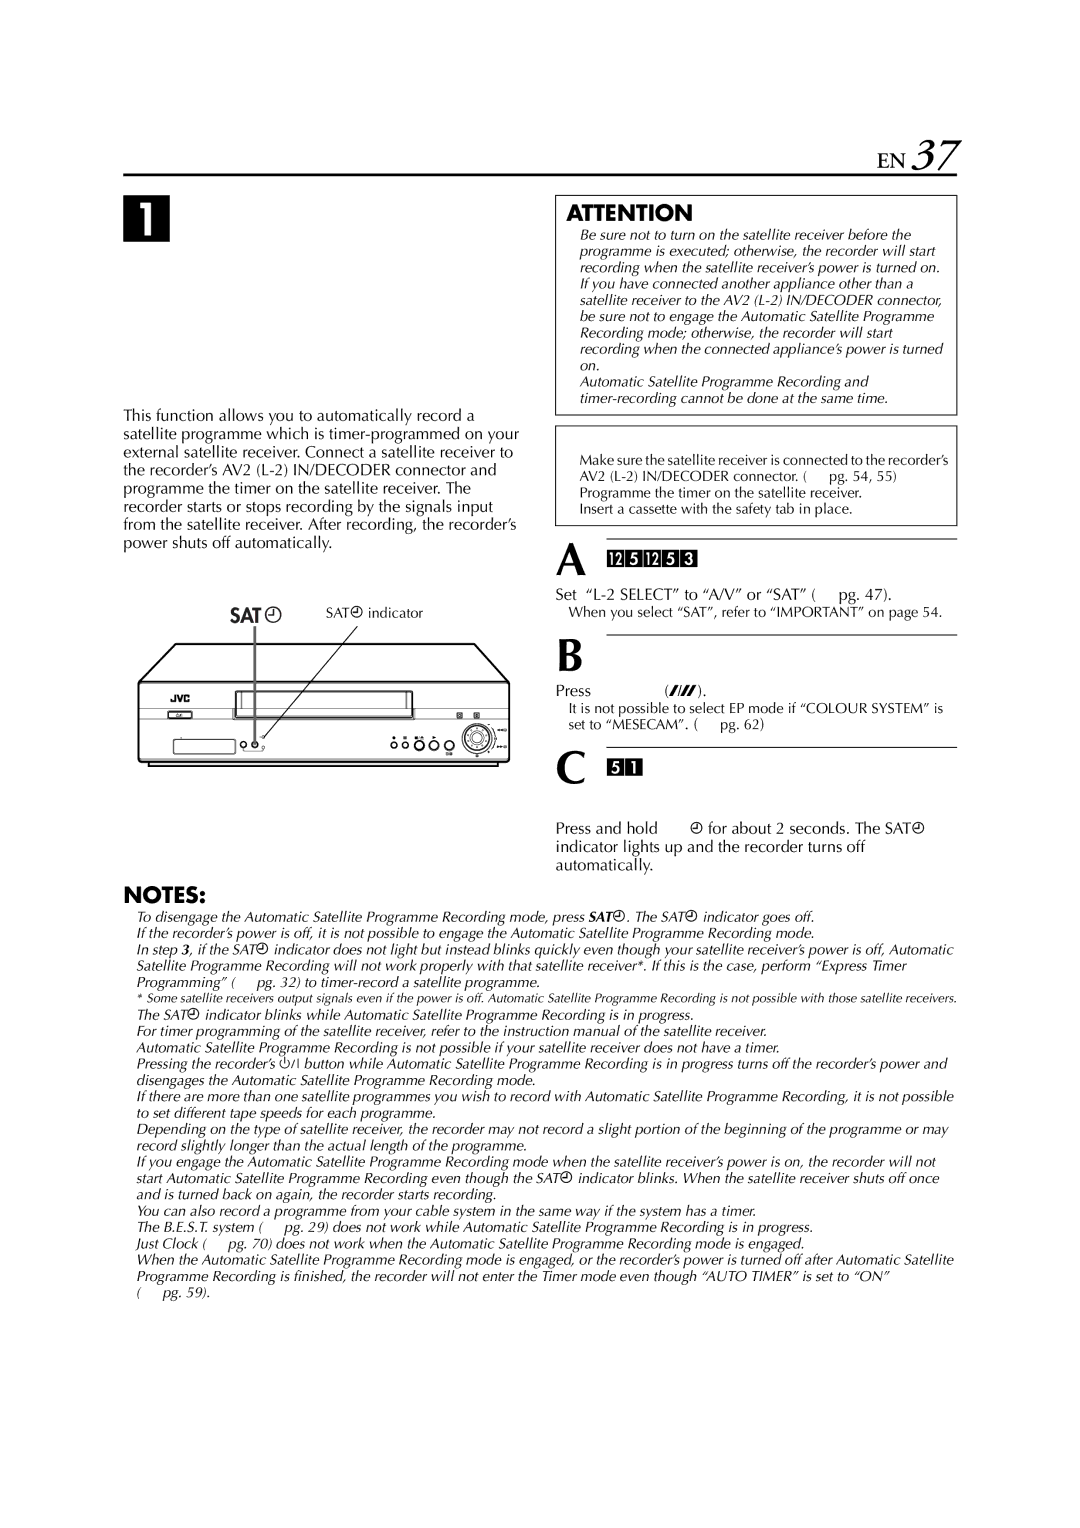
This function allows you to automatically record a satellite programme which is timer-programmed on your external satellite receiver. Connect a satellite receiver to the recorder’s AV2 (L-2) IN/DECODER connector and programme the timer on the satellite receiver. The recorder starts or stops recording by the signals input from the satellite receiver. After recording, the recorder’s power shuts off automatically.

SAT# indicator

ATTENTION

Be sure not to turn on the satellite receiver before the programme is executed; otherwise, the recorder will start recording when the satellite receiver’s power is turned on.

If you have connected another appliance other than a satellite receiver to the AV2 (L-2) IN/DECODER connector, be sure not to engage the Automatic Satellite Programme Recording mode; otherwise, the recorder will start recording when the connected appliance’s power is turned on.

Automatic Satellite Programme Recording and timer-recording cannot be done at the same time.

Before performing the following steps:

Make sure the satellite receiver is connected to the recorder’s AV2 (L-2) IN/DECODER connector. ( pg. 54, 55)

Programme the timer on the satellite receiver.

Insert a cassette with the safety tab in place.

A Select the L-2 SELECT mode.

Set “L-2 SELECT” to “A/V” or “SAT” ( pg. 47).

When you select “SAT”, refer to “IMPORTANT” on page 54.

B Set the tape speed.

Press SP/LP/EP (p).

It is not possible to select EP mode if “COLOUR SYSTEM” is

set to “MESECAM”. ( pg. 62)

C Engage the Automatic Satellite Programme

Recording mode.

Press and hold SAT# for about 2 seconds. The SAT# indicator lights up and the recorder turns off automatically.

NOTES:

To disengage the Automatic Satellite Programme Recording mode, press SAT#. The SAT# indicator goes off.

If the recorder’s power is off, it is not possible to engage the Automatic Satellite Programme Recording mode.

In step 3, if the SAT# indicator does not light but instead blinks quickly even though your satellite receiver’s power is off, Automatic

Satellite Programme Recording will not work properly with that satellite receiver*. If this is the case, perform “Express Timer Programming” ( pg. 32) to timer-record a satellite programme.

*Some satellite receivers output signals even if the power is off. Automatic Satellite Programme Recording is not possible with those satellite receivers.

The SAT# indicator blinks while Automatic Satellite Programme Recording is in progress.

For timer programming of the satellite receiver, refer to the instruction manual of the satellite receiver.

Automatic Satellite Programme Recording is not possible if your satellite receiver does not have a timer.

Pressing the recorder’s 1 button while Automatic Satellite Programme Recording is in progress turns off the recorder’s power and disengages the Automatic Satellite Programme Recording mode.

If there are more than one satellite programmes you wish to record with Automatic Satellite Programme Recording, it is not possible to set different tape speeds for each programme.

Depending on the type of satellite receiver, the recorder may not record a slight portion of the beginning of the programme or may record slightly longer than the actual length of the programme.

If you engage the Automatic Satellite Programme Recording mode when the satellite receiver’s power is on, the recorder will not start Automatic Satellite Programme Recording even though the SAT# indicator blinks. When the satellite receiver shuts off once and is turned back on again, the recorder starts recording.

You can also record a programme from your cable system in the same way if the system has a timer.

The B.E.S.T. system ( pg. 29) does not work while Automatic Satellite Programme Recording is in progress.

Just Clock ( pg. 70) does not work when the Automatic Satellite Programme Recording mode is engaged.

When the Automatic Satellite Programme Recording mode is engaged, or the recorder’s power is turned off after Automatic Satellite

Programme Recording is finished, the recorder will not enter the Timer mode even though “AUTO TIMER” is set to “ON” ( pg. 59).

Page 37
Image 37
JVC HR-S8850EU Programme Recording, Select the L-2 Select mode, Recording mode, Before performing the following steps

HR-S8850EU specifications

The JVC HR-S8850EU is one of the standout VHS videocassette recorders from the late 1990s, designed to cater to the needs of both casual viewers and avid collectors of video content. This model is still recognized today for its robust features, advanced technologies, and overall reliability.

At the core of the HR-S8850EU's appeal is its excellent video quality. The unit employs JVC's Super VHS technology, which offers significantly improved resolution over standard VHS recordings. This allows users to capture and playback their favorite shows and home videos with remarkable clarity. It also features S-VHS ET, enabling the recording of standard VHS tapes with enhanced quality, making it a versatile choice for all types of video content.

One of the hallmark features of the HR-S8850EU is its dual-head design, which improves playback performance and fidelity. This model also incorporates various video and audio enhancements, including Digital Noise Reduction, which helps in minimizing the noise that can detract from the viewing experience. The use of professional-grade components ensures durability and longevity, making it a reliable choice for long-term use.

Another significant characteristic of the HR-S8850EU is its capability for timer recording. Users can easily set up the VCR to record shows at specified times, and with its built-in clock and programmable features, it seamlessly integrates into a home entertainment system. The presence of a 4-head system provides flexibility in viewing and recording, allowing users to access a variety of recording modes.

The HR-S8850EU also includes features such as automatic tracking, which optimizes playback for various tape conditions, and an intuitive On-Screen Display (OSD) for easy navigation through settings and functions. Additionally, the unit is equipped with multiple input and output terminals, including S-Video output, composite video, and audio connections, offering compatibility with a range of devices and ensuring that it can adapt to various home theater setups.

In summary, the JVC HR-S8850EU is a sophisticated yet user-friendly VCR that combines high-quality video recording capabilities with advanced features and technologies. Its blend of reliability, superior playback quality, and ease of use has made it a cherished model for enthusiasts and casual users alike, solidifying its status in the history of home entertainment technology.