
KD-SX940, KD-SX949 specifications
JVC has long been a prominent name in the audio equipment market, consistently delivering high-quality products packed with innovative technologies. The JVC KD-SX949 and KD-SX940 models are no exception, showcasing an array of features designed to enhance the driving experience through superior sound and connectivity options.The JVC KD-SX949 is a powerful single-DIN receiver that stands out for its dynamic sound quality and versatility. One of its main features includes a built-in MOSFET amplifier that delivers 50 watts per channel, providing ample power to drive speakers and deliver crisp, clear sound. The receiver also supports multiple audio formats, including MP3, WMA, and AAC, allowing users to enjoy their favorite tunes without compromise.
In addition to excellent audio performance, the KD-SX949 boasts advanced Bluetooth technology. This feature enables hands-free calling and audio streaming directly from compatible devices, making it easier for drivers to stay connected while on the road. The receiver supports a wide range of Bluetooth profiles, ensuring compatibility with a variety of smartphones and portable media players.
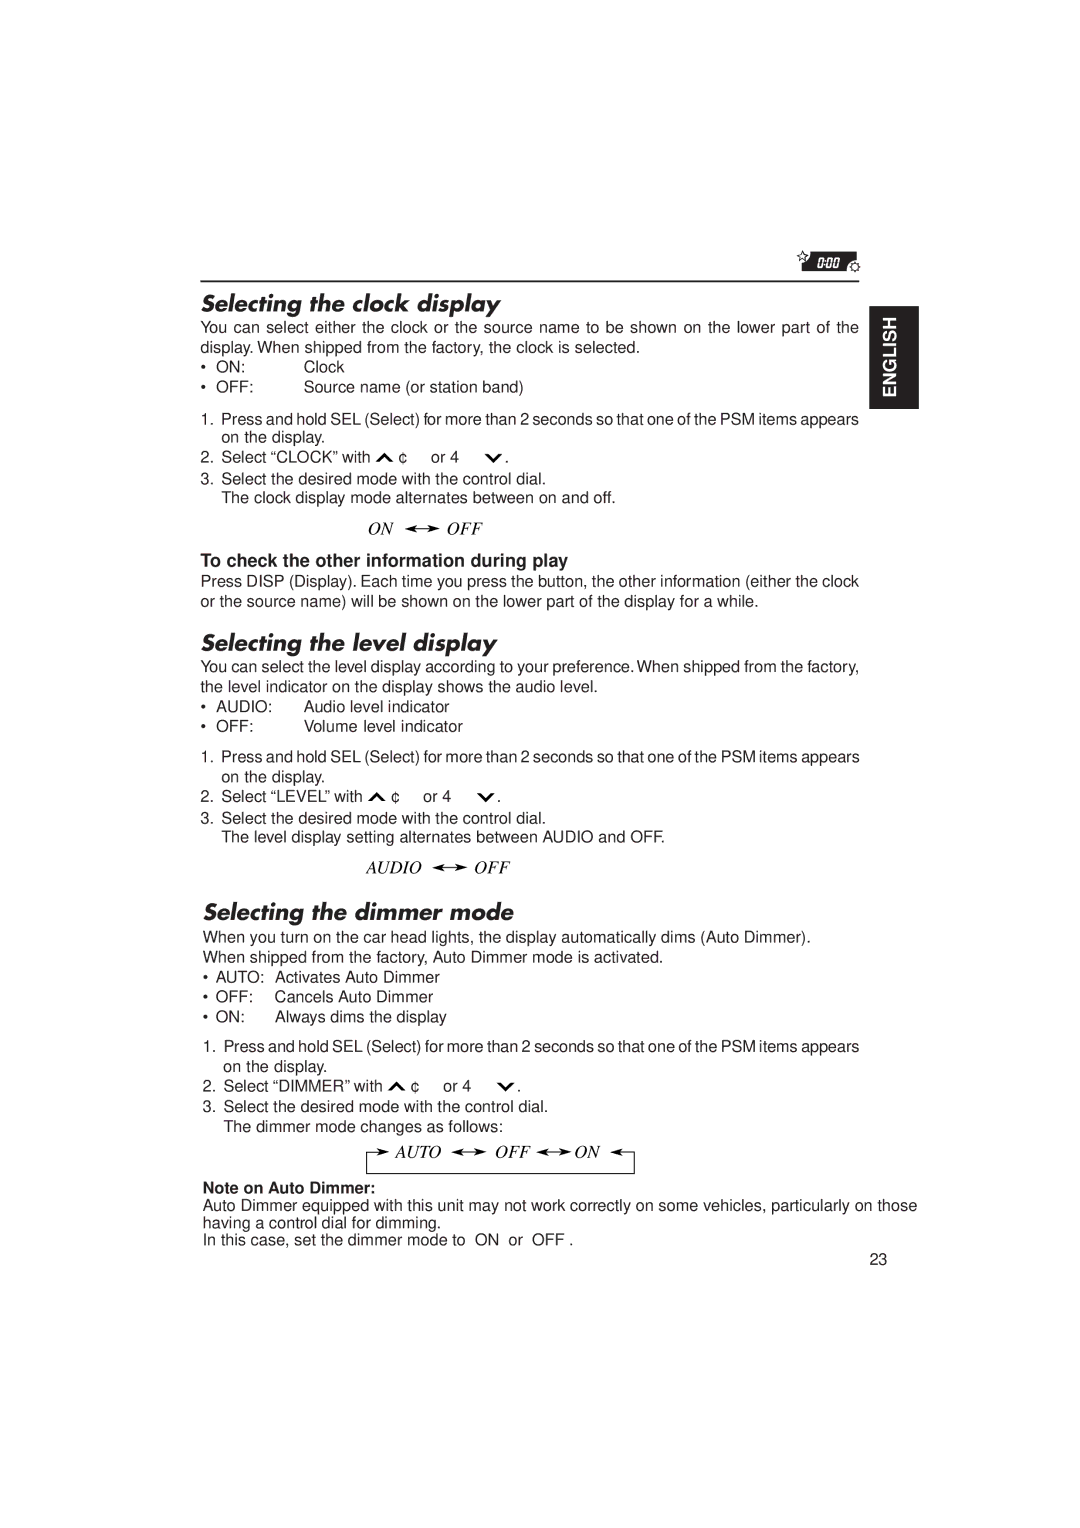
The JVC KD-SX940 offers similar capabilities, with a primary focus on user-friendly navigation and control. It features a bright LED display that provides clear visibility day or night. The rotary volume control and intuitive interface make it easy to adjust settings and switch between sources while driving.
Both models include a USB input, allowing users to connect flash drives or smartphones to access their music library easily. This functionality also supports charging capabilities for devices, ensuring that users can keep their smartphones powered up on long journeys. Furthermore, they come equipped with a 3-band parametric equalizer, enabling consumers to customize their audio experience to their unique preferences.
The KD-SX949 and KD-SX940 also feature a powerful radio tuner with support for AM/FM bands, providing access to local radio stations. The built-in presets and automatic station search facilitate quick tuning to favorite channels.
Overall, the JVC KD-SX949 and KD-SX940 offer a perfect blend of sound quality, advanced connectivity, and user-friendly features. With their robust designs and impressive technologies, these models cater to audio enthusiasts looking to elevate their in-car listening experience. Whether it's through streaming, USB playback, or radio, these receivers promise to deliver exceptional sound quality and convenience for a seamless driving experience.