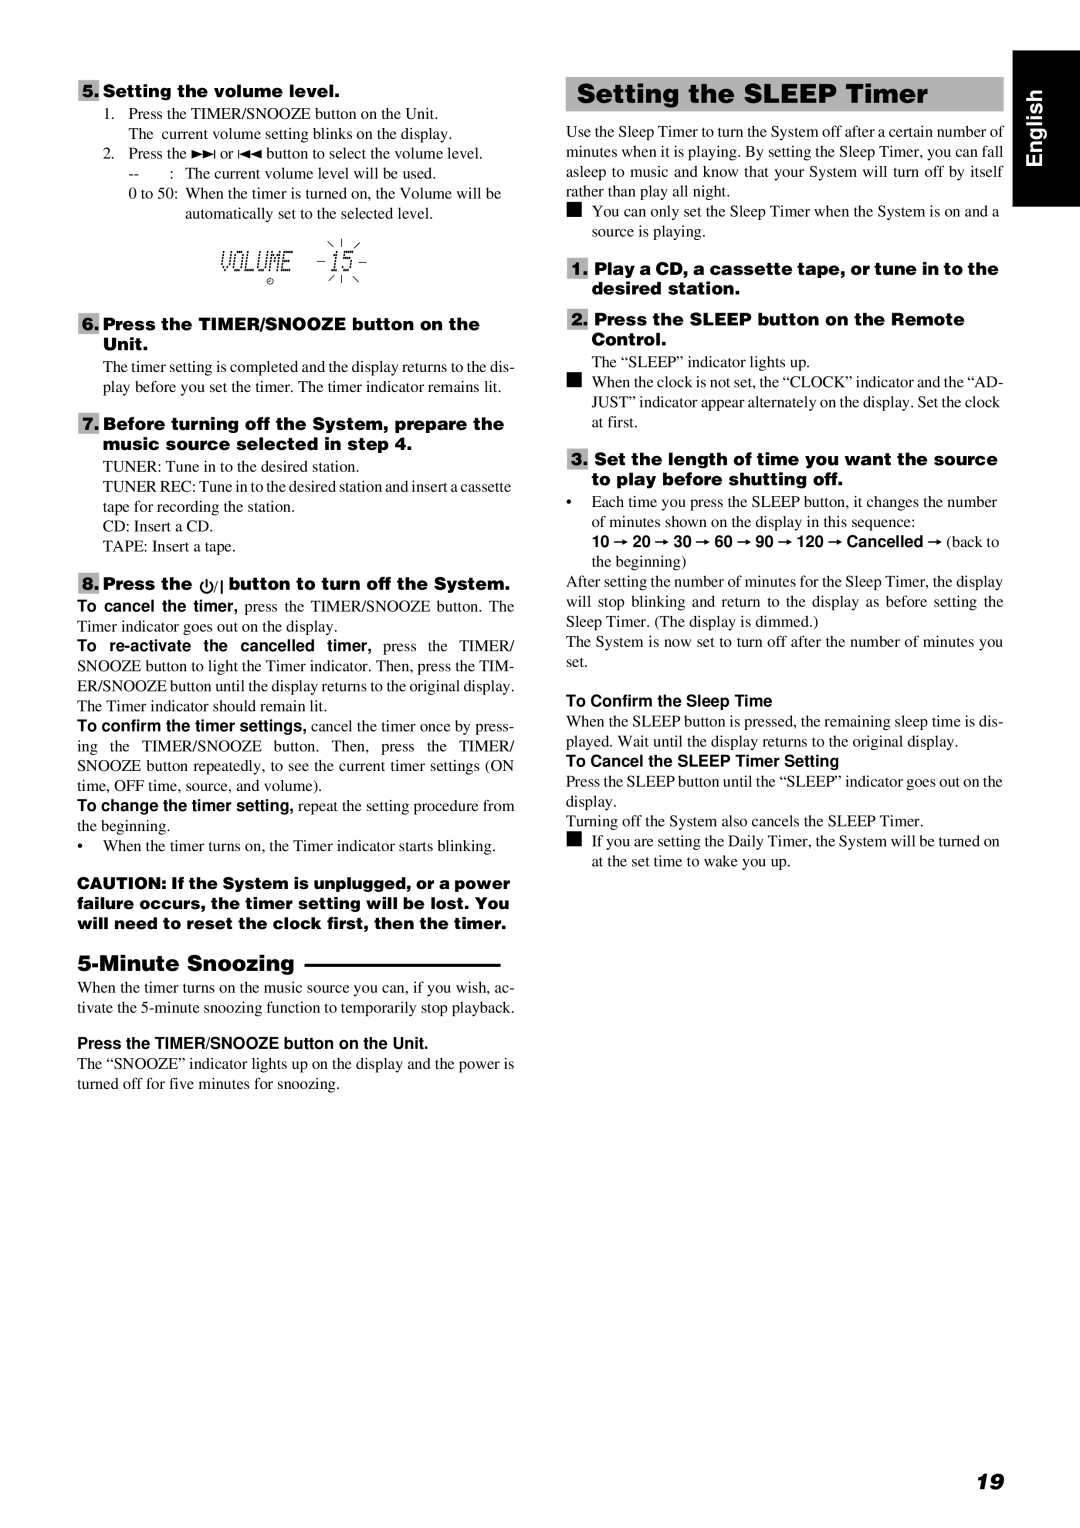
5. Setting the volume level.

1.Press the TIMER/SNOOZE button on the Unit. The current volume setting blinks on the display.

2.Press the ¢ or 4 button to select the volume level.

-- : The current volume level will be used.

0 to 50: When the timer is turned on, the Volume will be automatically set to the selected level.

6. Press the TIMER/SNOOZE button on the

Unit.

The timer setting is completed and the display returns to the dis- play before you set the timer. The timer indicator remains lit.

7. Before turning off the System, prepare the music source selected in step 4.

TUNER: Tune in to the desired station.

TUNER REC: Tune in to the desired station and insert a cassette tape for recording the station.

CD: Insert a CD.

TAPE: Insert a tape.

8. Press the button to turn off the System.

To cancel the timer, press the TIMER/SNOOZE button. The Timer indicator goes out on the display.

To re-activate the cancelled timer, press the TIMER/ SNOOZE button to light the Timer indicator. Then, press the TIM- ER/SNOOZE button until the display returns to the original display. The Timer indicator should remain lit.

To confirm the timer settings, cancel the timer once by press- ing the TIMER/SNOOZE button. Then, press the TIMER/ SNOOZE button repeatedly, to see the current timer settings (ON time, OFF time, source, and volume).

To change the timer setting, repeat the setting procedure from the beginning.

When the timer turns on, the Timer indicator starts blinking.

CAUTION: If the System is unplugged, or a power failure occurs, the timer setting will be lost. You will need to reset the clock first, then the timer.

5-Minute Snoozing —————————

When the timer turns on the music source you can, if you wish, ac- tivate the 5-minute snoozing function to temporarily stop playback.

Press the TIMER/SNOOZE button on the Unit.

The “SNOOZE” indicator lights up on the display and the power is turned off for five minutes for snoozing.

Setting the SLEEP Timer

English

Use the Sleep Timer to turn the System off after a certain number of


minutes when it is playing. By setting the Sleep Timer, you can fall


asleep to music and know that your System will turn off by itself


rather than play all night.


You can only set the Sleep Timer when the System is on and a


source is playing.


1. Play a CD, a cassette tape, or tune in to the desired station.

2. Press the SLEEP button on the Remote

Control.

The “SLEEP” indicator lights up.

When the clock is not set, the “CLOCK” indicator and the “AD- JUST” indicator appear alternately on the display. Set the clock at first.

3. Set the length of time you want the source to play before shutting off.

Each time you press the SLEEP button, it changes the number

of minutes shown on the display in this sequence:

10 = 20 = 30 = 60 = 90 = 120 = Cancelled = (back to

the beginning)

After setting the number of minutes for the Sleep Timer, the display will stop blinking and return to the display as before setting the Sleep Timer. (The display is dimmed.)

The System is now set to turn off after the number of minutes you set.

To Confirm the Sleep Time

When the SLEEP button is pressed, the remaining sleep time is dis- played. Wait until the display returns to the original display.

To Cancel the SLEEP Timer Setting

Press the SLEEP button until the “SLEEP” indicator goes out on the display.

Turning off the System also cancels the SLEEP Timer.

If you are setting the Daily Timer, the System will be turned on at the set time to wake you up.

19

Page 23
Image 23
JVC UX-V5R manual Setting the Sleep Timer, Minute Snoozing, Setting the volume level, Press the TIMER/SNOOZE button on Unit

UX-V5R, RM-RXUV5R, LVT0211-001A specifications

The JVC RM-RXUV5R, UX-V5R, and LVT0211-001A are part of JVC's high-quality audio system lineup, designed to provide users with exceptional sound and user experience. Combining functionality, advanced technologies, and sleek design, these components cater to both casual listeners and serious audiophiles.

The RM-RXUV5R is a remote control unit that enhances the user experience of JVC audio systems. It features an intuitive layout, allowing easy navigation through menus and playback options. Key buttons for volume control, track selection, and input source make it a breeze to operate, enhancing the overall convenience of your audio playback. Its ergonomic design ensures comfort during use, which is essential for longer listening sessions.

The UX-V5R is the heart of the audio system, serving as a compact mini stereo system that packs a powerful punch. It is designed to deliver rich sound quality with its built-in speakers and amplifier. One of its standout features is the digital sound processor that optimizes audio output, adapting to different listening environments and music styles. This technology ensures clarity and depth across a wide range of frequencies.

Connectivity is a major highlight of the UX-V5R. It offers multiple input options, including USB and auxiliary ports, allowing users to connect their devices effortlessly. Bluetooth capability is another significant feature, enabling wireless streaming from smartphones and tablets, which caters to modern listening habits. This integration with mobile technology reflects JVC's commitment to relevance in a rapidly changing audio landscape.

The LVT0211-001A is the dedicated user manual, providing essential information on setup, operation, and troubleshooting. Well-organized and easy to follow, it acts as a guide to ensure users can fully utilize the features of the RM-RXUV5R and UX-V5R. Having clear instructions enhances the overall user experience and assists in maximizing the system's capabilities.

In summary, the JVC RM-RXUV5R, UX-V5R, and LVT0211-001A together create a harmonious audio experience that combines quality sound, user-friendly operation, and modern connectivity options. These features make them an excellent choice for anyone seeking to elevate their home audio setup. With JVC's reputation for reliability and innovation, these components stand out as a solid investment for music lovers.