
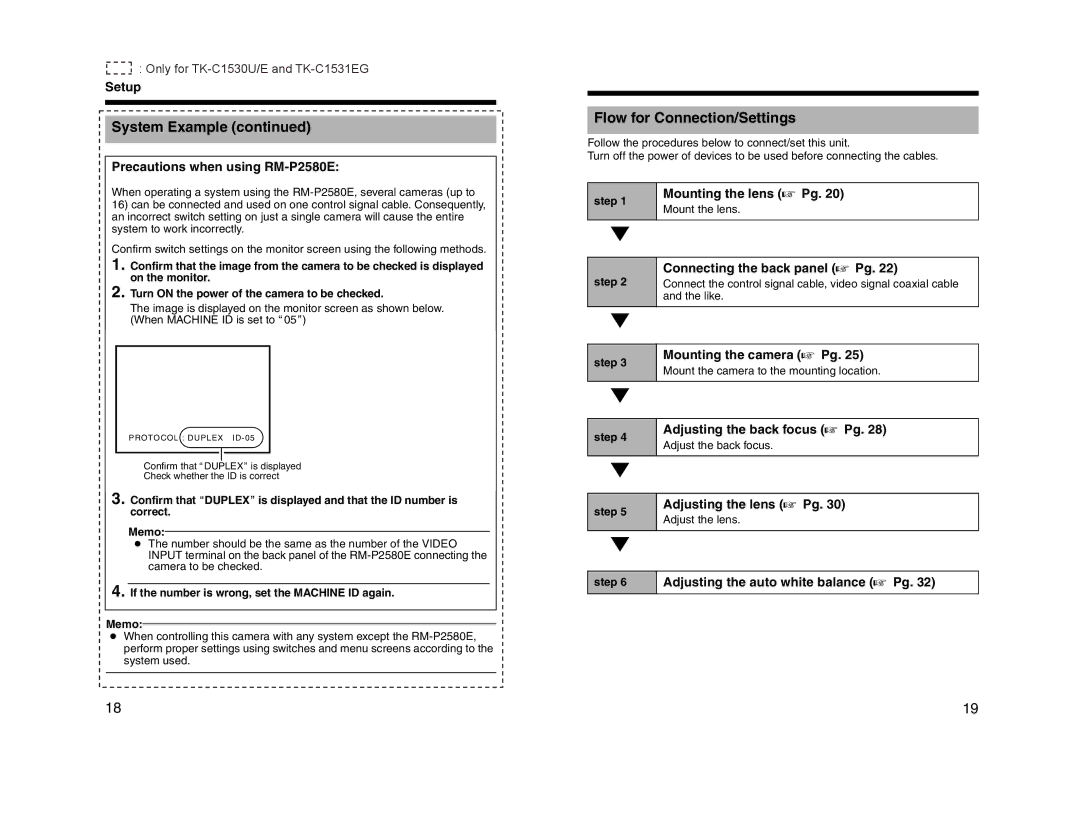
TK-C925U, TK-C925E, TK-C1530E, TK-C1531EG, TK-C1530U specifications
JVC has built a strong reputation for its advanced camera technologies, particularly in surveillance and monitoring applications. Among its extensive range, the models TK-C926EG, TK-C1530U, TK-C1531EG, TK-C1530E, and TK-C925E stand out for their impressive features and capabilities.The TK-C926EG is well-regarded for its compact design and remarkable low-light performance, making it suitable for various environments. This camera utilizes a 1/3-inch color CCD sensor that ensures high sensitivity and accurate color reproduction, even in challenging lighting conditions. It offers a resolution of 540 TV lines, providing clear and detailed images. Additionally, the camera supports a wide range of lens options, enhancing its versatility for different installations.
In contrast, the TK-C1530U and TK-C1531EG share similar core features but cater to slightly different needs. Both models boast a 1/3-inch CCD sensor and an impressive horizontal resolution of 600 TV lines, which guarantees high-quality video outputs. The TK-C1530U is especially recognized for its robust design, making it ideal for outdoor applications. Meanwhile, the TK-C1531EG offers advanced features including dynamic backlight compensation, which enhances visibility in high-contrast scenes – a crucial technology for effective surveillance.
The TK-C1530E, on the other hand, is an essential choice for various surveillance needs, especially in retail and commercial settings. Like its counterparts, it features a 1/3-inch CCD sensor but excels in its ability to adapt to varying light conditions with its automatic gain control and electronic shutter capabilities. This adaptability is important for maintaining clarity during transitions from bright environments to darker areas.
Lastly, the TK-C925E is dedicated to quality and performance, providing full 540 TV lines of resolution. This camera is particularly noted for its wide dynamic range and excellent noise reduction technology, which allows for clearer images in low-light situations.
Overall, these JVC models exemplify a commitment to innovation in video surveillance technology, combining high-resolution imaging, adaptability to light conditions, and robust design features to cater to diverse monitoring applications. Each camera serves its unique purpose while maintaining the superior quality and reliability JVC is known for in the industry.