To connect to your PC
1.Open the USB port cover of the right headphone.
2.Connect the Digital Audio Player to your PC using the supplied USB cable.
The operation indicator of the Digital Audio Player starts flashing.
3. Press ![]() to permit the access to the Digital Audio Player from the PC.
to permit the access to the Digital Audio Player from the PC.
When pressing the button, the
NOTE:
We cannot bear any responsibility for any loss or alterlation to the files stored in the internal memory of Digital Audio Player or the external memory.
To transfer the music files
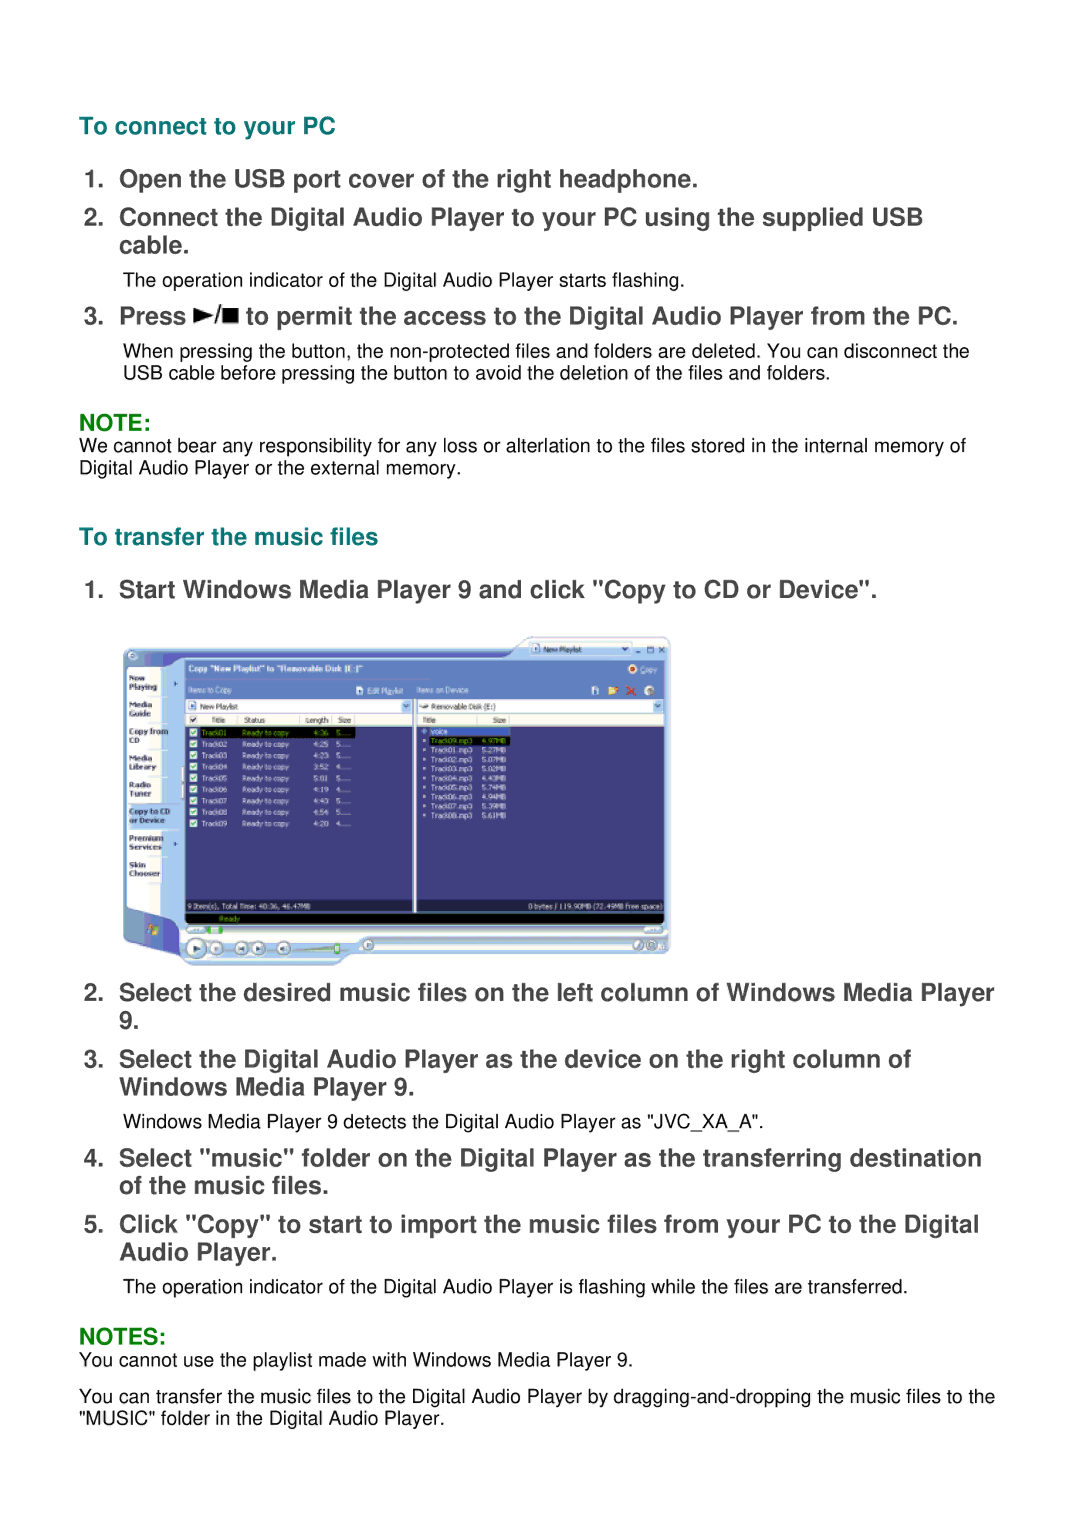
1. Start Windows Media Player 9 and click "Copy to CD or Device".
2.Select the desired music files on the left column of Windows Media Player 9.
3.Select the Digital Audio Player as the device on the right column of Windows Media Player 9.
Windows Media Player 9 detects the Digital Audio Player as "JVC_XA_A".
4.Select "music" folder on the Digital Player as the transferring destination of the music files.
5.Click "Copy" to start to import the music files from your PC to the Digital Audio Player.
The operation indicator of the Digital Audio Player is flashing while the files are transferred.
NOTES:
You cannot use the playlist made with Windows Media Player 9.
You can transfer the music files to the Digital Audio Player by