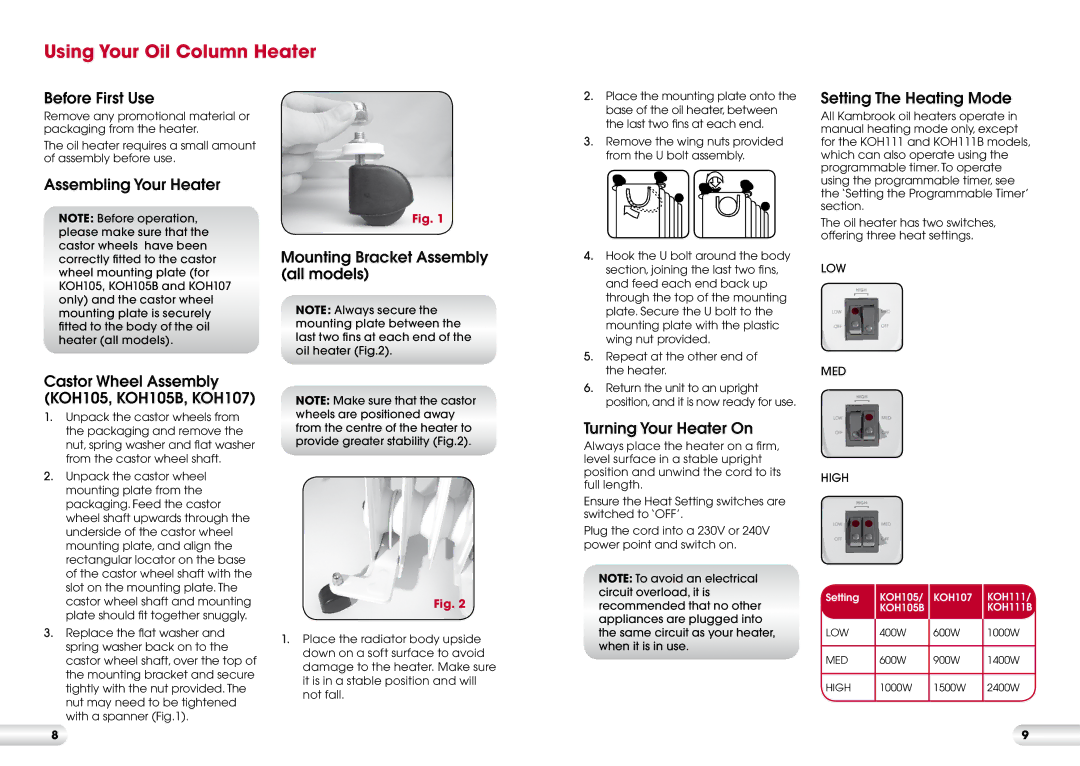
KOH105/KOH107/KOH11, KOH105 specifications
The Kambrook KOH105, KOH105/KOH107, and KOH11 are innovative kitchen appliances designed to enhance culinary experiences for home cooks. These models seamlessly blend functionality and modern design, elevating the standard for kitchen gadgets.One of the standout features of the Kambrook KOH105 is its advanced heating technology, which ensures rapid and even cooking. This model is equipped with a powerful heating element that provides consistent temperatures, allowing users to cook a variety of dishes—from delicate sauces to hearty stews. The precise temperature control enables users to fine-tune their cooking process, ensuring impeccable results every time.
The KOH105 and its counterparts, the KOH107 and KOH11, share a similar user-friendly interface. They come with an easy-to-read digital display, which guides users through the cooking process. This intuitive design reduces the learning curve for novice cooks and aids experienced chefs in efficiently managing their time in the kitchen.
Safety is a top priority in the design of these appliances. Each model includes an auto shut-off feature that activates when the cooking process is complete or if the unit detects overheating. This safety measure not only protects the appliance but also provides peace of mind to users, allowing them to focus on their culinary creations without worry.
Another significant advantage of the Kambrook units is their versatility. These models can be used for a variety of cooking methods, including steaming, boiling, and sautéing, making them suitable for a range of recipes—from healthy steamed vegetables to delicious stir-fries. With the optional accessories available, the KOH105 and its equivalents can also accommodate additional cooking styles, enhancing their usability even further.
The design of these appliances is both stylish and practical. Their compact size makes them an excellent addition to any kitchen countertop, while their modern finish adds a touch of elegance. Additionally, the non-stick surfaces ensure easy clean-up, allowing users to focus more on their cooking and less on post-meal maintenance.
In summary, the Kambrook KOH105, KOH107, and KOH11 are sophisticated kitchen appliances that embody convenience, safety, and versatility. With advanced heating technology, an intuitive interface, and a focus on user safety and ease of cleaning, these models are designed to inspire culinary creativity and simplify the cooking process for everyone.

