The battery pack and charger heat during charging. Place the charger on a flat,
When the battery pack requires recharging, a 1 hour charge allows the tool to operate at full power. A charging indicator light on the charger will illuminate to show that charging is taking place.
CHARGING BATTERY PACK USING ONE HOUR CHARGER #690507
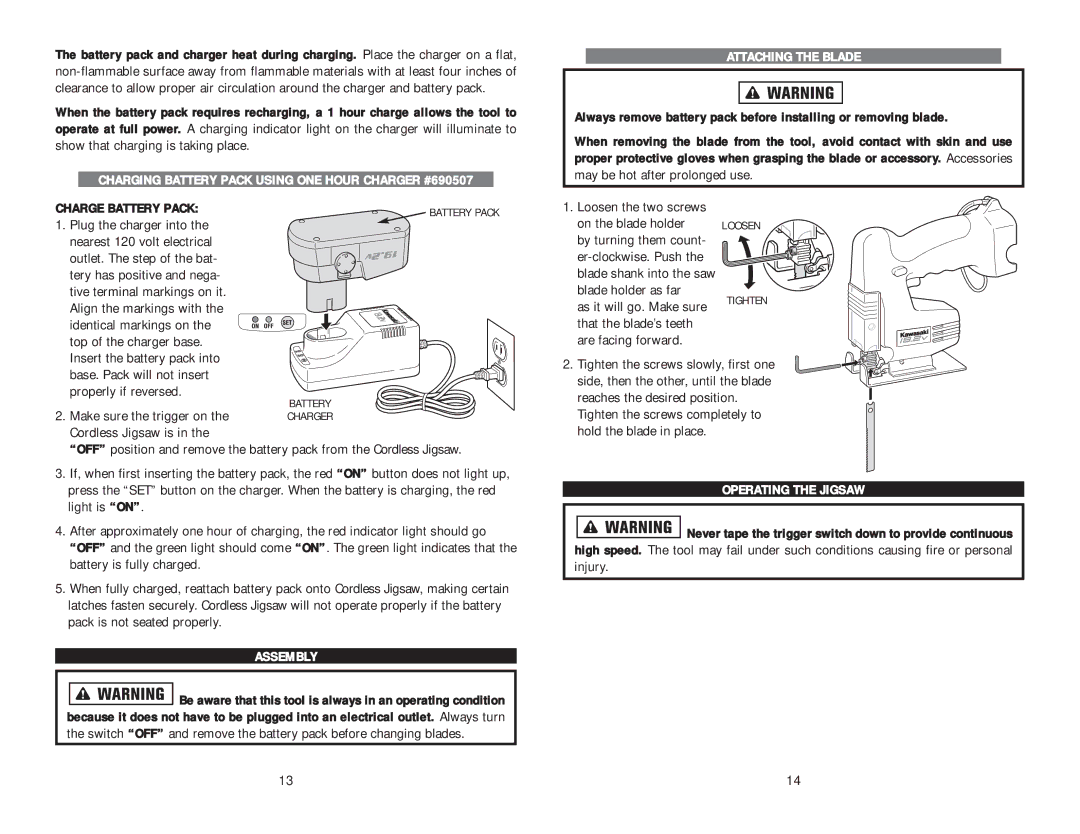
CHARGE BATTERY PACK: | BATTERY PACK |
1. Plug the charger into the nearest 120 volt electrical outlet. The step of the bat- tery has positive and nega- tive terminal markings on it. Align the markings with the identical markings on the top of the charger base. Insert the battery pack into base. Pack will not insert properly if reversed.
2. Make sure the trigger on the Cordless Jigsaw is in the
“OFF” position and remove the battery pack from the Cordless Jigsaw.
3.If, when first inserting the battery pack, the red “ON” button does not light up, press the “SET” button on the charger. When the battery is charging, the red light is “ON”.
4.After approximately one hour of charging, the red indicator light should go “OFF” and the green light should come “ON”. The green light indicates that the battery is fully charged.
5.When fully charged, reattach battery pack onto Cordless Jigsaw, making certain latches fasten securely. Cordless Jigsaw will not operate properly if the battery pack is not seated properly.
ASSEMBLY
![]()
![]()
![]()
![]()
![]()
![]()
![]() Be aware that this tool is always in an operating condition because it does not have to be plugged into an electrical outlet. Always turn the switch “OFF” and remove the battery pack before changing blades.
Be aware that this tool is always in an operating condition because it does not have to be plugged into an electrical outlet. Always turn the switch “OFF” and remove the battery pack before changing blades.
ATTACHING THE BLADE
Always remove battery pack before installing or removing blade.
When removing the blade from the tool, avoid contact with skin and use proper protective gloves when grasping the blade or accessory. Accessories
may be hot after prolonged use.
1. Loosen the two screws |
| |
on the blade holder | LOOSEN | |
by turning them count- |
| |
| ||
blade shank into the saw |
| |
blade holder as far | TIGHTEN | |
as it will go. Make sure | ||
| ||
that the blade’s teeth |
| |
are facing forward. |
|
2. Tighten the screws slowly, first one side, then the other, until the blade reaches the desired position.
Tighten the screws completely to hold the blade in place.
OPERATING THE JIGSAW
Never tape the trigger switch down to provide continuous
high speed. The tool may fail under such conditions causing fire or personal injury.
13 | 14 |