
385. 17622 specifications
The Kenmore 385.17622 is a well-regarded sewing machine that has earned a reputation for its reliable performance and versatile features. Designed for both beginners and experienced sewers, this machine offers a user-friendly experience, making it a popular choice among crafting enthusiasts.One of the standout features of the Kenmore 385.17622 is its impressive range of built-in stitches. With over 60 stitch options, including utility, decorative, and stretch stitches, users have ample choice to tackle various sewing projects. Whether you're making repairs, creating garments, or working on home decor items, this machine has the stitch capabilities to meet diverse needs.
The Kenmore 385.17622 also boasts a top-loading bobbin system, which simplifies the process of threading and allows for quick changes between projects. The clear bobbin cover ensures that users can easily monitor their thread supply, reducing interruptions during sewing sessions. Additionally, the machine's drop feed feature is particularly useful for free-motion quilting and sewing, providing versatile options for different crafting techniques.
Another key characteristic of this sewing machine is its adjustable presser foot pressure. This allows users to customize the amount of pressure applied to the fabric, which is beneficial when working with various materials like denim, jersey, or silk. The machine's strong motor ensures smooth and powerful stitching, even on thicker fabrics.
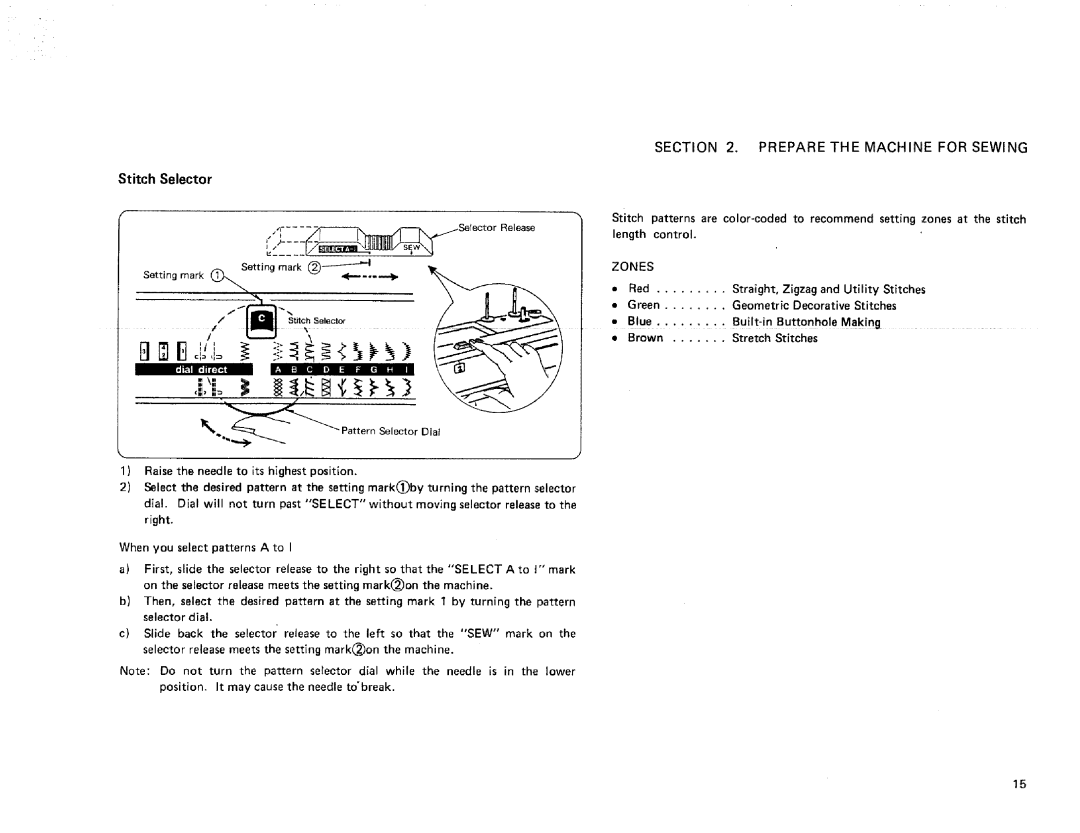
For ease of use, the Kenmore 385.17622 includes a built-in needle threader, which saves time and frustration, especially for those with less experience in sewing. The intuitive stitch selector dial and straightforward controls make transitioning between functions simple and efficient.
Portability is another appealing aspect of the Kenmore 385.17622. Weighing just enough for stability without being bulky, it can be easily transported, ideal for individuals who enjoy taking their sewing projects to classes or guild meetings.
In summary, the Kenmore 385.17622 sewing machine combines a range of essential features, innovative technologies, and practical characteristics that cater to a wide array of sewing enthusiasts. Its user-friendly design and versatile capabilities make it a fantastic addition to any sewing room, empowering users to explore their creativity without limitations. Whether it's basic mending or intricate projects, this machine consistently delivers quality performance.