CONNECT DISPOSER TO MOUNTING ASSEMBLY
Clear any objects from inside the disposer grind chamber before mounting the disposer.
,&WARNING
Personal Injury: Do not position your head or body under disposer; unit could fall during installation.
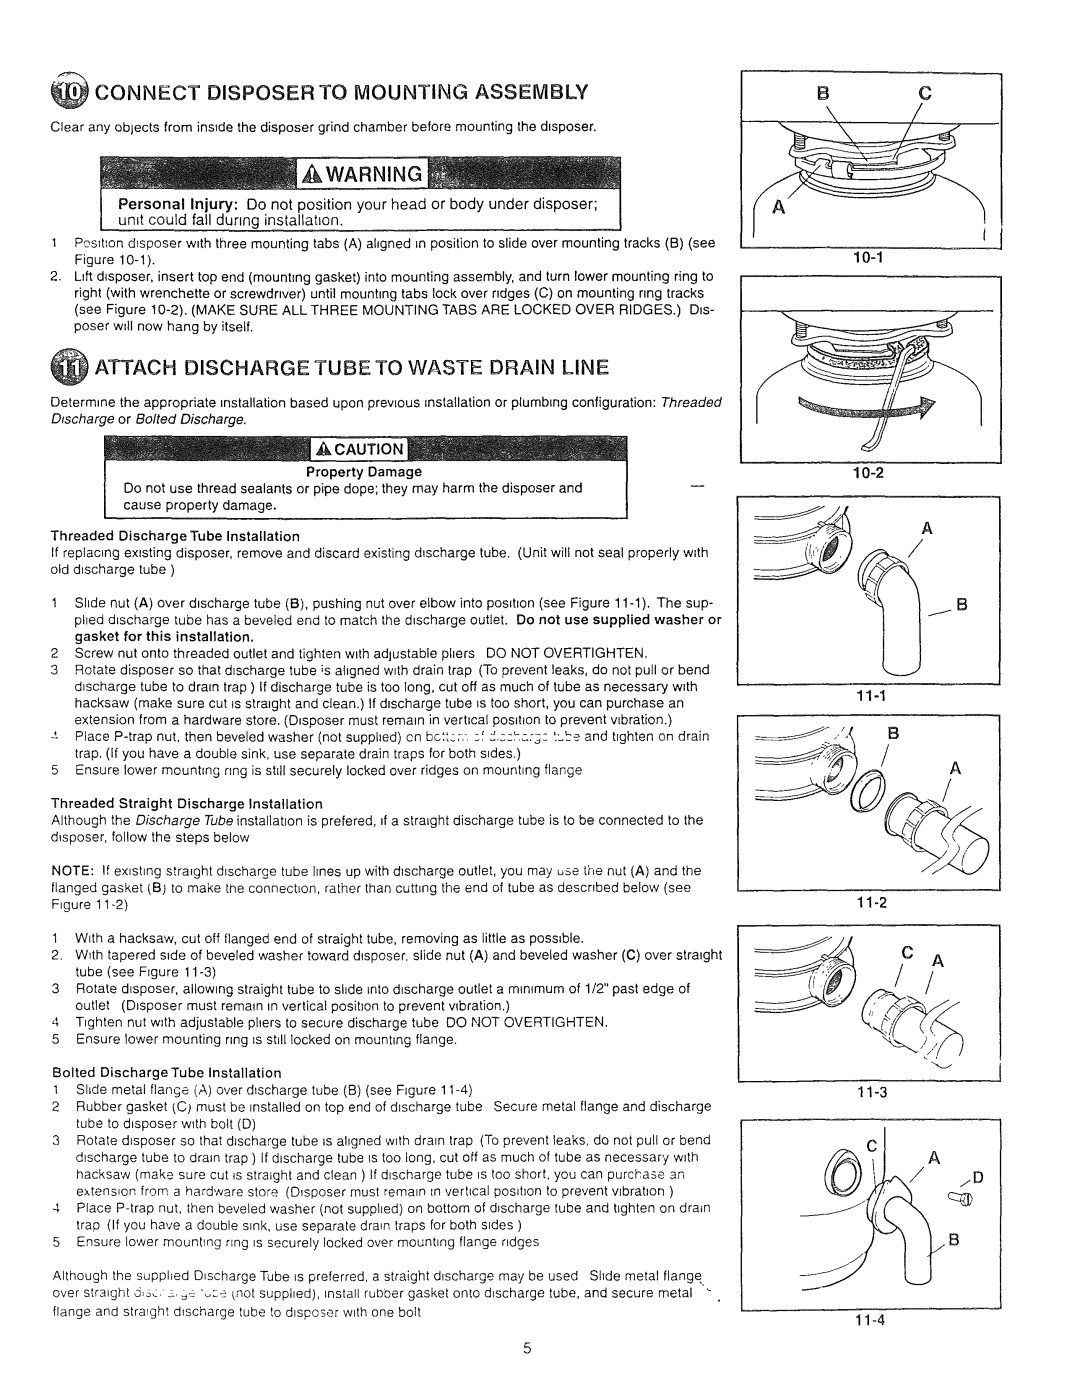
1Posit;on disposer with three mounting tabs (A) ahgned in position to slide over mounting tracks (B) (see Figure
2.L#t d_sposer, insert top end (mounting gasket) into mounting assembly, and turn lower mounting ring to right (with wrenchette or screwdriver) until mountmg tabs lock over ridges (C) on mounting rmg tracks (see Figure
ATTACH DISCHARGE TUBE TO WASTE DRAIN LINE
Determine the appropriate installation based upon prevEous installation or plumbing configuration: Threaded Discharge or Bolted Discharge.
__CAUTION
Property Damage
Do not use thread sealants or pipe dope; they may harm the disposer and cause property damage.
Threaded Discharge Tube Installation
If replacing exBting disposer, remove and discard existing d_scharge tube. (Unit will not seal properly with old discharge tube )
1 Shde nut (A) over dBcharge tube (B), pushing nut over elbow into position (see Figure
2Screw nut onto threaded outlet and tighten with adjustable phers DO NOT OVERTIGHTEN.
3Rotate disposer so that d_scharge tube _sahgned w_th drain trap (To prevent leaks, do not pull or bend d_scharge tube to drain trap ) If discharge tube is too long, cut off as much of tube as necessary w_th hacksaw (make sure cut is stratght and clean.) If dtscharge tube _stoo short, you can purchase an extension from a hardware store. (D_sposer must remam in vertBcal pos_t_on to prevent wbration.)
Place
5 Ensure lower mounting nng is stdl securely locked over ridges on mountmg flange
Threaded Straight Discharge Installation
Although the Discharge Tube installation is prefered, ff a straight discharge tube is to be connected to the d_sposer, follow the steps below
NOTE: If ex_shng slra_ght d_scharge tube hnes up with dtscharge outlet, you may use the nut (A) and the flanged gasket (B) to make the connection, ralher than cutting the end of tube as descnbed below (see Figure 1
1 With a hacksaw, cut off flanged end of straight tube, removing as little as possible.
2.W_th tapered side of beveled washer toward disposer, slide nut (A) and beveled washer (C) over stratght tube (see F_gure
3Rotate d_sposer, ailowmg straight tube to slide into dtscharge outlet a minimum of 1/2" past edge of outlet (D_sposer must remain in vertical position to prevent wbration.)
4T_ghten nut w_th adjustable phers to secure discharge tube DO NOT OVERTIGHTEN,
5Ensure lower mounting ring is sNI locked on mounting flange.
Bolted Discharge Tube Installation
t Shde metal flancje (A) over discharge tube (B) (see Figure
2Rubber gasket (C,) must be mstalled on top end of discharge tube Secure metal flange and discharge tube to dtsposer with bolt (D)
3Rotate d_sposer so that d_scharge tube _sahgned w_th dram trap (To prevent leaks, do not pull or bend dtscharge tube to dram trap ) If discharge tube ts too long, cut off as much of tube as necessary w_th hacksaw (make sure cut _sstraight and clean ) If dtscharge tube _stoo short, you can purchase an extension from a hardware stere (D_sposer must remain m verhcal pos_hon to prevent wbrat_on )
4Place
5Ensure lower mounting ring _ssecurely locked over mounting flange ndges
Although the supphed D_scharge Tube _s preferred, a straight d_scharge may be used Shde metal flange
over straight d,s,:, _.,=e _:e {not supphed), install rubber gasket OhiO d_scharge tube, and secure metal
flange and straight d_scharge tube to d_sposer w_th one bolt
BC
10-2
A
/
lJB
11-1
11-2
C A
/ /