FP630 specifications
The Kenwood FP630 is a versatile and efficient food processor designed to simplify food preparation in home kitchens. This appliance combines multiple functions into one compact machine, making it an indispensable tool for both amateur cooks and seasoned chefs.One of the standout features of the FP630 is its powerful motor, which operates at speeds of up to 1000 watts. This robust performance ensures that the food processor can easily handle a wide variety of tasks, from chopping vegetables to kneading dough. The motor's efficiency is complemented by a large 3-liter bowl capacity, allowing users to prepare large batches of food at once. This is especially useful for meal preparation or when cooking for family gatherings.
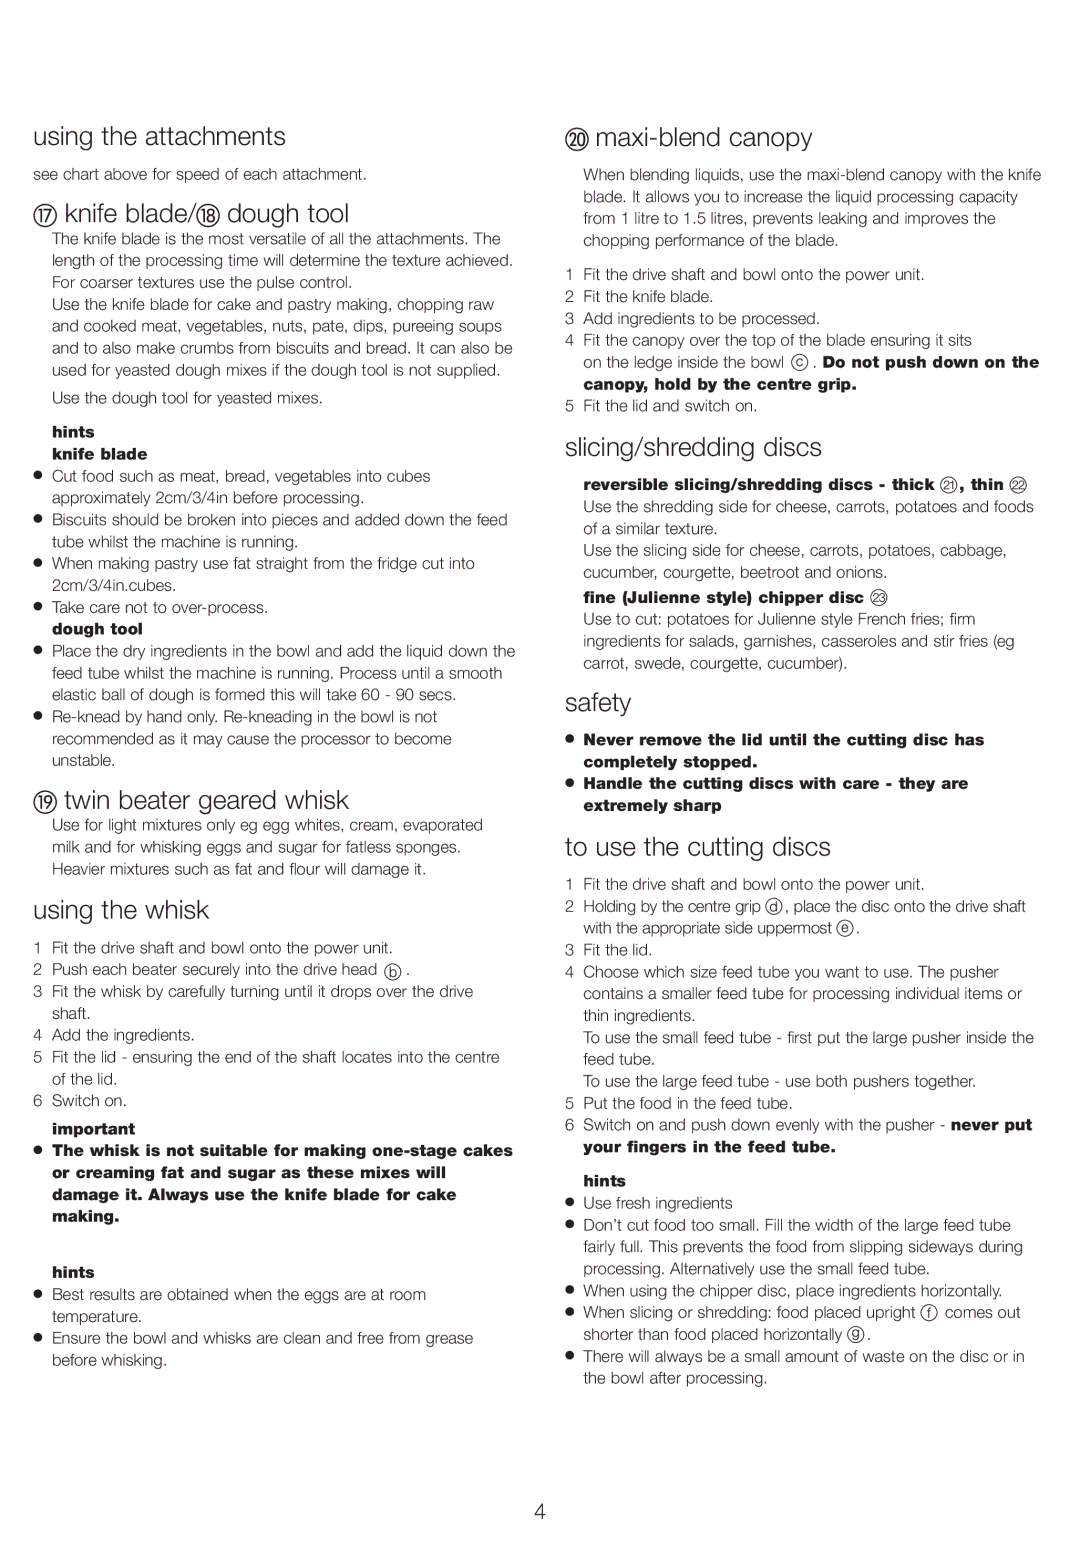
The design of the Kenwood FP630 is both sleek and functional. The bowl is made from high-quality plastic, which is not only durable but also lightweight, making it easy to handle and clean. The appliance features a range of attachments, including a stainless steel blade for chopping, grating discs for cheese and vegetables, and a kneading attachment for dough. These accessories can be easily swapped out depending on the task at hand.
One of the key technologies behind the Kenwood FP630 is its unique Dual Drive system, which optimizes performance and efficiency. This system allows the motor to power both the bowl and attachments effectively, ensuring consistent results with minimal effort. Additionally, the FP630 is equipped with a safety mechanism that prevents the motor from operating unless the bowl and lid are securely locked in place, providing peace of mind during use.
The control panel on the FP630 is user-friendly, featuring a simple dial that allows users to select different speeds according to their specific needs. This versatility is enhanced by the pulse function, which enables users to achieve precise control over chopping and mixing consistency.
Cleanup after using the Kenwood FP630 is a breeze, as many of the components are dishwasher safe. Its compact design ensures that it occupies minimal counter space while still being powerful enough for extensive food preparation.
In summary, the Kenwood FP630 food processor combines a powerful motor, versatile attachments, and user-friendly features, making it a practical addition to any kitchen. With its robust performance and thoughtful design, it empowers users to explore a wide range of culinary possibilities with ease and confidence.