Installation procedure

Since there are large variety of settings and connections possible according to applications, read the instruction manual well to select the proper setting and connection.

1.Remove the ignition key and disconnect the negative - terminal of the battery to prevent short circuits.

2.Set the unit according to the intended usage.

3.Connect the input and output wires of the units.

4.Connect the speaker wires.

5.Connect the power wire, power control wire and grounding wire following this order.

6.Install the unit in the car.

7.Connect the negative - terminal of the battery.

2WARNING

To prevent fire caused by a short in the wiring, connect a fusible link or breaker nearby the battery’s positive terminal.

2CAUTION

If sound is not output normally, immediately turn power off and check connections.

Be sure to turn the power off before changing the setting of any switch.

If the fuse blows, check wires for shorts, then replace the fuse with one of the same rating.

Check that no unconnected wires or connectors are touching the car body. Do not remove caps from unconnected wires or connectors to prevent short circuits.

Connect the speaker wires to appropriate speaker connectors separately. Sharing the negative wire of the speaker or grounding speaker wires to the metal body of the car can cause this unit to fail.

After installation, check that the brake lamps, winkers, and wipers work properly.

Wiring

Take the battery wire for this unit directly from the battery. If it's connected to the vehicle’s wiring harness, it can cause blown fuses etc.

If a buzzing noise is heard from the speakers when the engine is running, connect a line noise filter (optional) to each of the battery wire.

Do not allow the wire to directly contact the edge of the iron plate by using Grommets.

Connect the ground wire to a metal part of the car chassis that acts as an electrical ground passing electricity to the battery‘s negative - terminal. Do not turn the power on if the ground wire is not connected.

Be sure to install a protective fuse in the power cord near the battery. The protective fuse should be the same capacity as the unit’s fuse capacity or somewhat larger.

For the power cord and ground, use a vehicle type (fireproof) power wring cord with a current capacity greater than the unit’s fuse capacity. (Use a power wiring cord with a diameter of 5 mm2 (AWG 10) or greater.)

When more than one power amplifier are going to be used, use a power supply wiring wire and protective fuse of greater current- handling capacity than the total maximum current drawn by each amplifier.

Speaker Selection

The rated input power of the speakers that are going to be connected should be greater than the maximum output power (in Watts) of the amplifier. Use of speakers having input power ratings that are less than the output power of the amplifier will cause smoke to be emitted as well as damage.

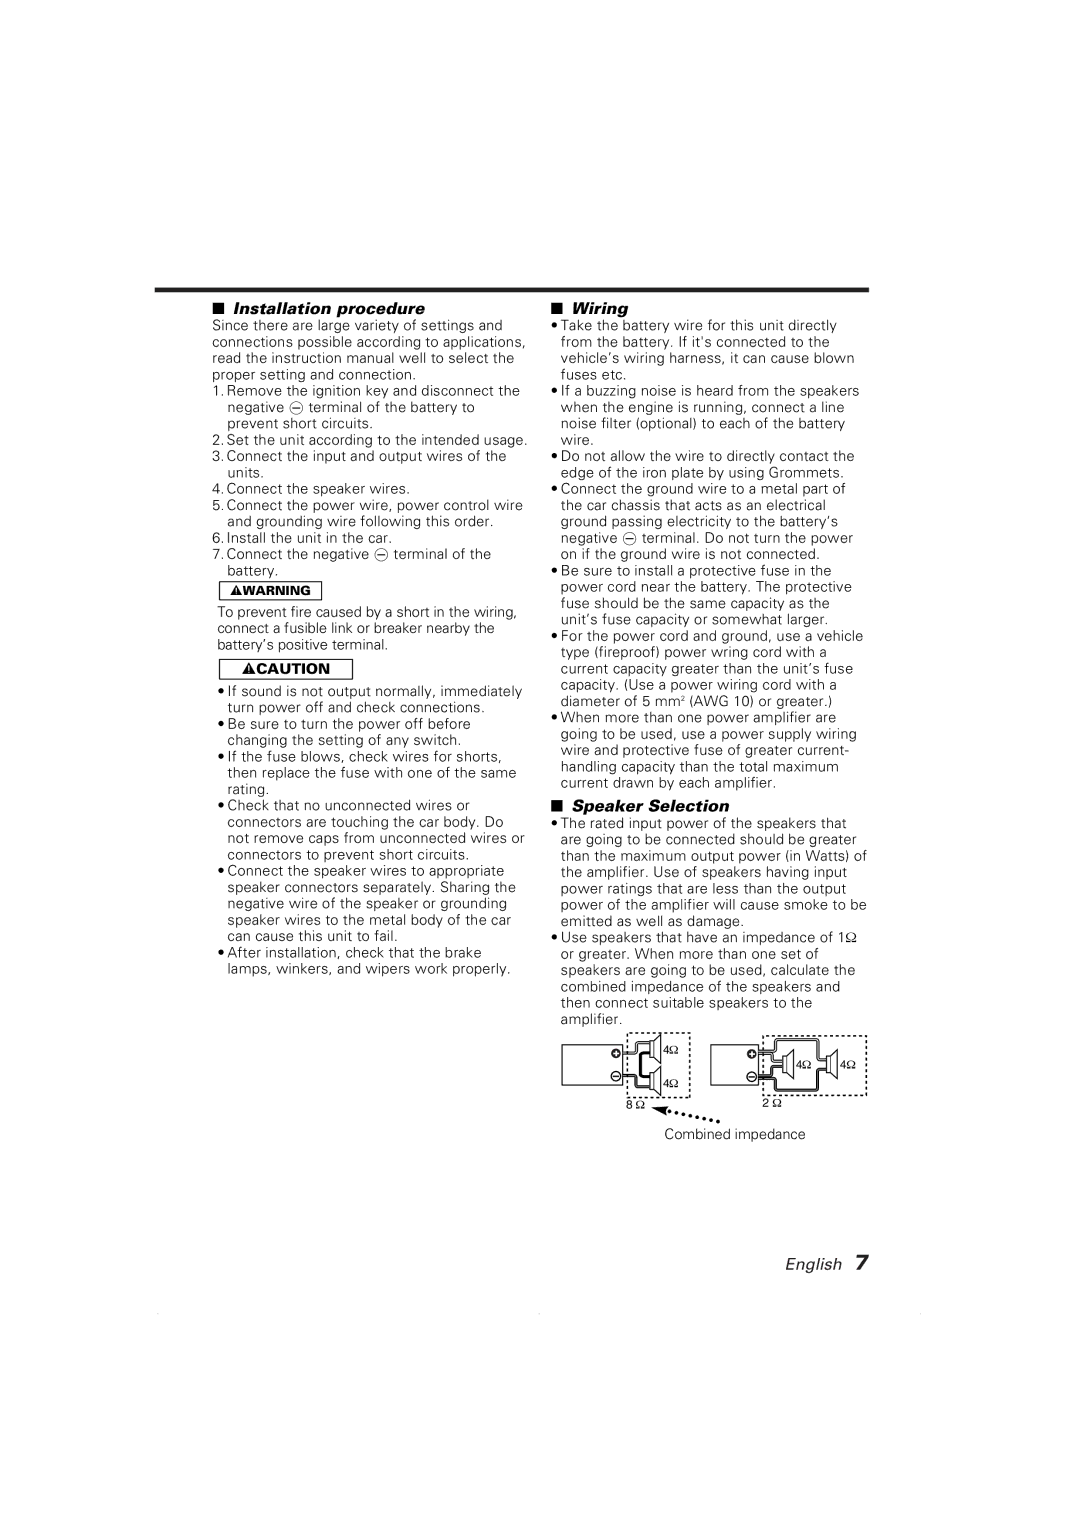
Use speakers that have an impedance of 1or greater. When more than one set of speakers are going to be used, calculate the combined impedance of the speakers and then connect suitable speakers to the amplifier.

4

4

4

4

8

2

Combined impedance

English 7

Page 7
Image 7
Kenwood KAC-8101D, KAC-8151D instruction manual Installation procedure, Wiring, Speaker Selection

KAC-8101D, KAC-8151D specifications

Kenwood has long been a trusted name in the world of audio equipment, and their amplifiers, such as the KAC-8151D and KAC-8101D, exemplify the company's commitment to delivering high-quality sound performance. Both models are designed for car audio enthusiasts who seek to enhance their listening experience with powerful amplification and advanced technology.

The Kenwood KAC-8151D is a mono power amplifier that boasts a maximum power output of 1500 watts, making it suitable for driving subwoofers with efficiency and clarity. Its Class D design ensures that the amplifier operates with high efficiency, generating less heat while delivering strong performance. This model is equipped with an adjustable low-pass filter, allowing users to fine-tune the sound to match their subwoofer’s characteristics. The KAC-8151D also features a variable bass boost, providing an extra kick for low frequencies, which is a crucial aspect for delivering an impactful bass experience.

On the other hand, the KAC-8101D is another powerful mono amplifier with a maximum power output of 1000 watts. Similar to its counterpart, it utilizes Class D technology for improved efficiency and thermal management. The KAC-8101D includes a built-in low-pass filter for optimal sound customization, ensuring that users can adjust the frequency response to their specific needs. This model also supports a speaker-level input, making it convenient for installation in vehicles with factory audio systems.

Both amplifiers are designed with durability in mind, featuring robust heat sinks to maintain optimal operating temperatures during intense listening sessions. They come with a remote bass control option, allowing users to adjust the bass level from the front seat, enhancing convenience.

Connectivity is made easy with both models, featuring RCA inputs for easy integration with existing audio systems. The built-in protection circuitry ensures that the amplifiers operate safely by preventing overheating and short circuits.

In summary, the Kenwood KAC-8151D and KAC-8101D are excellent choices for those looking to upgrade their car audio system. With their powerful output, advanced technologies, and user-friendly features, these amplifiers deliver exceptional sound quality and impressive bass response that any audiophile would appreciate. Whether driving subwoofers or enhancing overall sound performance, Kenwood amplifiers remain a top choice for car audio enthusiasts around the globe.