
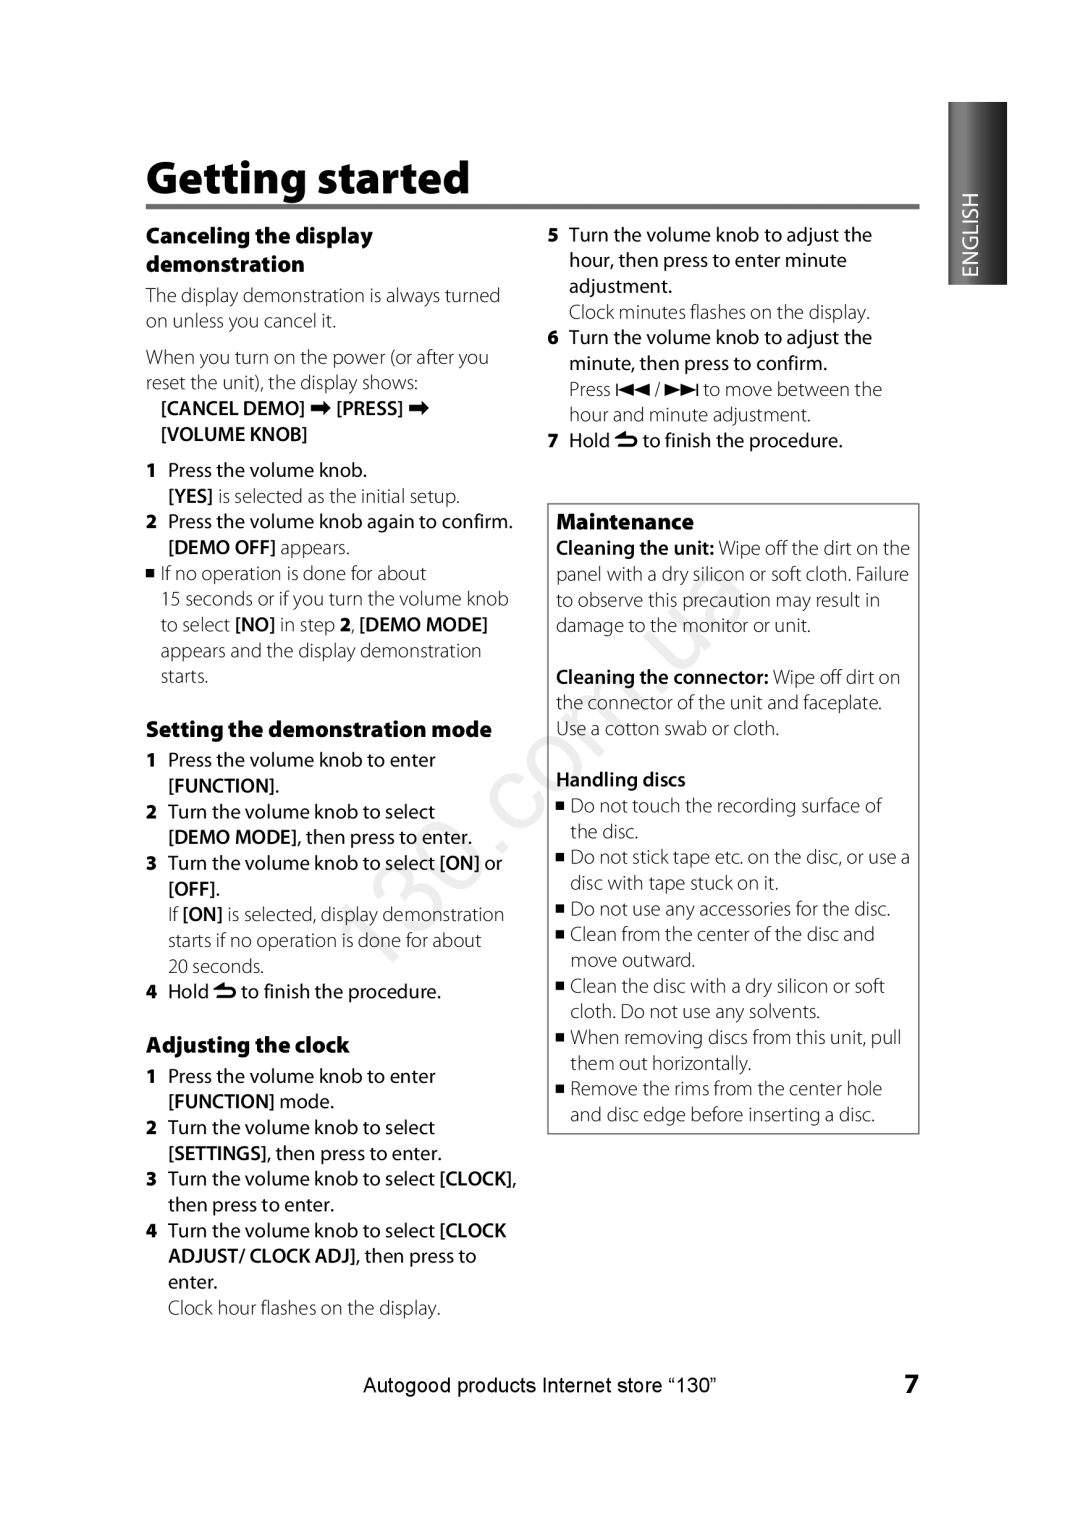
KDC-4051URY, KDC-415UA, KDC-455UW, KDC-415UR, KDC-4051UR specifications
The Kenwood KDC series of car audio receivers, including the KDC-4251URY, KDC-4051UG, KDC-4451UQ, KDC-4651URY, and KDC-4551UB, represents a significant advancement in in-car entertainment technology. Each model offers a set of unique features while adhering to Kenwood's reputation for high-quality audio performance and user-friendly design.The KDC-4251URY is noted for its powerful 50W x 4 amplifier, providing ample sound for any vehicle. This model incorporates a high-quality FM/AM tuner, ensuring crystal-clear reception. One of its standout features is the Enhanced Audio Control, which allows users to fine-tune sound settings, including a 3-band parametric equalizer. Furthermore, it supports USB playback for both MP3 and WMA formats, giving users the flexibility to enjoy their music library seamlessly.
The KDC-4051UG focuses on connectivity and versatility. This model also includes a 50W x 4 amplifier and features a front USB port, which is ideal for connecting smartphones and USB drives. Its Bluetooth integration offers hands-free calling and wireless audio streaming, making it a practical choice for technology-savvy users. Enhanced compatibility with various audio formats ensures that most media libraries are supported.
The KDC-4451UQ takes the user experience a notch higher with its dual USB ports, allowing for simultaneous connections. Additionally, it features a built-in Alexa voice control compatibility, offering drivers a hands-free way to manage their playlists and receive directions without taking their eyes off the road. The variable color illumination provides customizable aesthetics to match any vehicle interior.
The KDC-4651URY comes equipped with a larger display, which enhances visibility and ease of use, especially while driving. It supports HD Radio, significantly improving sound quality for digital broadcasts. Additionally, it features advanced sound retriever technology that enhances compressed audio files, making them sound clearer and more dynamic.
Finally, the KDC-4551UB stands out for its compatibility with Android Auto and Apple CarPlay, allowing for seamless integration with mobile devices. It has a rear camera input for added safety and provides users with a clearer view and additional assistance while reversing.
Each of these Kenwood models showcases a commitment to sound quality, advanced technology, and user-friendly interfaces, making them excellent choices for anyone looking to upgrade their in-car audio experience. Whether it’s about enjoying personalized playlists, making hands-free calls, or simply experiencing superior audio clarity, the Kenwood KDC series caters to a variety of needs and preferences.