Section 5 Cleaning & Maintenance (continued)
Cleaning the Cold Water Reservoir
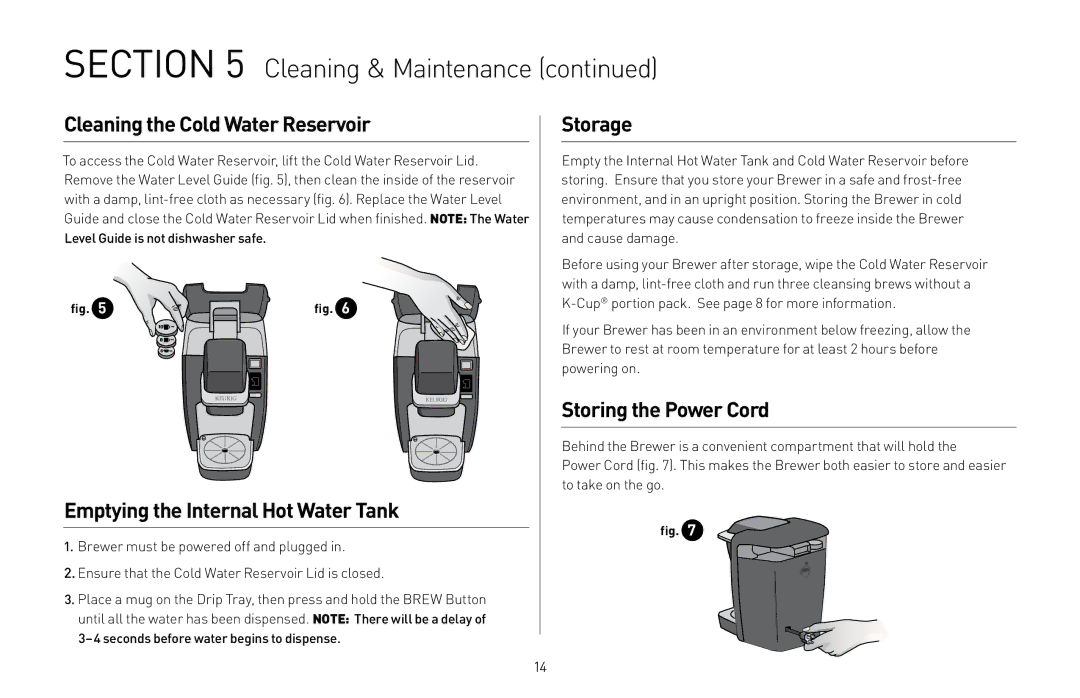
To access the Cold Water Reservoir, lift the Cold Water Reservoir Lid. Remove the Water Level Guide (fig. 5), then clean the inside of the reservoir with a damp,
Level Guide is not dishwasher safe.
fig. 5 | fig. 6 |
Emptying the Internal Hot Water Tank
1.Brewer must be powered off and plugged in.
2.Ensure that the Cold Water Reservoir Lid is closed.
3.Place a mug on the Drip Tray, then press and hold the BREW Button until all the water has been dispensed. NOTE: There will be a delay of
Storage
Empty the Internal Hot Water Tank and Cold Water Reservoir before storing. Ensure that you store your Brewer in a safe and
Before using your Brewer after storage, wipe the Cold Water Reservoir with a damp,
If your Brewer has been in an environment below freezing, allow the Brewer to rest at room temperature for at least 2 hours before powering on.
Storing the Power Cord
Behind the Brewer is a convenient compartment that will hold the
Power Cord (fig. 7). This makes the Brewer both easier to store and easier to take on the go.
fig. 7
14