
B150 specifications
The Keurig B150 is a commercial brewing system that has gained popularity in offices, break rooms, and other professional settings. Known for its convenience and efficiency, the B150 is designed to meet the demands of high-traffic environments while delivering consistently exceptional coffee.One of the standout features of the B150 is its ability to brew multiple cup sizes. Users can choose from 4, 6, 8, or 10-ounce servings, allowing for a personalized coffee experience tailored to individual preferences. This flexibility ensures that whether someone is in the mood for a strong cup or a larger serving to savor, the B150 accommodates all tastes.
At the heart of this machine is its powerful water heating technology, which allows for rapid brewing. With the B150, there is virtually no waiting time between brews. The machine heats water to the ideal temperature in a matter of minutes, ensuring that users can enjoy their coffee quickly without compromising taste.
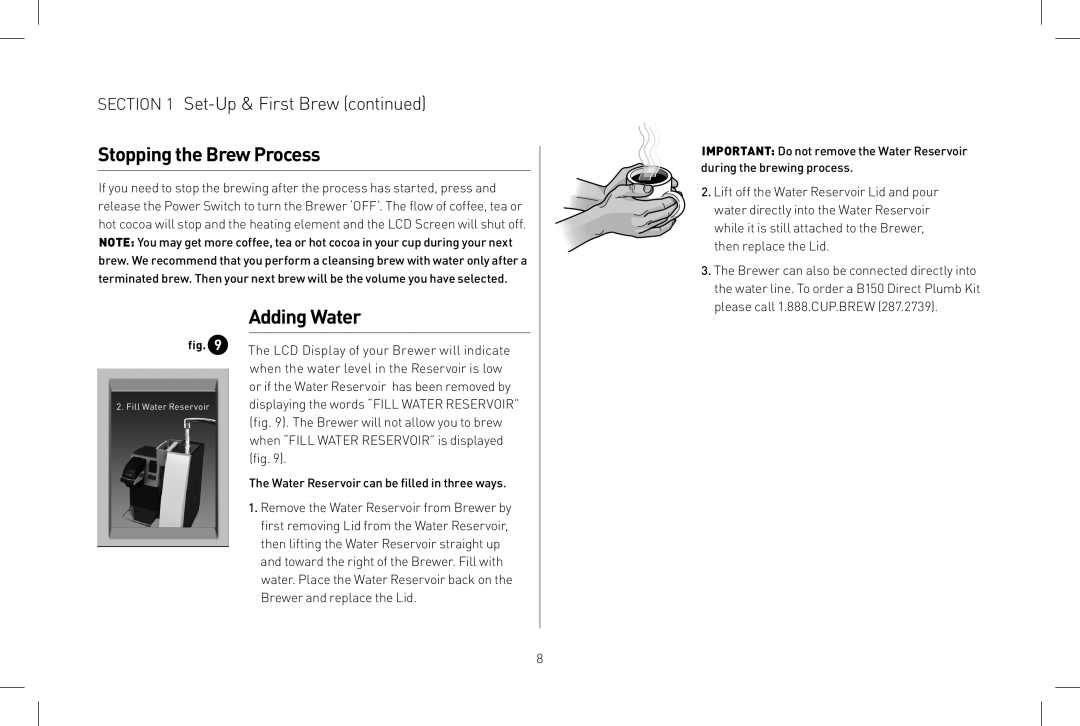
The large, 90-ounce water reservoir is another significant advantage. This feature minimizes the need for constant refilling, making it suitable for busy environments where many people may be brewing coffee throughout the day. The reservoir is also removable, simplifying the cleaning and refilling process.
The B150 is compatible with a wide range of K-Cup pods, providing access to countless coffee varieties, teas, and hot cocoa options. This versatility is a strong selling point, enabling users to explore different flavors and brands without needing to invest in multiple machines.
Additionally, the Keurig B150 is designed with user-friendly controls. Its large touchscreen interface allows for easy operation and selection of brew sizes. The machine also features an automatic shut-off, which conserves energy when not in use—a crucial feature for businesses looking to reduce their environmental impact.
In terms of build quality, the B150 is constructed to withstand the rigors of commercial use. Its robust design ensures reliability, while the sleek appearance fits seamlessly into modern office environments.
In conclusion, the Keurig B150 stands out as a reliable and effective brewing solution for commercial use. With its customizable brewing options, quick heating capabilities, large water reservoir, and user-friendly design, it meets the needs of a busy workplace while providing the quality coffee experience that users expect. This combination of features makes the B150 a popular choice for those seeking efficiency without sacrificing flavor.