•In dusty areas. Dust particles may cause nuisance alarm or a failure to alarm.
•In very humid areas. Moisture or steam can cause nuisance alarms.
•In
•Smoke alarms should not be installed within 3 ft (.9m) of the following: the door to a kitchen, the door to a bathroom containing a tub or shower, forced air supply ducts used for heating or cooling, ceiling paddle or whole house ventilating fans, or other high air flow areas.
•Kitchens. Normal cooking may cause nuisance alarms. If a kitchen alarm is desired, it should have an alarm silence feature or be a photoelectric type.
•Near fluorescent lights, amateur radios, electrical equipment or other devices known to transmit an RF signal. Electronic “noise” may cause nuisance alarms.
•Near large metal surfaces and bundles of wire.
Smoke alarms are not to be used with detector guards unless the combination (alarm and guard) have been evaluated and found suitable for that purpose.
3. INSTALLATION INSTRUCTIONS
WIRELESS INTERCONNECT SETUP
1.Remove all your new Kidde Wireless Interconnect devices from their respective packages and place them in front of you.
DO NOT PLUG THEM IN OR INSTALL THE BATTERIES.
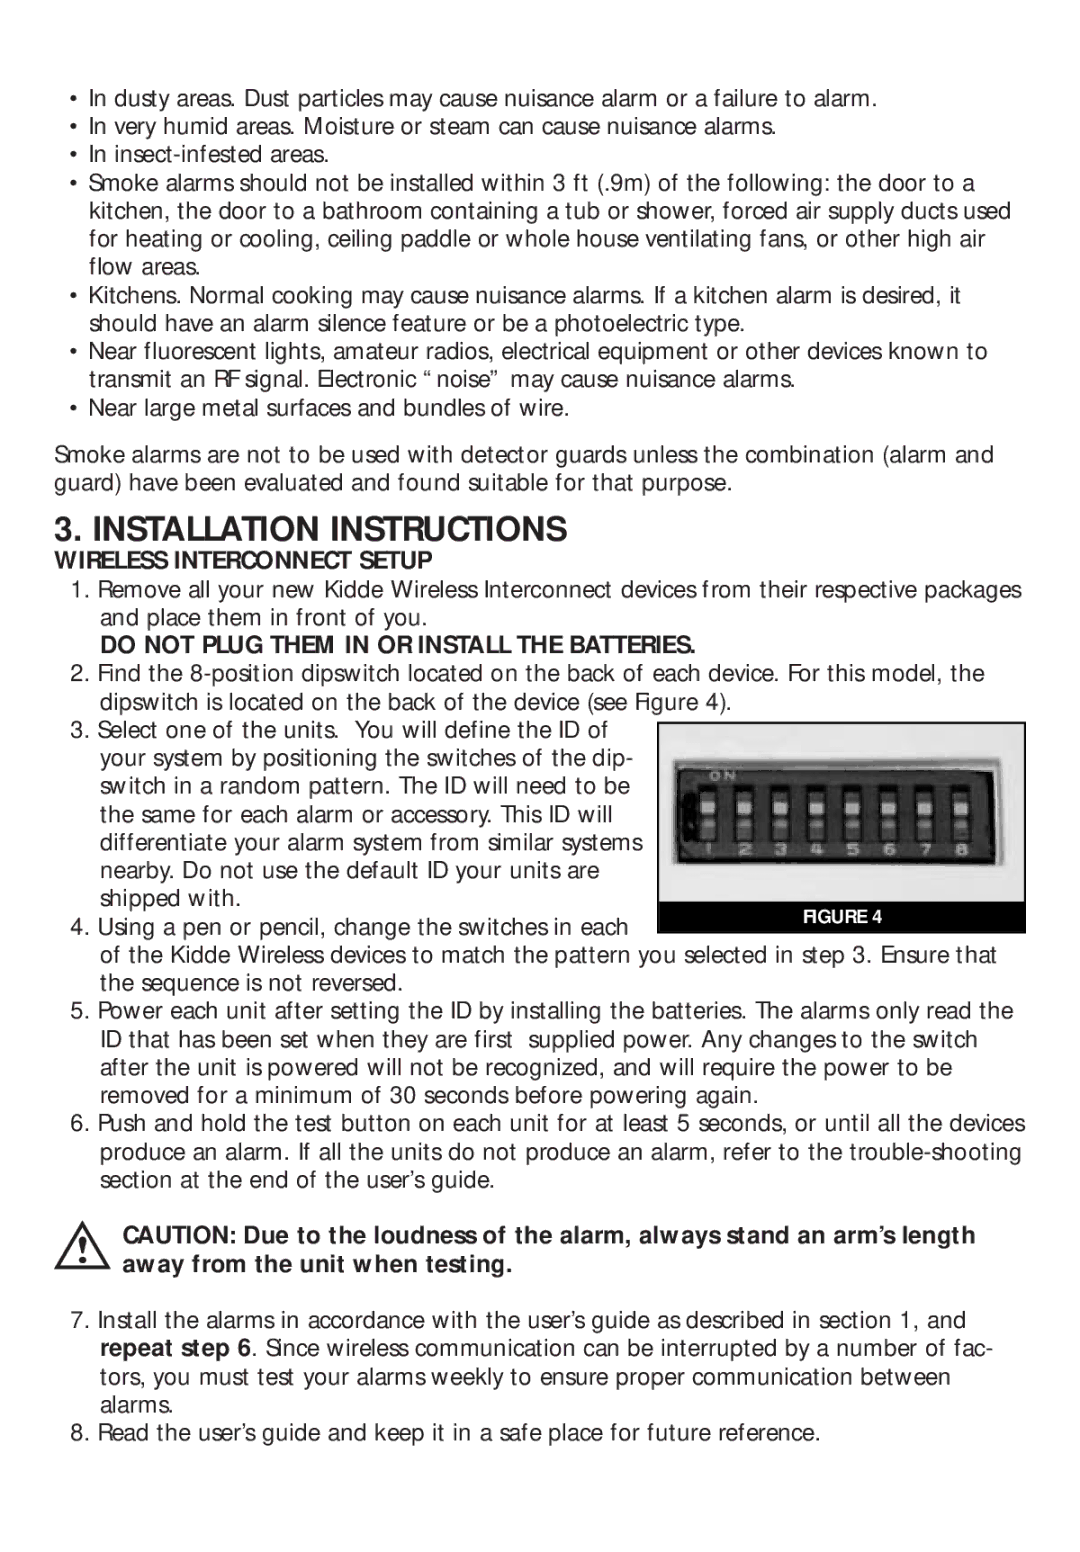
2.Find the
3.Select one of the units. You will define the ID of your system by positioning the switches of the dip- switch in a random pattern. The ID will need to be the same for each alarm or accessory. This ID will
differentiate your alarm system from similar systems nearby. Do not use the default ID your units are shipped with.
4. Using a pen or pencil, change the switches in each
of the Kidde Wireless devices to match the pattern you selected in step 3. Ensure that the sequence is not reversed.
5.Power each unit after setting the ID by installing the batteries. The alarms only read the ID that has been set when they are first supplied power. Any changes to the switch after the unit is powered will not be recognized, and will require the power to be removed for a minimum of 30 seconds before powering again.
6.Push and hold the test button on each unit for at least 5 seconds, or until all the devices produce an alarm. If all the units do not produce an alarm, refer to the
CAUTION: Due to the loudness of the alarm, always stand an arm’s length away from the unit when testing.
7.Install the alarms in accordance with the user’s guide as described in section 1, and repeat step 6. Since wireless communication can be interrupted by a number of fac- tors, you must test your alarms weekly to ensure proper communication between alarms.
8.Read the user’s guide and keep it in a safe place for future reference.