drawer opening and securely tighten all 4 pedestal screws.
10.Tip the washer or dryer back to its upright position. Remove and discard packaging including washer’s plastic film, corner posts and top cap.
11.Slide the washer or dryer close to its final location.
12.Follow the Installation Instructions that came with your model to finish installing or reinstalling your washer or dryer (hoses, vents, etc.).
13.Level the washer or dryer from side to side and front to back.
NOTE: Make sure all 4 pedestal feet are in solid contact with the floor.
Place a level on the top. Locate the ¹⁄₄"
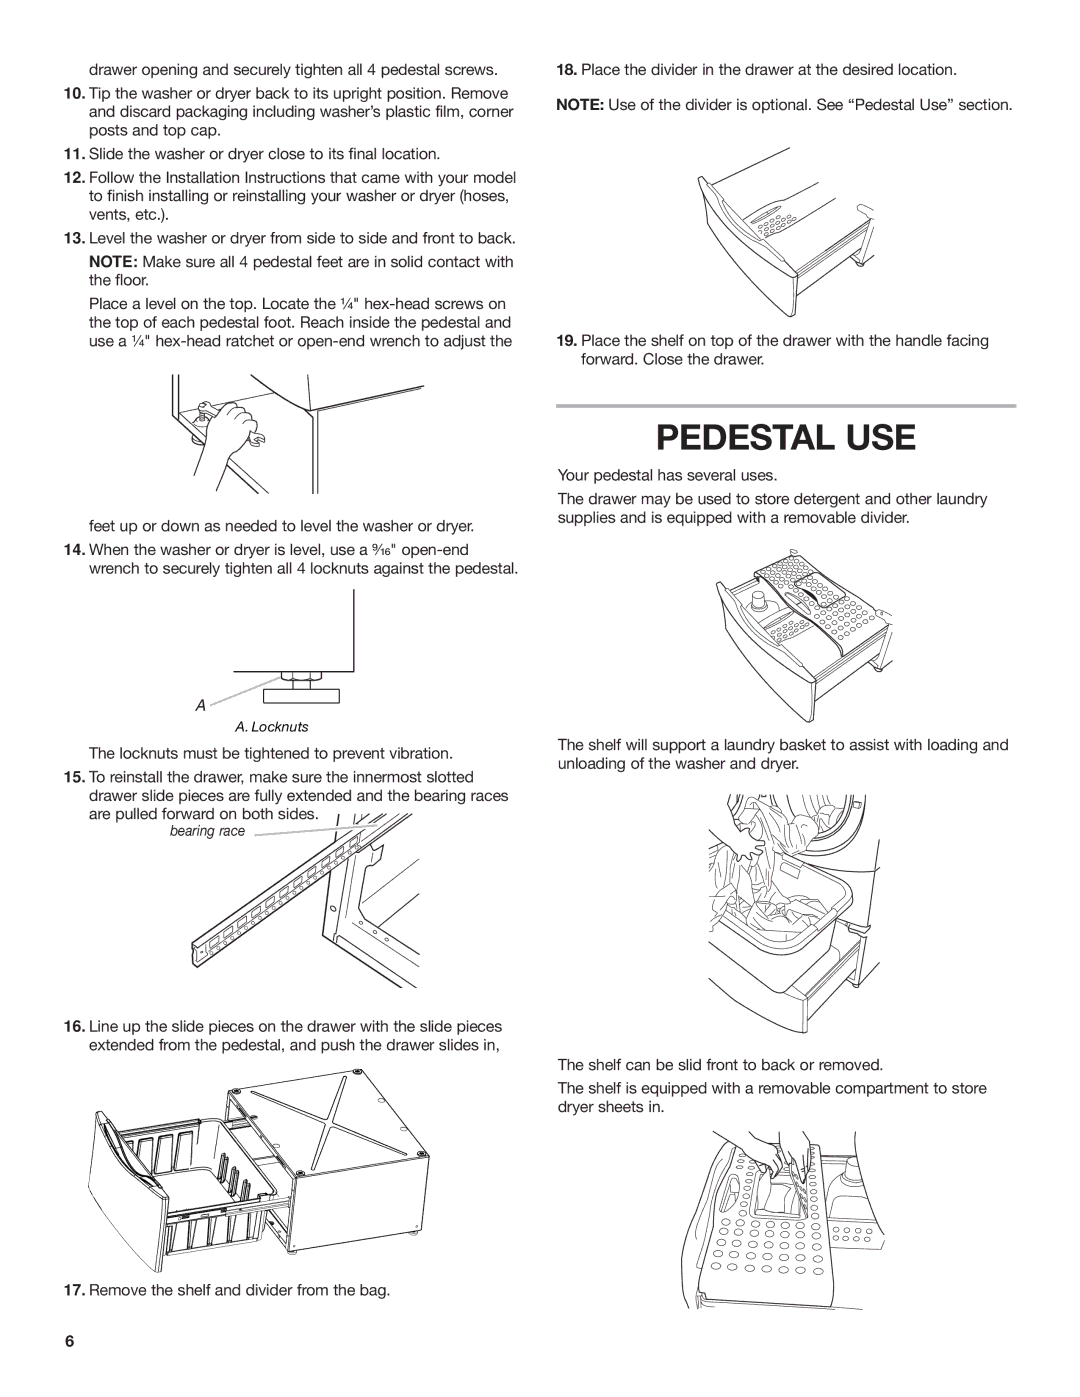
18.Place the divider in the drawer at the desired location.
NOTE: Use of the divider is optional. See “Pedestal Use” section.
19.Place the shelf on top of the drawer with the handle facing forward. Close the drawer.
feet up or down as needed to level the washer or dryer.
14.When the washer or dryer is level, use a ⁹⁄₁₆"
A
A. Locknuts
The locknuts must be tightened to prevent vibration.
15.To reinstall the drawer, make sure the innermost slotted drawer slide pieces are fully extended and the bearing races
are pulled forward on both sides. bearing race 
16.Line up the slide pieces on the drawer with the slide pieces extended from the pedestal, and push the drawer slides in,
17.Remove the shelf and divider from the bag.
PEDESTAL USE
Your pedestal has several uses.
The drawer may be used to store detergent and other laundry supplies and is equipped with a removable divider.
The shelf will support a laundry basket to assist with loading and unloading of the washer and dryer.
The shelf can be slid front to back or removed.
The shelf is equipped with a removable compartment to store dryer sheets in.
6