
2313715A specifications
The KitchenAid 2313715A is a versatile and innovative kitchen gadget designed for home cooks who are looking to enhance their culinary experience. This food processor has become a staple in many kitchens due to its powerful performance and user-friendly design.One of the standout features of the KitchenAid 2313715A is its powerful motor, which allows for efficient and quick processing of ingredients. This motor is designed to handle a variety of tasks, from chopping and slicing to mixing and pureeing. With multiple speed settings, users can easily adjust the power to suit their specific needs, ensuring that food is prepared to perfection.
In addition to its impressive motor, the KitchenAid 2313715A boasts a generous bowl capacity, allowing users to process larger quantities of food at once. This is particularly beneficial when preparing meals for families or gatherings, as it reduces the time spent on food prep. The bowl is also designed with a wide feed chute that accommodates whole fruits and vegetables, minimizing the need for pre-cutting and maximizing efficiency.
The design of the KitchenAid 2313715A is not only functional but also aesthetically pleasing. The sleek and modern appearance makes it an attractive addition to any kitchen countertop. Furthermore, the appliance is equipped with a variety of attachments, including slicing discs, shredding discs, and a metal blade, which provide users with added versatility for multiple culinary tasks.
Additionally, the KitchenAid 2313715A features a safety locking mechanism, ensuring that the processor operates only when securely assembled. This safety feature lends peace of mind, particularly for those who may be new to using kitchen appliances.
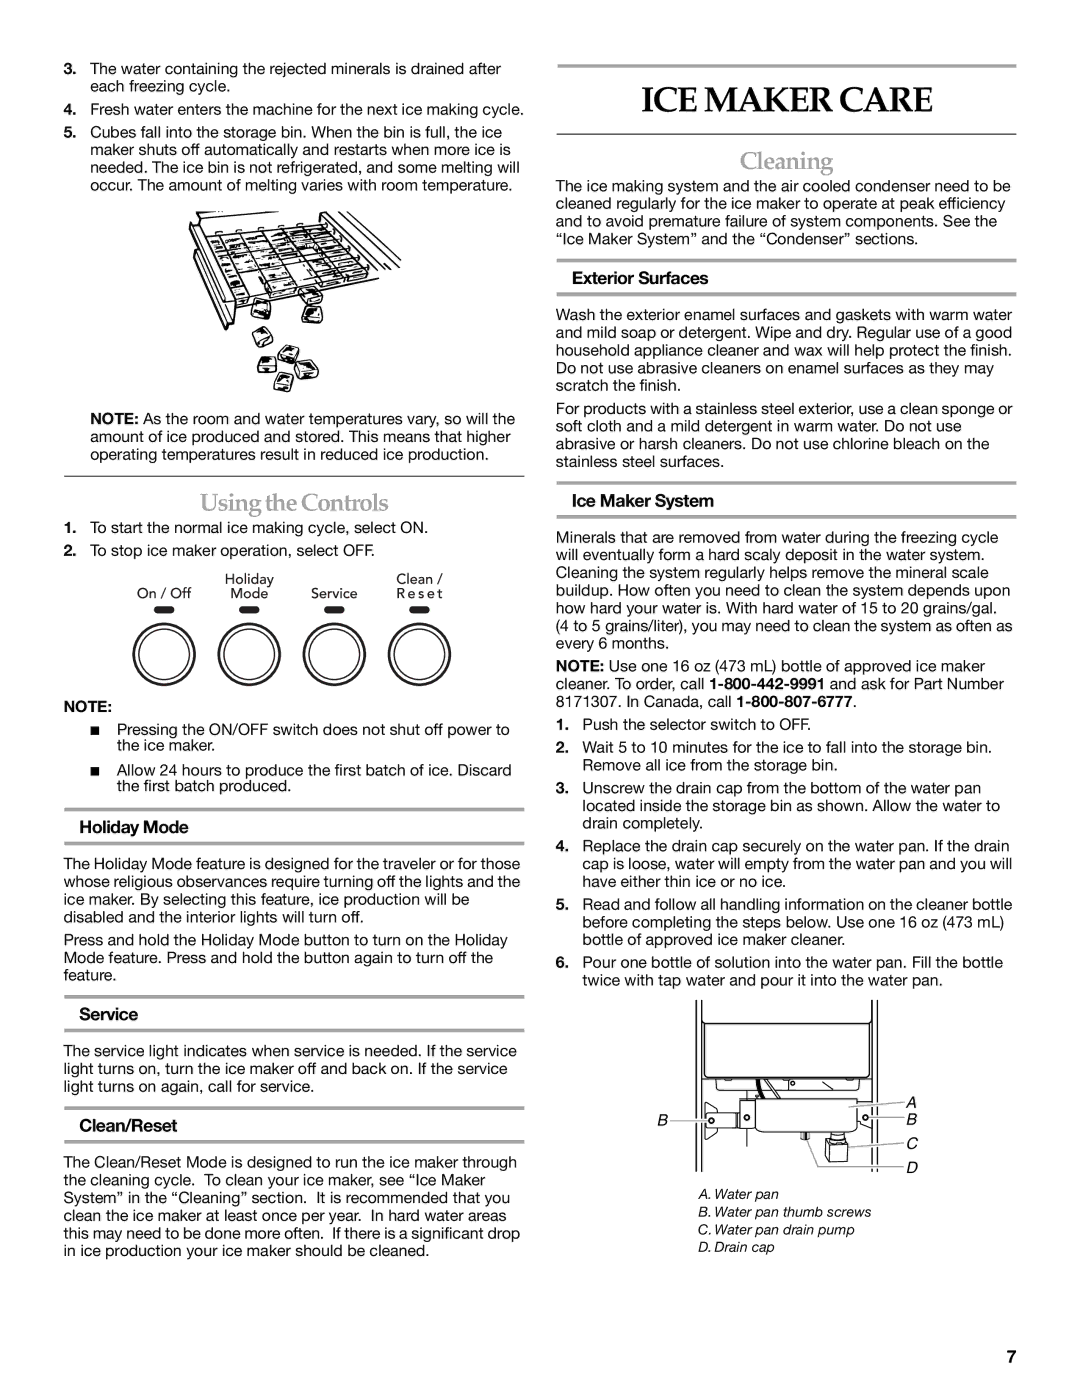
Maintenance and cleaning are also a breeze with this food processor. Most components are dishwasher-safe, making it easy to keep the appliance in optimal condition after use.
Overall, the KitchenAid 2313715A food processor stands out for its robust performance, user-friendly design, and aesthetic appeal. It incorporates cutting-edge technology while maintaining the reliability that KitchenAid is known for, making it an essential tool for both aspiring and experienced chefs alike. Whether you’re preparing everyday meals or exploring new recipes, the KitchenAid 2313715A is designed to elevate your cooking experience.