7 FlNAL CHECK LIST
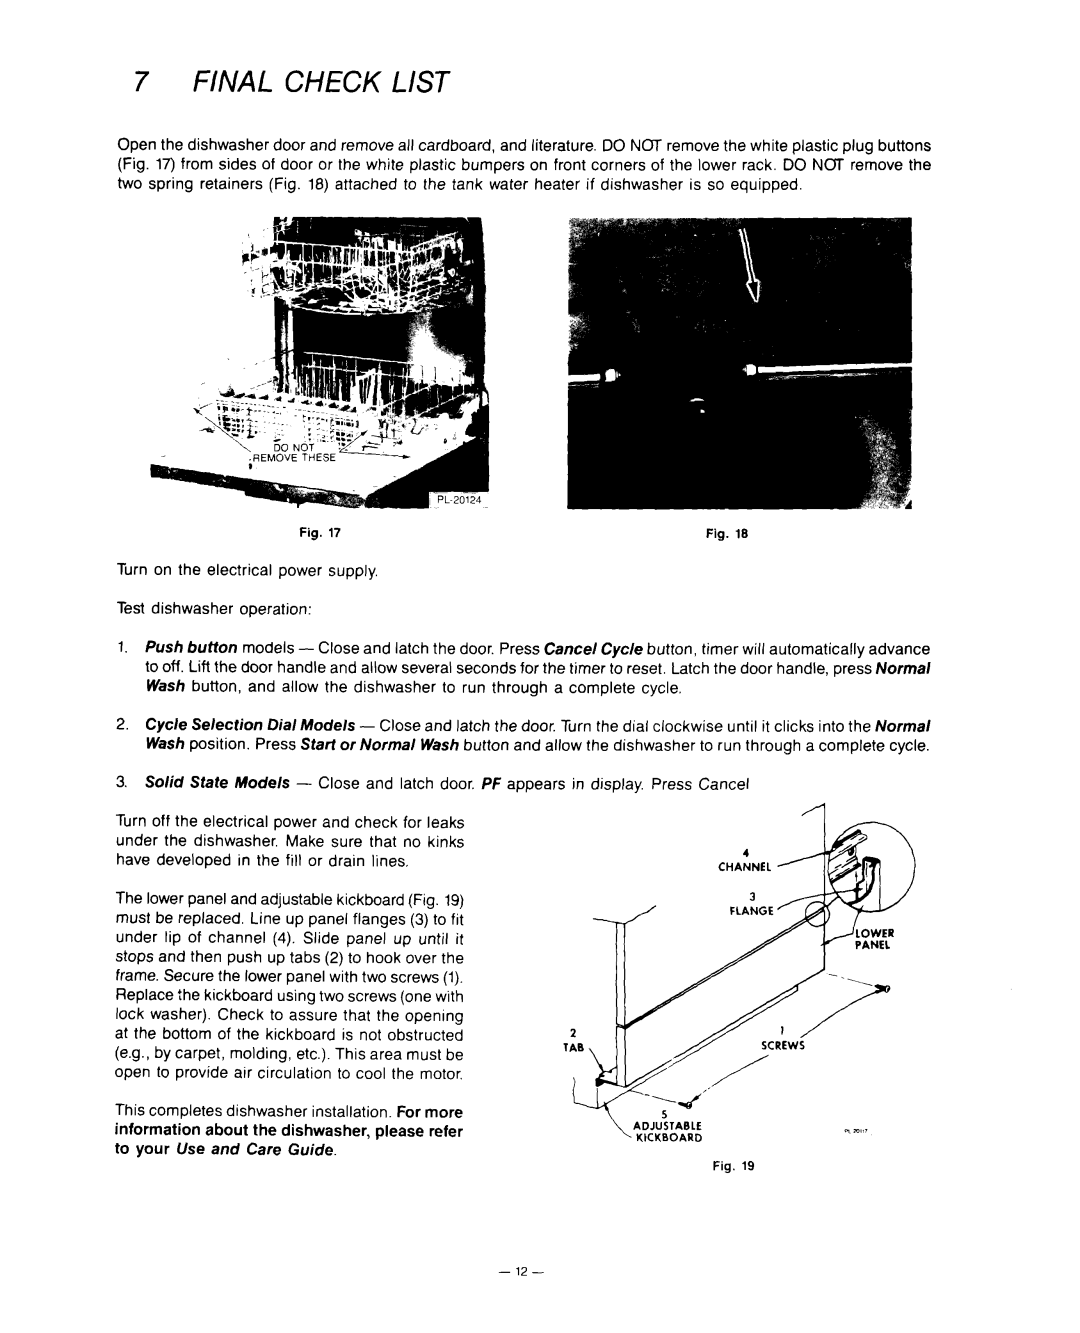
Open the dishwasher door and remove all cardboard, and literature. DO NOT remove the white plastic plug buttons (Fig. 17) from sides of door or the white plastic bumpers on front corners of the lower rack. DO NCrr remove the two spring retainers (Fig. 18) attached to the tank water heater if dishwasher is so equipped.
Fig. 17 | Fig. 18 |
Turn on the electrical power supply.
Test dishwasher operation:
1.Push buffon models - Close and latch the door. Press Cancel Cycle button, timer will automatically advance to off. Lift the door handle and allow several seconds for the timer to reset. Latch the door handle, press Normal Wash button, and allow the dishwasher to run through a complete cycle,
2.Cycle Selection Dial Models - Close and latch the door. Turn the dial clockwise until it clicks into the Normal Wash position. Press Start or Normal Wash button and allow the dishwasher to run through a complete cycle.
3.Solid State Models - Close and latch door. PF appears in display. Press Cancel
Turn off the electrical power and check for leaks under the dishwasher. Make sure that no kinks have developed in the fill or drain lines.
The lower panel and adjustable kickboard (Fig. 19) must be replaced. Line up panel flanges (3) to fit under lip of channel (4). Slide panel up until it stops and then push up tabs (2) to hook over the frame. Secure the lower panel with two screws (1). Replace the kickboard using two screws (one with lock washer). Check to assure that the opening at the bottom of the kickboard is not obstructed (e.g., by carpet, molding, etc.). This area must be open to provide air circulation to cool the motor.
This completes dishwasher installation. For more information about the dishwasher, please refer to your Use and Care Guide.
- 12 -