Ice Production Rate
■Normal Ice Production: The ice maker should produce a complete batch of ice every 3 hours. If ice is not being made fast enough, adjust the Freezer Control to a lower (colder) number in steps. Wait 24 hours. If necessary, gradually adjust the Freezer Control to the lowest setting, waiting 24 hours between each adjustment.
■OptimIce Production (on some models): The ice maker should produce approximately 16 to 20 batches of ice in a
Remember
■Allow 24 hours to produce the first batch of ice. Discard the first three batches of ice produced.
■The quality of your ice will be only as good as the quality of the water supplied to your ice maker. Avoid connecting the ice maker to a softened water supply. Water softener chemicals (such as salt) can damage parts of the ice maker and lead to poor quality ice. If a softened water supply cannot be avoided, make sure the water softener is operating properly and is well maintained.
■Do not store anything on top of the ice maker or in the ice storage bin.
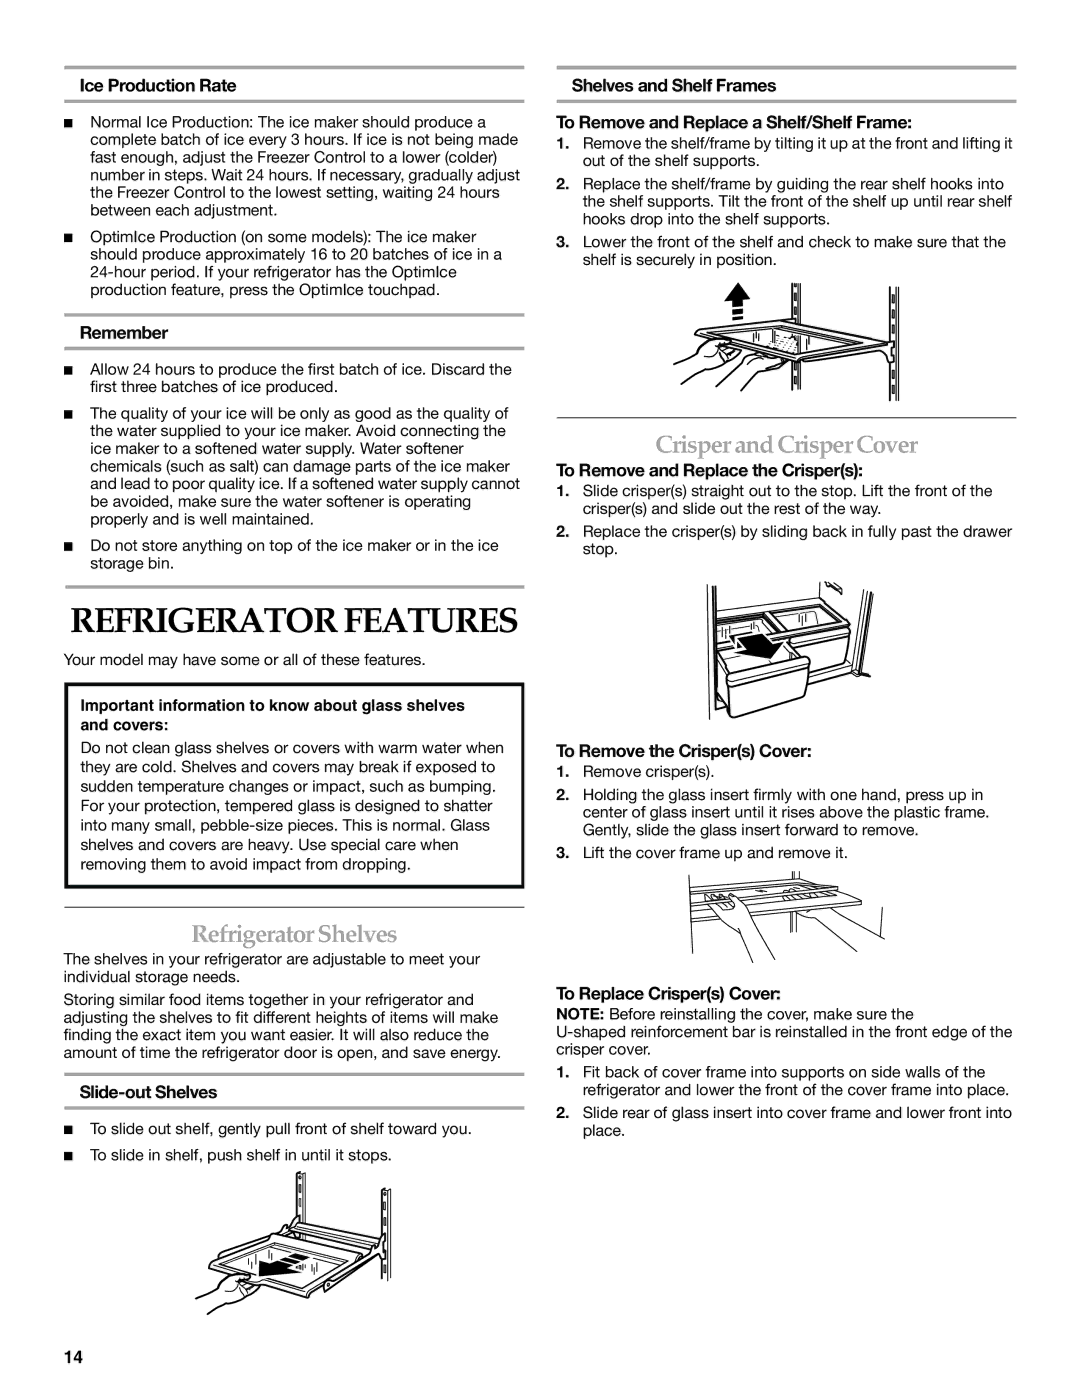
Shelves and Shelf Frames
To Remove and Replace a Shelf/Shelf Frame:
1.Remove the shelf/frame by tilting it up at the front and lifting it out of the shelf supports.
2.Replace the shelf/frame by guiding the rear shelf hooks into the shelf supports. Tilt the front of the shelf up until rear shelf hooks drop into the shelf supports.
3.Lower the front of the shelf and check to make sure that the shelf is securely in position.
Crisper and Crisper Cover
To Remove and Replace the Crisper(s):
1.Slide crisper(s) straight out to the stop. Lift the front of the crisper(s) and slide out the rest of the way.
2.Replace the crisper(s) by sliding back in fully past the drawer stop.
REFRIGERATOR FEATURES
Your model may have some or all of these features.
Important information to know about glass shelves and covers:
Do not clean glass shelves or covers with warm water when they are cold. Shelves and covers may break if exposed to sudden temperature changes or impact, such as bumping. For your protection, tempered glass is designed to shatter into many small,
To Remove the Crisper(s) Cover:
1.Remove crisper(s).
2.Holding the glass insert firmly with one hand, press up in center of glass insert until it rises above the plastic frame. Gently, slide the glass insert forward to remove.
3.Lift the cover frame up and remove it.
Refrigerator Shelves
The shelves in your refrigerator are adjustable to meet your individual storage needs.
Storing similar food items together in your refrigerator and adjusting the shelves to fit different heights of items will make finding the exact item you want easier. It will also reduce the amount of time the refrigerator door is open, and save energy.
Slide-out Shelves
■To slide out shelf, gently pull front of shelf toward you.
■To slide in shelf, push shelf in until it stops.
To Replace Crisper(s) Cover:
NOTE: Before reinstalling the cover, make sure the
1.Fit back of cover frame into supports on side walls of the refrigerator and lower the front of the cover frame into place.
2.Slide rear of glass insert into cover frame and lower front into place.
14