Water and Ice Dispensers

IMPORTANT:

After connecting the refrigerator to a water source or replacing the water filter, flush the water system. Use a sturdy container to depress and hold the water dispenser lever for 5 seconds, then release it for 5 seconds. Repeat until water begins to flow. Once water begins to flow, continue depressing and releasing the dispenser lever (5 seconds on, 5 seconds off) until a total of 4 gal. (15 L) has been dispensed. This will flush air from the filter and water dispensing system, and prepare the water filter for use. Additional flushing may be required in some households. As air is cleared from the system, water may spurt out of the dispenser.

Allow 24 hours for the refrigerator to cool down and chill water.

Allow 24 hours to produce the first batch of ice. Discard the first three batches of ice produced.

The dispensing system will not operate when the refrigerator door is open and/or when a USB device is placed into the USB port.

Options

Depending on your model, you may have one or more of the following options: the ability to select crushed or cubed ice, a pull- out tray, a light that turns on when you use the dispenser, a lock to avoid unintentional dispensing or an indicator that tells you when there has been a power outage.

NOTES:

The language of the text on the display screen can be set to English, Spanish or French. For information about changing the language, see “Using the Controls.”

The display screen on the dispenser control panel has a backlight, which will turn off automatically when the controls have not been used for 2 minutes or more. When the backlight is off, the first press of a control button or the display screen will only reactivate the backlight, without changing any settings. Within 2 minutes after the backlight has been reactivated, additional presses of control buttons or the display screen will change the applicable settings.

Water Dispenser

IMPORTANT: Dispense enough water every week to maintain a fresh supply.

The default display unit for water dispensing is ounces. The units can be changed to cups or liters.

To Dispense Water (Standard):

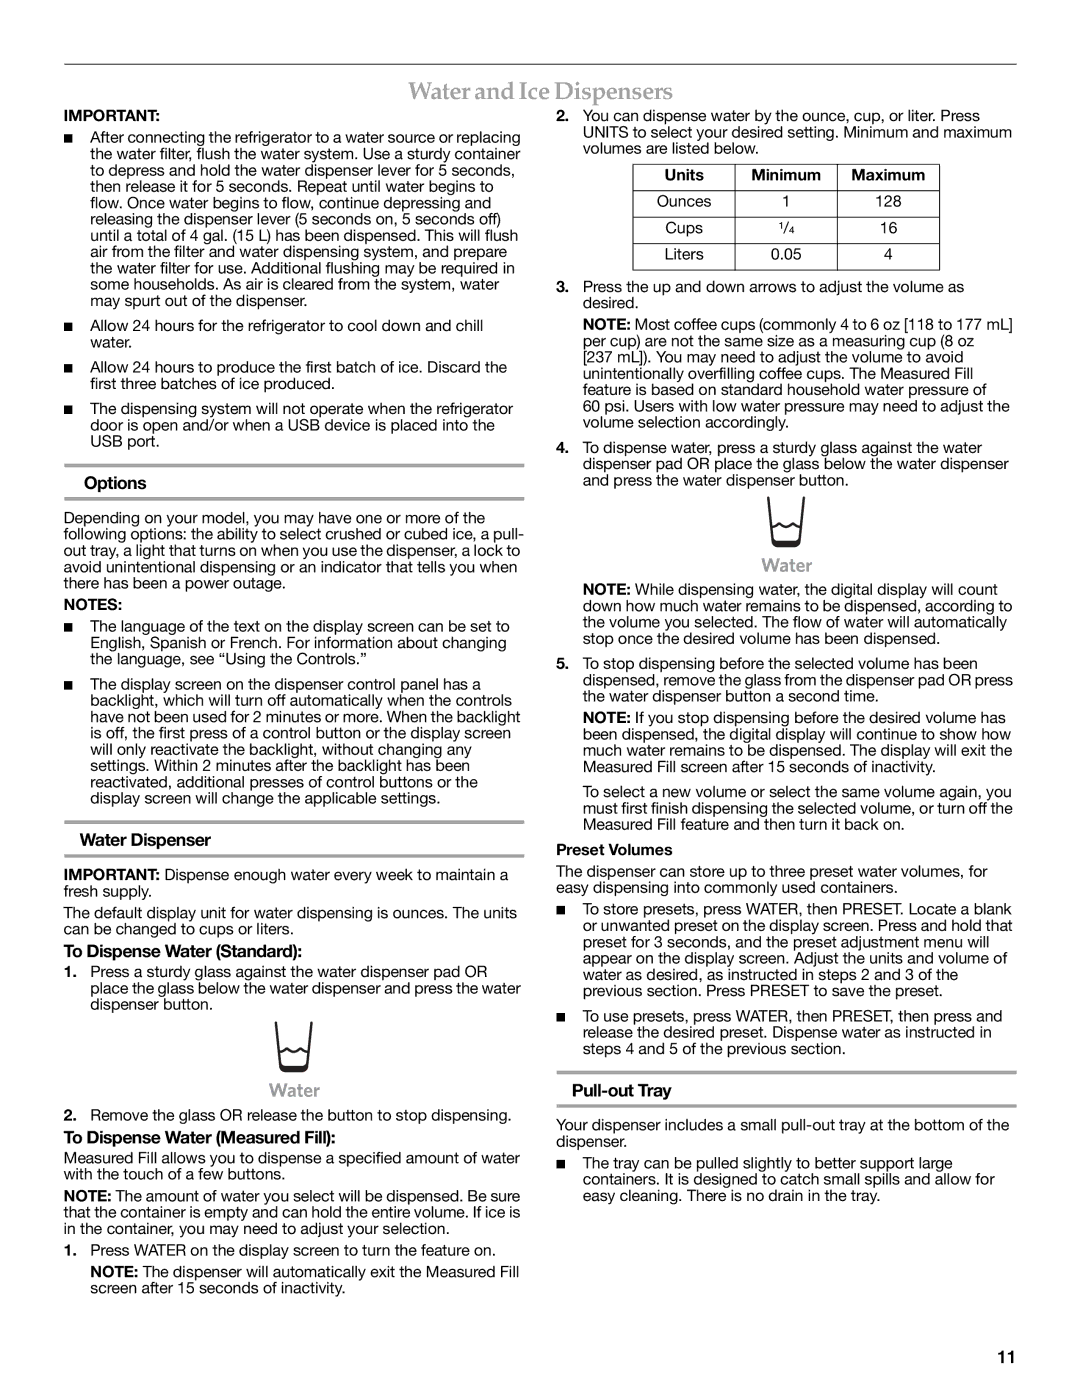
1.Press a sturdy glass against the water dispenser pad OR place the glass below the water dispenser and press the water dispenser button.

2.You can dispense water by the ounce, cup, or liter. Press UNITS to select your desired setting. Minimum and maximum volumes are listed below.

Units

Minimum

Maximum


Ounces

1

128


Cups

¹/

16


Liters

0.05

4


3.Press the up and down arrows to adjust the volume as desired.

NOTE: Most coffee cups (commonly 4 to 6 oz [118 to 177 mL] per cup) are not the same size as a measuring cup (8 oz [237 mL]). You may need to adjust the volume to avoid unintentionally overfilling coffee cups. The Measured Fill feature is based on standard household water pressure of

60 psi. Users with low water pressure may need to adjust the volume selection accordingly.

4.To dispense water, press a sturdy glass against the water dispenser pad OR place the glass below the water dispenser and press the water dispenser button.

NOTE: While dispensing water, the digital display will count down how much water remains to be dispensed, according to the volume you selected. The flow of water will automatically stop once the desired volume has been dispensed.

5.To stop dispensing before the selected volume has been dispensed, remove the glass from the dispenser pad OR press the water dispenser button a second time.

NOTE: If you stop dispensing before the desired volume has been dispensed, the digital display will continue to show how much water remains to be dispensed. The display will exit the Measured Fill screen after 15 seconds of inactivity.

To select a new volume or select the same volume again, you must first finish dispensing the selected volume, or turn off the Measured Fill feature and then turn it back on.

Preset Volumes

The dispenser can store up to three preset water volumes, for easy dispensing into commonly used containers.

To store presets, press WATER, then PRESET. Locate a blank or unwanted preset on the display screen. Press and hold that preset for 3 seconds, and the preset adjustment menu will appear on the display screen. Adjust the units and volume of water as desired, as instructed in steps 2 and 3 of the previous section. Press PRESET to save the preset.

To use presets, press WATER, then PRESET, then press and release the desired preset. Dispense water as instructed in steps 4 and 5 of the previous section.

2.Remove the glass OR release the button to stop dispensing.

To Dispense Water (Measured Fill):

Measured Fill allows you to dispense a specified amount of water with the touch of a few buttons.

NOTE: The amount of water you select will be dispensed. Be sure that the container is empty and can hold the entire volume. If ice is in the container, you may need to adjust your selection.

1.Press WATER on the display screen to turn the feature on.

NOTE: The dispenser will automatically exit the Measured Fill screen after 15 seconds of inactivity.

Pull-out Tray

Your dispenser includes a small pull-out tray at the bottom of the dispenser.

The tray can be pulled slightly to better support large containers. It is designed to catch small spills and allow for easy cleaning. There is no drain in the tray.

11

Page 11
Image 11
KitchenAid W10278586A installation instructions Water and Ice Dispensers

W10278586A specifications

The KitchenAid W10278586A is a high-performance kitchen appliance designed to elevate the culinary experience for home chefs. This versatile product is engineered with advanced technology that not only enhances functionality but also promotes efficiency in food preparation. One of the standout features of this model is its powerful motor, which provides the necessary strength to handle a variety of mixing tasks, from kneading pizza dough to whipping cream. This robust motor ensures consistent results, making it an indispensable tool in any kitchen.

Another significant characteristic of the W10278586A is its multi-speed control. This feature allows users to select the appropriate speed for their specific task, whether they are gently folding ingredients or mixing at high speeds. The intuitive controls are easy to navigate, providing precision and confidence in every use. The appliance’s design also integrates a soft-start feature, which gradually increases speed to prevent splattering, particularly useful when combining dry ingredients with wet ones.

In terms of build quality, the KitchenAid W10278586A is constructed with durable materials that ensure longevity and withstand the rigors of daily use. The stainless steel bowl not only has a sleek appearance but is also resistant to scratches and dents. Additionally, the bowl is large enough to accommodate a sizeable batch of ingredients, making it ideal for family-sized meals or entertaining guests.

The W10278586A also features a tilt-head design, allowing users to easily access the mixing bowl and incorporate ingredients without hassle. This convenience is complemented by a selection of attachments, including a wire whip, dough hook, and flat beater, which enables users to tackle a wide range of recipes with ease.

Aesthetic appeal is also a key aspect of the KitchenAid W10278586A, available in various colors to suit different kitchen decors. This appliance is not just functional but also acts as an attractive addition to the countertop.

In summary, the KitchenAid W10278586A combines power, versatility, and style, making it an essential appliance for both novice and experienced cooks alike. With its array of features and reliable performance, this model is sure to inspire culinary creativity in any household. Whether you are baking, whipping, or mixing, the KitchenAid W10278586A stands ready to assist in delivering delicious results every time.