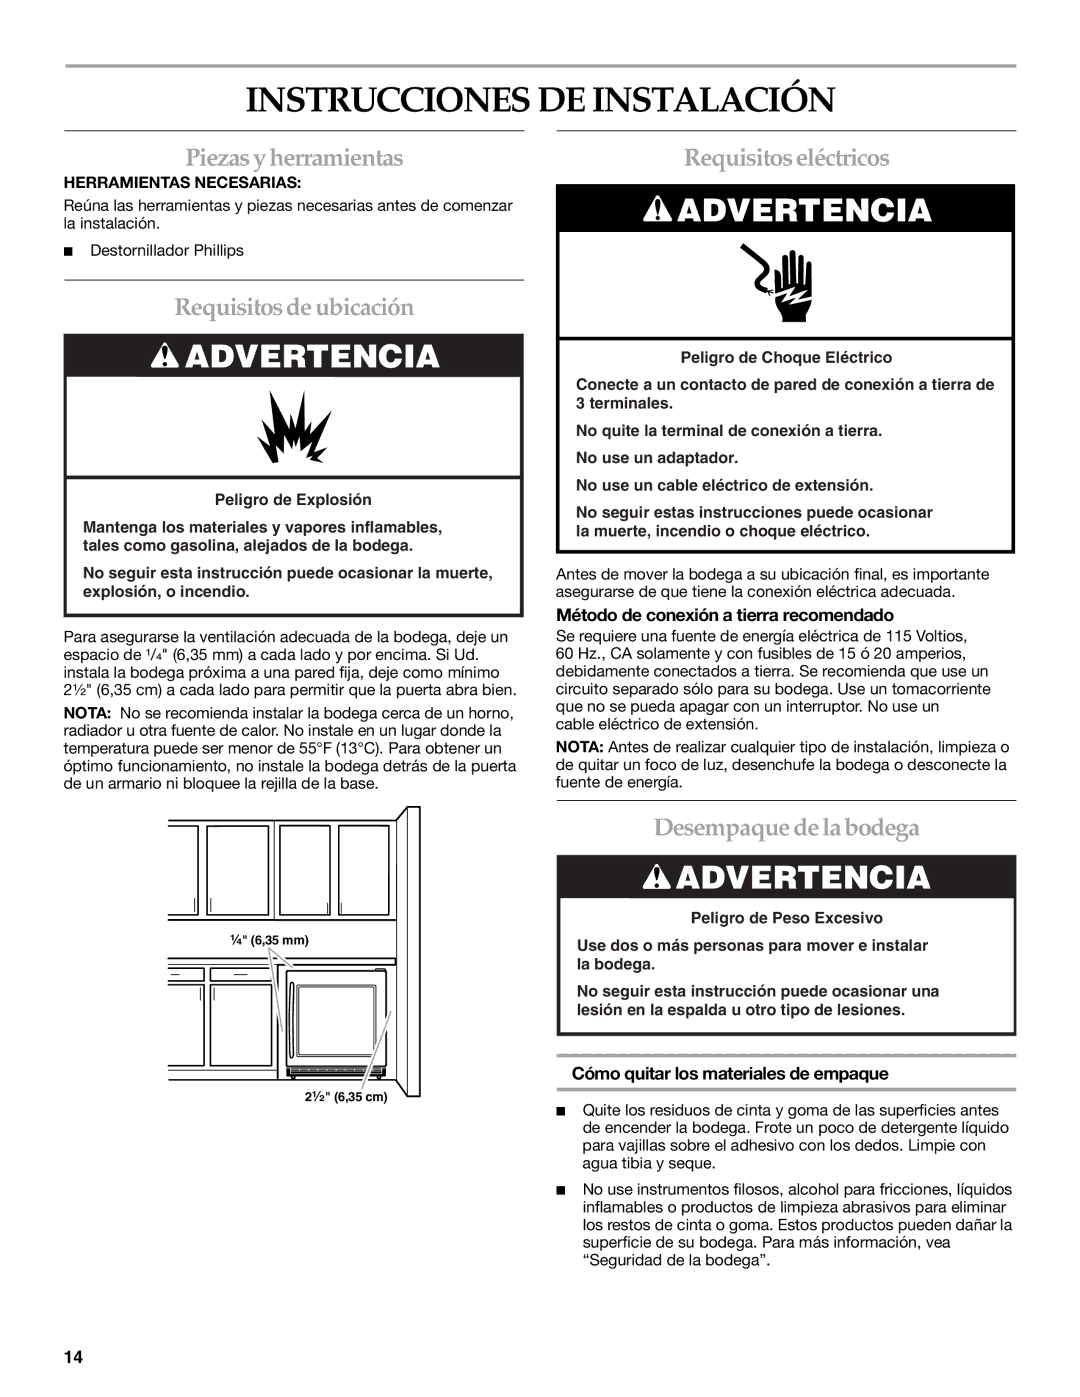
INSTRUCCIONES DE INSTALACIÓN

Piezas y herramientas

HERRAMIENTAS NECESARIAS:

Reúna las herramientas y piezas necesarias antes de comenzar la instalación.

Destornillador Phillips

Requisitosde ubicación

ADVERTENCIA

Peligro de Explosión

Mantenga los materiales y vapores inflamables, tales como gasolina, alejados de la bodega.

No seguir esta instrucción puede ocasionar la muerte, explosión, o incendio.

Para asegurarse la ventilación adecuada de la bodega, deje un espacio de ¹/" (6,35 mm) a cada lado y por encima. Si Ud. instala la bodega próxima a una pared fija, deje como mínimo

2¹⁄₂" (6,35 cm) a cada lado para permitir que la puerta abra bien.

NOTA: No se recomienda instalar la bodega cerca de un horno, radiador u otra fuente de calor. No instale en un lugar donde la temperatura puede ser menor de 55°F (13°C). Para obtener un óptimo funcionamiento, no instale la bodega detrás de la puerta de un armario ni bloquee la rejilla de la base.

Requisitoseléctricos

ADVERTENCIA

Peligro de Choque Eléctrico

Conecte a un contacto de pared de conexión a tierra de 3 terminales.

No quite la terminal de conexión a tierra.

No use un adaptador.

No use un cable eléctrico de extensión.

No seguir estas instrucciones puede ocasionar la muerte, incendio o choque eléctrico.

Antes de mover la bodega a su ubicación final, es importante asegurarse de que tiene la conexión eléctrica adecuada.

Método de conexión a tierra recomendado

Se requiere una fuente de energía eléctrica de 115 Voltios, 60 Hz., CA solamente y con fusibles de 15 ó 20 amperios, debidamente conectados a tierra. Se recomienda que use un circuito separado sólo para su bodega. Use un tomacorriente que no se pueda apagar con un interruptor. No use un cable eléctrico de extensión.

NOTA: Antes de realizar cualquier tipo de instalación, limpieza o de quitar un foco de luz, desenchufe la bodega o desconecte la fuente de energía.

¹⁄₄" (6,35 mm)

2¹⁄₂" (6,35 cm)

Desempaque de la bodega

ADVERTENCIA

Peligro de Peso Excesivo

Use dos o más personas para mover e instalar la bodega.

No seguir esta instrucción puede ocasionar una lesión en la espalda u otro tipo de lesiones.

Cómo quitar los materiales de empaque

Quite los residuos de cinta y goma de las superficies antes de encender la bodega. Frote un poco de detergente líquido para vajillas sobre el adhesivo con los dedos. Limpie con agua tibia y seque.

No use instrumentos filosos, alcohol para fricciones, líquidos inflamables o productos de limpieza abrasivos para eliminar los restos de cinta o goma. Estos productos pueden dañar la superficie de su bodega. Para más información, vea “Seguridad de la bodega”.

14

Page 14
Image 14
KitchenAid WINE CELLAR Instrucciones DE Instalación, Piezas y herramientas, Requisitosde ubicación, Requisitoseléctricos

WINE CELLAR specifications

The KitchenAid Wine Cellar is a premium storage solution designed to provide the perfect environment for wine enthusiasts. It combines stylish design with advanced technology to ensure that bottles are stored at optimal conditions, protecting them from light, temperature fluctuations, and vibration.

One of the main features of the KitchenAid Wine Cellar is its precise temperature control. The unit typically offers a dual-zone cooling system, allowing users to set different temperatures for red and white wines. This ensures that each type of wine is kept at its ideal serving temperature, enhancing flavor and aroma when it’s finally poured.

The insulation of the wine cellar is another noteworthy characteristic. The walls are insulated to maintain a consistent internal temperature, while the UV-resistant glass door protects the contents from harmful ultraviolet rays that can degrade wine. This design consideration is crucial for preserving the quality of your wine over time.

In terms of capacity, the KitchenAid Wine Cellar often accommodates a substantial number of bottles, generally ranging from 28 to 46 bottles depending on the model. Adjustable shelves add to the versatility, allowing for customization based on bottle shapes and sizes, including wider bottles that may require more space.

The intuitive control panel is an innovative inclusion, featuring a digital display that provides easy access to temperature settings. Some models come equipped with a soft-close door, which not only adds a touch of luxury but also minimizes vibration, ensuring your wines remain undisturbed.

Moreover, the KitchenAid Wine Cellar emphasizes aesthetic appeal. Its sleek finish and elegant design allow it to fit seamlessly into various kitchen décors or home entertainment areas, making it a stylish addition to any setting.

LED lighting enhances visibility inside without emitting heat, which can affect wine quality. Users can showcase their collections while keeping bottles properly stored.

With sturdy shelving, precise temperature controls, and an elegant design, the KitchenAid Wine Cellar is a comprehensive solution for both casual drinkers and serious collectors alike. It ensures that every bottle is stored under ideal conditions, preserving their taste for years to come.