USING KODAK CONTROL STRIPS, PROCESS
Use KODAK Control Strips, Process
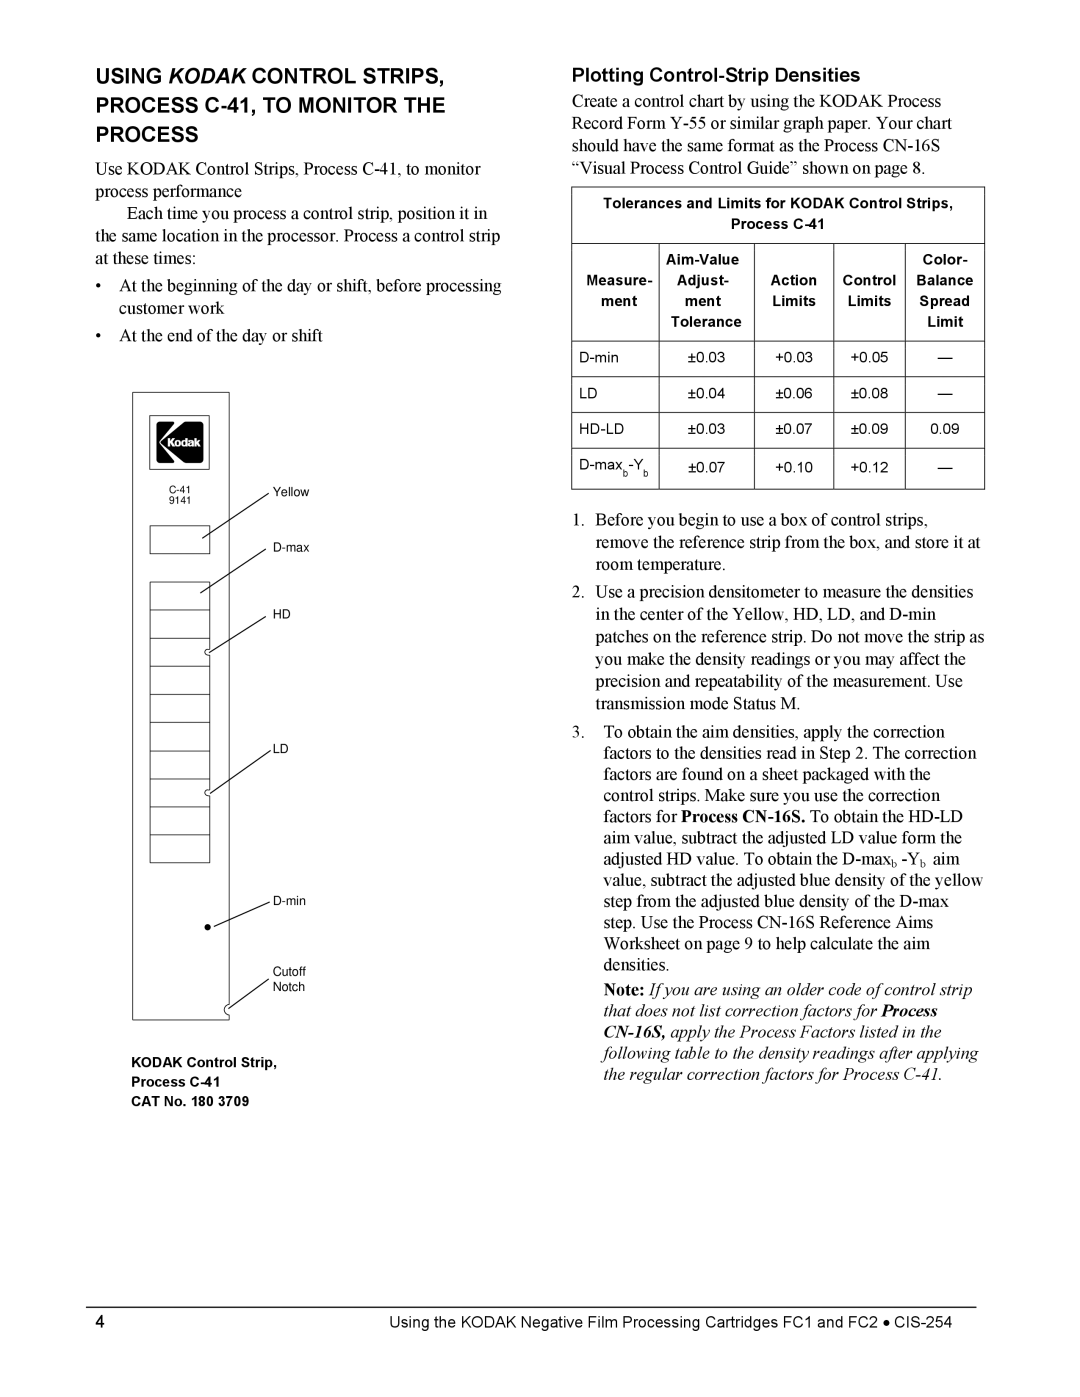
Each time you process a control strip, position it in the same location in the processor. Process a control strip at these times:
•At the beginning of the day or shift, before processing customer work
•At the end of the day or shift
9141
HD
LD
Cutoff
Notch
KODAK Control Strip,
Process
CAT No. 180 3709
Plotting Control-Strip Densities
Create a control chart by using the KODAK Process Record Form
Tolerances and Limits for KODAK Control Strips,
Process
|
|
| Color- | |
Measure- | Adjust- | Action | Control | Balance |
ment | ment | Limits | Limits | Spread |
| Tolerance |
|
| Limit |
|
|
|
|
|
±0.03 | +0.03 | +0.05 | — | |
|
|
|
|
|
LD | ±0.04 | ±0.06 | ±0.08 | — |
|
|
|
|
|
±0.03 | ±0.07 | ±0.09 | 0.09 | |
|
|
|
|
|
±0.07 | +0.10 | +0.12 | — | |
|
|
|
|
|
1.Before you begin to use a box of control strips, remove the reference strip from the box, and store it at room temperature.
2.Use a precision densitometer to measure the densities in the center of the Yellow, HD, LD, and
3.To obtain the aim densities, apply the correction factors to the densities read in Step 2. The correction factors are found on a sheet packaged with the control strips. Make sure you use the correction factors for Process
adjusted HD value. To obtain the
Note: If you are using an older code of control strip that does not list correction factors for Process
4 | Using the KODAK Negative Film Processing Cartridges FC1 and FC2 • |
