Kodak Imaging Guide Set for i100 and i200 Series Scanners
This document provides instructions for installing the Kodak Imaging Guide Set for i100 and i200 Series Scanners.
IMPORTANT:
•It is recommended that you thoroughly clean the scanner before replacing the imaging guides. For complete cleaning procedures, see the appropriate User’s Guide for your Kodak Scanner.
•Use only
•Staticide Wipes contain isopropanol which can cause eye irritation and dry skin. Wash your hands with soap and water after performing maintenance procedures. Refer to the Material Safety Data Sheet (MSDS) for more information. The MSDS is available on the Kodak web site at www.kodak.com/go/MSDS.
Instructions for Kodak i100 Series Scanners
1.Power down the scanner.
2.Access the inside of the scanner by opening the scanner cover.
Replacing the Upper Imaging Guide
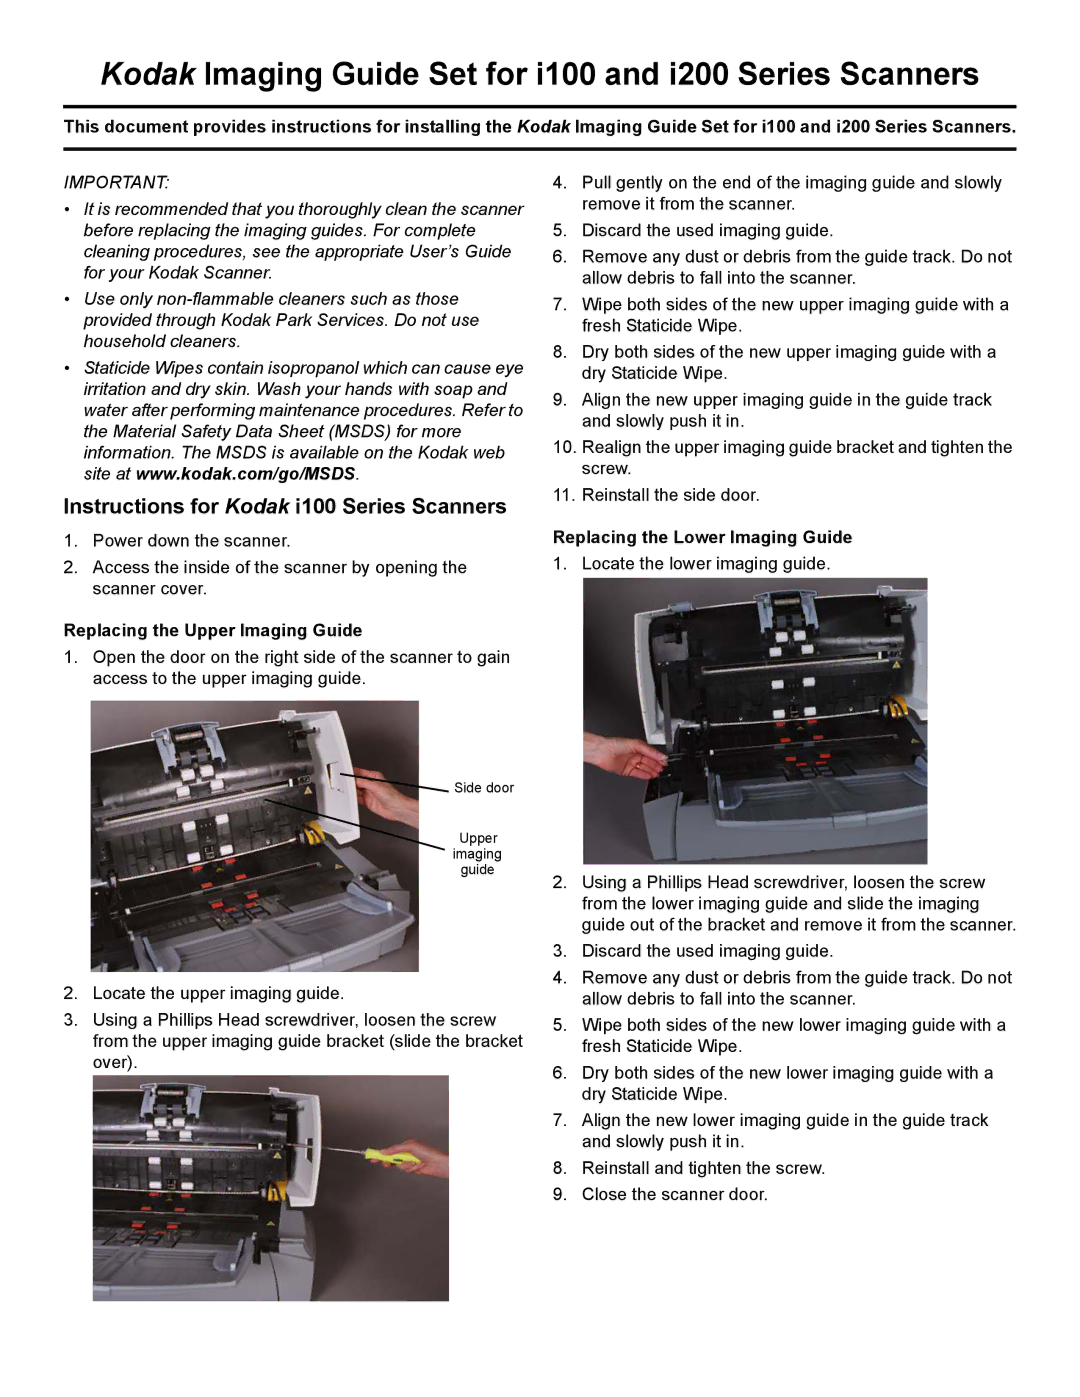
1.Open the door on the right side of the scanner to gain access to the upper imaging guide.
4.Pull gently on the end of the imaging guide and slowly remove it from the scanner.
5.Discard the used imaging guide.
6.Remove any dust or debris from the guide track. Do not allow debris to fall into the scanner.
7.Wipe both sides of the new upper imaging guide with a fresh Staticide Wipe.
8.Dry both sides of the new upper imaging guide with a dry Staticide Wipe.
9.Align the new upper imaging guide in the guide track and slowly push it in.
10.Realign the upper imaging guide bracket and tighten the screw.
11.Reinstall the side door.
Replacing the Lower Imaging Guide
1. Locate the lower imaging guide.
![]() Side door
Side door
Upper imaging guide
2.Locate the upper imaging guide.
3.Using a Phillips Head screwdriver, loosen the screw from the upper imaging guide bracket (slide the bracket over).
2.Using a Phillips Head screwdriver, loosen the screw from the lower imaging guide and slide the imaging guide out of the bracket and remove it from the scanner.
3.Discard the used imaging guide.
4.Remove any dust or debris from the guide track. Do not allow debris to fall into the scanner.
5.Wipe both sides of the new lower imaging guide with a fresh Staticide Wipe.
6.Dry both sides of the new lower imaging guide with a dry Staticide Wipe.
7.Align the new lower imaging guide in the guide track and slowly push it in.
8.Reinstall and tighten the screw.
9.Close the scanner door.