
i6000 specifications
The Kodak i6000 series represents a significant advancement in document imaging technology, designed to meet the demands of high-volume scanning environments. Aimed primarily at commercial and enterprise users, this line of document scanners is known for its speed, reliability, and versatility, making it an excellent choice for diverse scanning needs.One of the standout features of the Kodak i6000 series is its impressive speed, capable of scanning up to 130 pages per minute. This efficiency not only enhances productivity but also enables organizations to handle large volume tasks with ease. The scanner supports both single-sided and double-sided scanning, which means that users can quickly digitize large stacks of documents without needing to manually flip them over.
The i6000 series scanners are equipped with advanced technology that ensures high-quality imaging. A built-in image processing system offers features such as automatic color detection, which identifies and scans documents in color when necessary, and applies advanced image enhancement techniques to improve clarity. This results in scanned images that are not only clear but also true to the original documents, ensuring that important details are preserved.
Another notable characteristic of the Kodak i6000 scanners is their robust paper handling capabilities. These scanners can manage various document types, including mixed media such as cardstock, plastic cards, and long documents up to 220 inches in length. The automatic feeder can hold a significant number of pages, which minimizes the need for constant reloading during large scanning jobs.
The i6000 series also incorporates intelligent features to reduce the risk of errors and jams. With a powerful ultrasonic double-feed detection system, the scanners can identify if multiple pages are being fed at once, helping to prevent lost documents. Additionally, the scanners come with a user-friendly interface that enables easy operation, making them accessible even for those with limited technical experience.
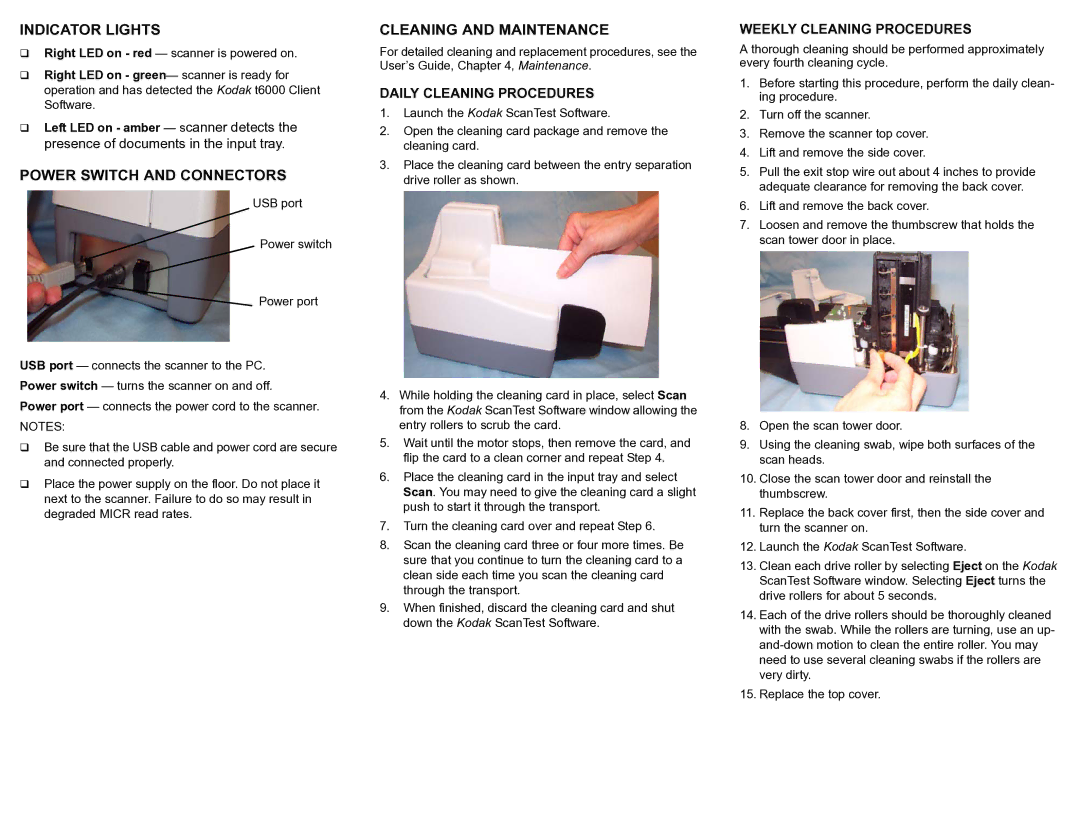
In terms of connectivity, the Kodak i6000 series offers flexible options to integrate into various workflows. With USB 3.0 compatibility and support for different document management software, the scanners can seamlessly connect to existing systems, enhancing overall workflow efficiency. Security features such as user authentication ensure that sensitive documents are scanned and handled securely.
Overall, the Kodak i6000 series is a versatile and efficient solution for organizations looking to streamline their document management processes. With its high-speed capabilities, superior imaging technology, and robust paper handling features, it stands out as an ideal choice for high-volume scanning needs in any professional setting.