
RFS 3600 specifications
The Kodak RFS 3600 is a high-performance film scanner specifically designed for professional applications and specialized tasks in the medical, legal, and archival sectors. This versatile device offers remarkable speed and quality, making it an ideal choice for organizations that require reliable and efficient digitization of film materials.One of the standout features of the RFS 3600 is its advanced imaging technology. Utilizing a high-resolution sensor, the scanner captures images with exceptional clarity and detail. The sensor can achieve resolutions of up to 3,600 dpi, which is crucial for producing high-quality digital images from film negatives and slides. This feature ensures that even the finest details are preserved, allowing users to create digital archives that maintain the integrity of the original materials.
The RFS 3600 employs a robust optical system that enhances image quality by reducing artifacts and distortion. This optical design is complemented by sophisticated image processing capabilities. The incorporation of advanced algorithms enables the scanner to automatically adjust color balance, brightness, and contrast, ensuring that every scanned image accurately represents the original film. Users can also take advantage of manual adjustments for greater control over the final output.
Another significant characteristic of the Kodak RFS 3600 is its multi-format capability. The scanner is engineered to handle various film formats, including 35mm, 120mm, and 220mm, making it a flexible tool for a wide range of applications. This adaptability is particularly beneficial for organizations that need to work with different film types and sizes frequently.
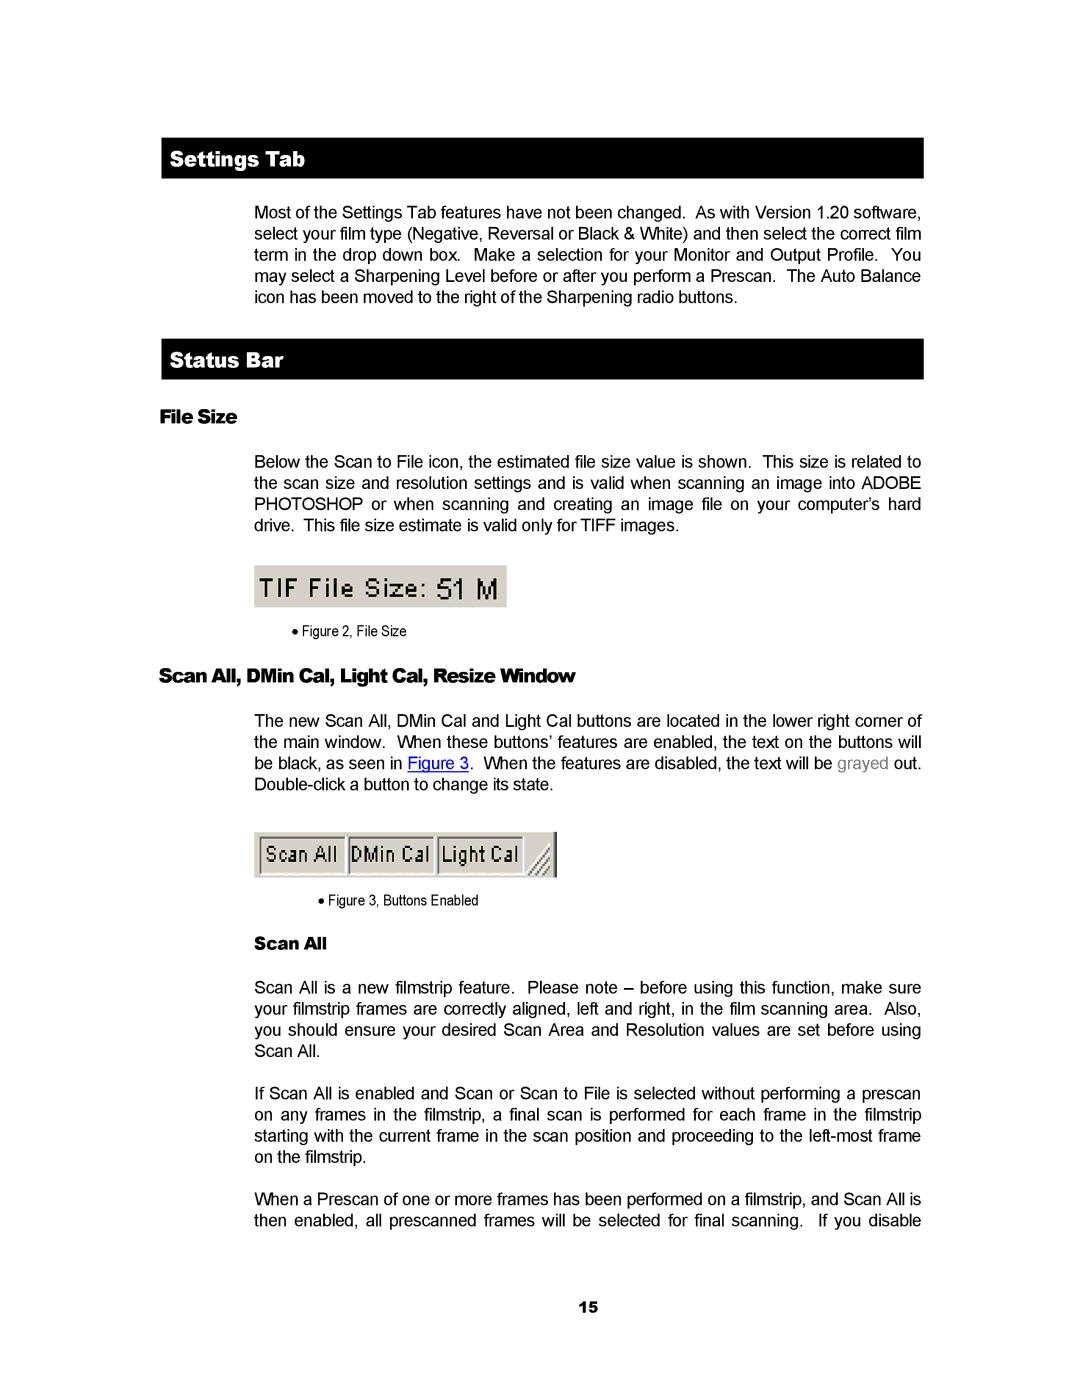
In addition to its impressive scanning features, the Kodak RFS 3600 is designed for ease of use. The user interface is intuitive and straightforward, allowing even less experienced operators to navigate the scanning process efficiently. The device also supports batch scanning, significantly increasing productivity by allowing users to scan multiple frames in one session.
Connectivity options are plentiful, as the RFS 3600 can easily integrate with various workflow systems. This feature is particularly advantageous in environments where seamless collaboration and efficiency are paramount.
Sustainability considerations are also present in the design of the RFS 3600, with energy-efficient components that reduce overall power consumption. This makes it a choice that aligns with environmentally conscious practices.
In summary, the Kodak RFS 3600 is a versatile film scanner that combines high-resolution imaging, advanced optical technology, and user-friendly features. It is tailored for a variety of professional applications, making it an invaluable asset for organizations engaged in film digitization and archiving.