2.Place the tile rails on the tile and snap them into the two tabs on the
3.Insert a screw through each tab on the
4.Connect the speaker wires to the appropriate connector terminals:
PIN 1 and PIN 2 are connected internally and are positive (+)
PIN 3 and PIN 4 are connected internally and are negative
Screw the
You can connect the speakers in the two following possible layouts:
Wiring in parallel: connect the wire pair of the subsequent speaker to PIN 2 and PIN 3. When one input connector is removed, subsequent speakers will remain connected (see Figure 3)
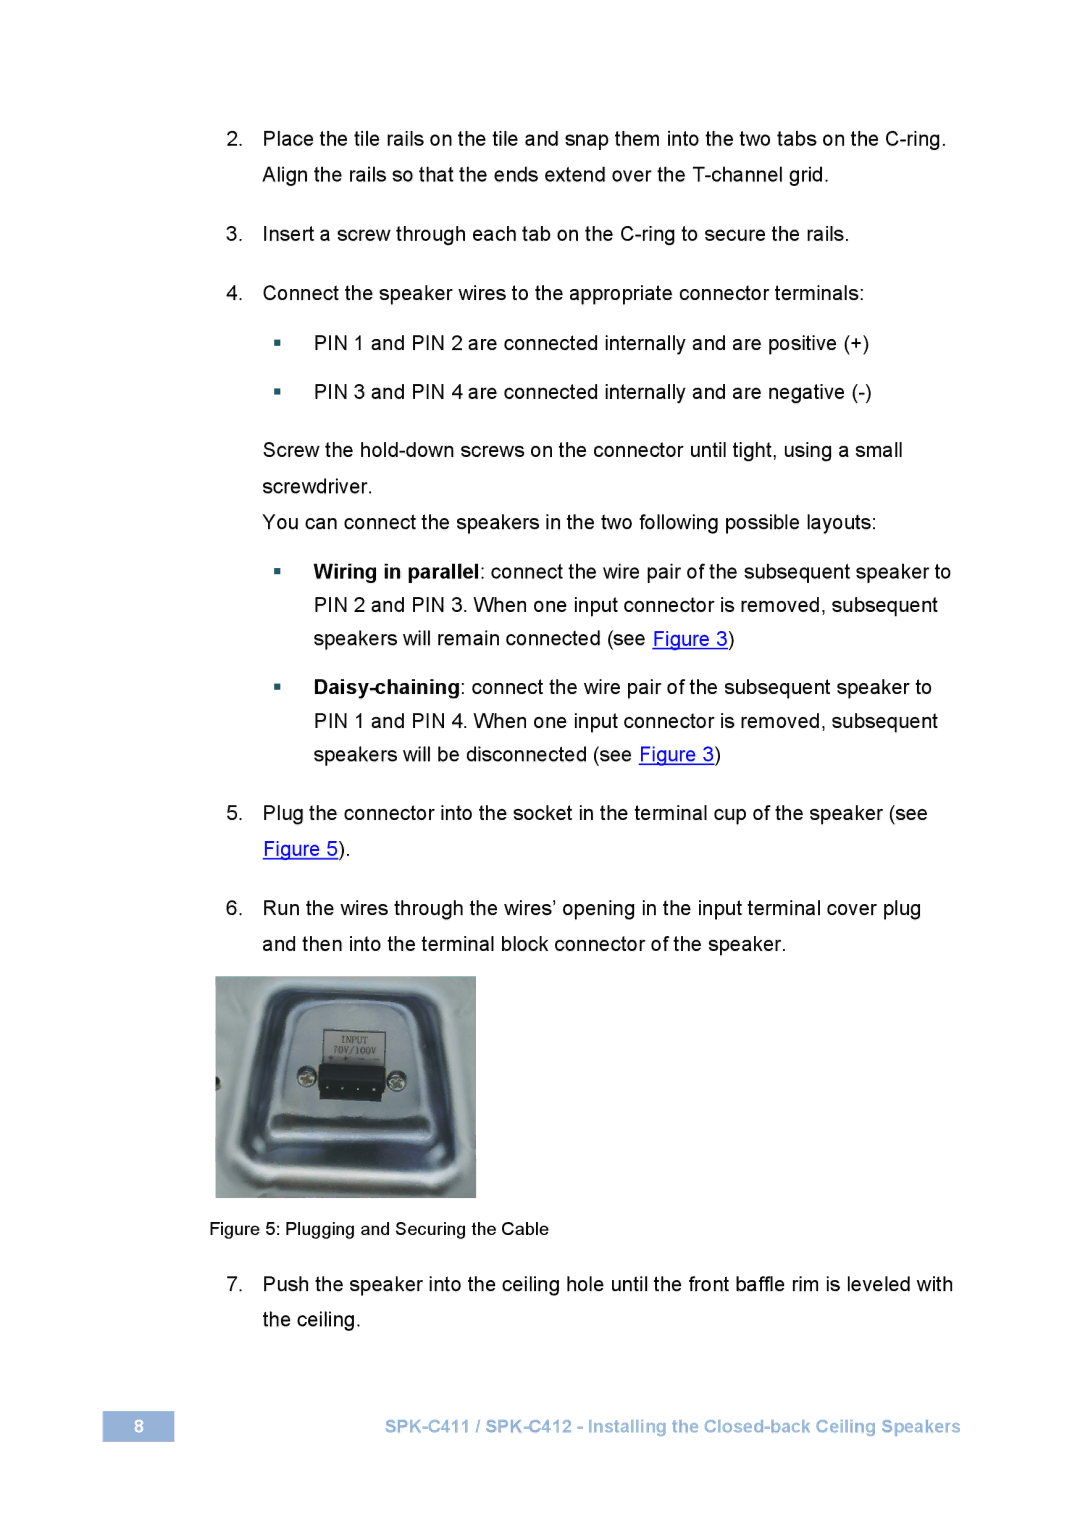
5.Plug the connector into the socket in the terminal cup of the speaker (see Figure 5).
6.Run the wires through the wires’ opening in the input terminal cover plug and then into the terminal block connector of the speaker.
Figure 5: Plugging and Securing the Cable
7.Push the speaker into the ceiling hole until the front baffle rim is leveled with the ceiling.
8 |