SPK-C613 specifications
Kramer Electronics has long been a recognized leader in the field of audio-visual technology, and one of its remarkable offerings is the SPK-C613 speaker. The SPK-C613 is crafted to meet the needs of various installations, providing high-quality audio performance in a compact and versatile design.At the heart of the SPK-C613 is its impressive audio performance, catering to a variety of environments such as conference rooms, classrooms, and outdoor venues. With a power rating of 30 watts RMS and the ability to handle peaks up to 120 watts, it can fill a room with rich, clear sound that engages and captivates listeners. The speaker is equipped with a six-inch woofer and a one-inch tweeter, ensuring a balanced audio output that enhances both low and high frequencies.
One of the standout features of the SPK-C613 is its flexible mounting options. It can be easily installed in various orientations, making it ideal for wall or ceiling mounting. This flexibility allows for optimal sound distribution, helping to eliminate sound dead spots in larger venues. The sleek and modern design of the speaker also complements any interior décor, making it an aesthetically pleasing choice for installation in sensitive environments.
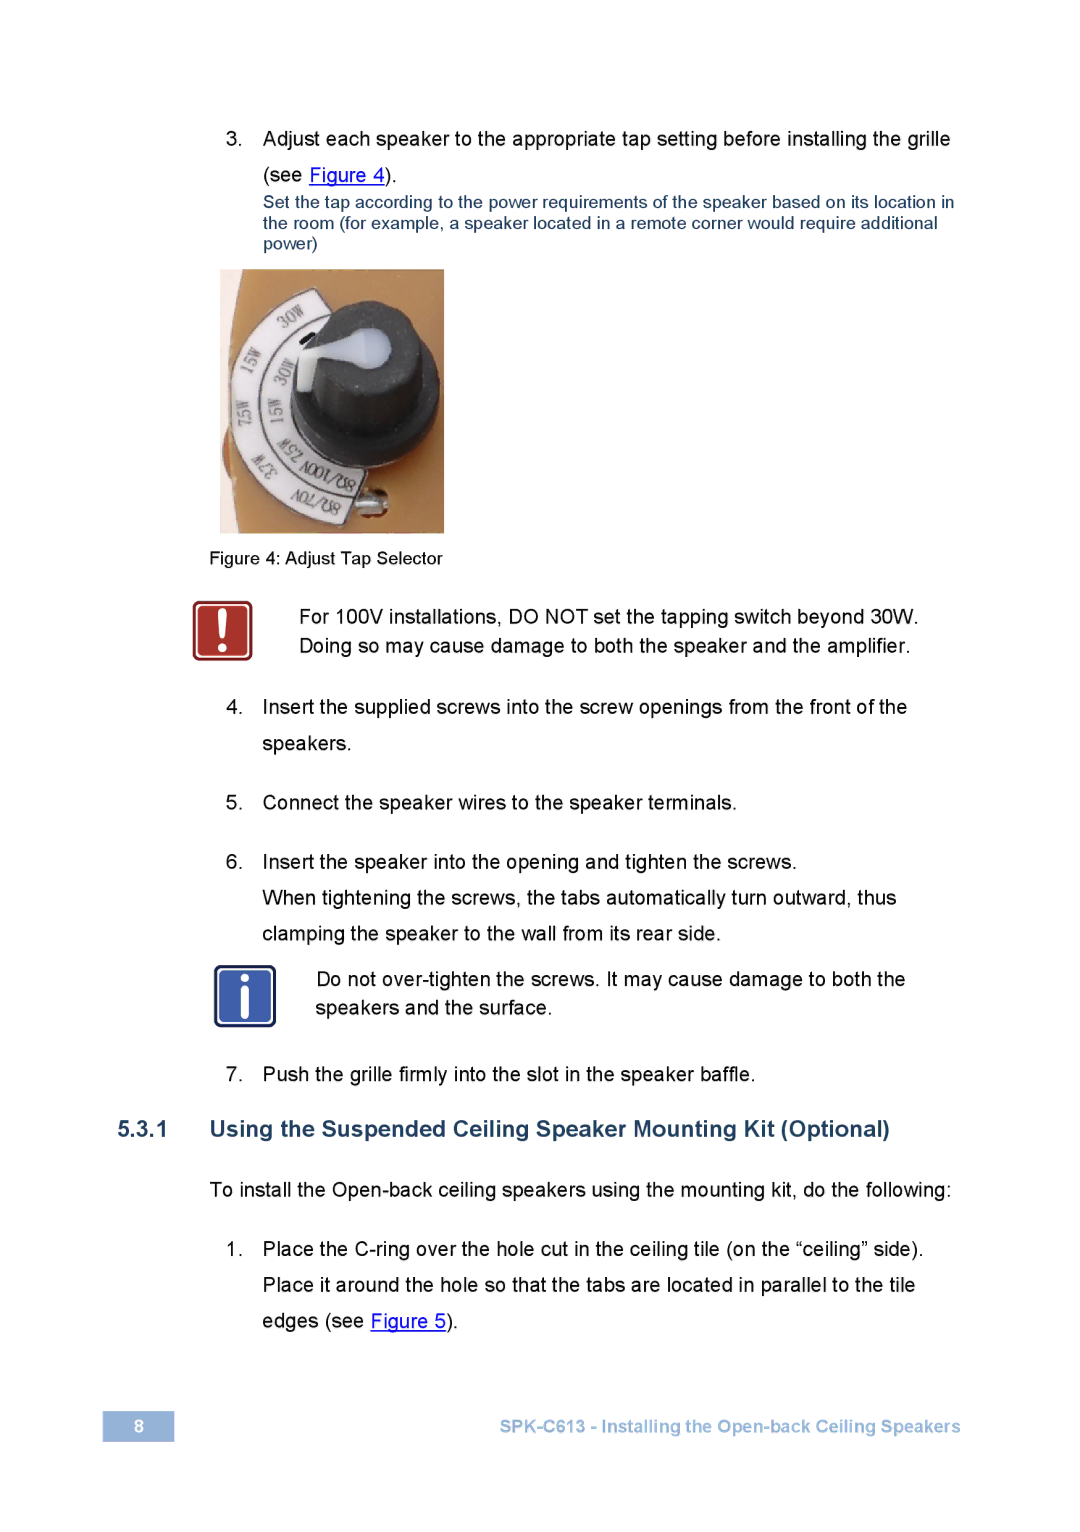
The SPK-C613 is also designed with technology in mind. It supports both low-impedance and high-impedance setups, making it compatible with a wide range of amplifiers and audio systems. The built-in transformer allows for a straightforward installation in professional sound setups, particularly where multiple speakers may be required. With its nominal impedance of 8 ohms, it remains efficient when connected to different amplifiers.
In addition to its outstanding sound quality and versatility, the SPK-C613 is built to last. The durable construction ensures reliability, even in high-demand applications. It is designed to perform well under various environmental conditions, which makes it suitable for both indoor and outdoor use.
Overall, the Kramer Electronics SPK-C613 is an excellent choice for those seeking a high-performance speaker that combines flexibility, durability, and superior audio quality. Its features and technologies make it an attractive option for diverse applications, providing a complete audio solution that enhances communication and engagement in any setting. Whether utilized in commercial installations or home theaters, the SPK-C613 stands out as a powerful and versatile audio component.

