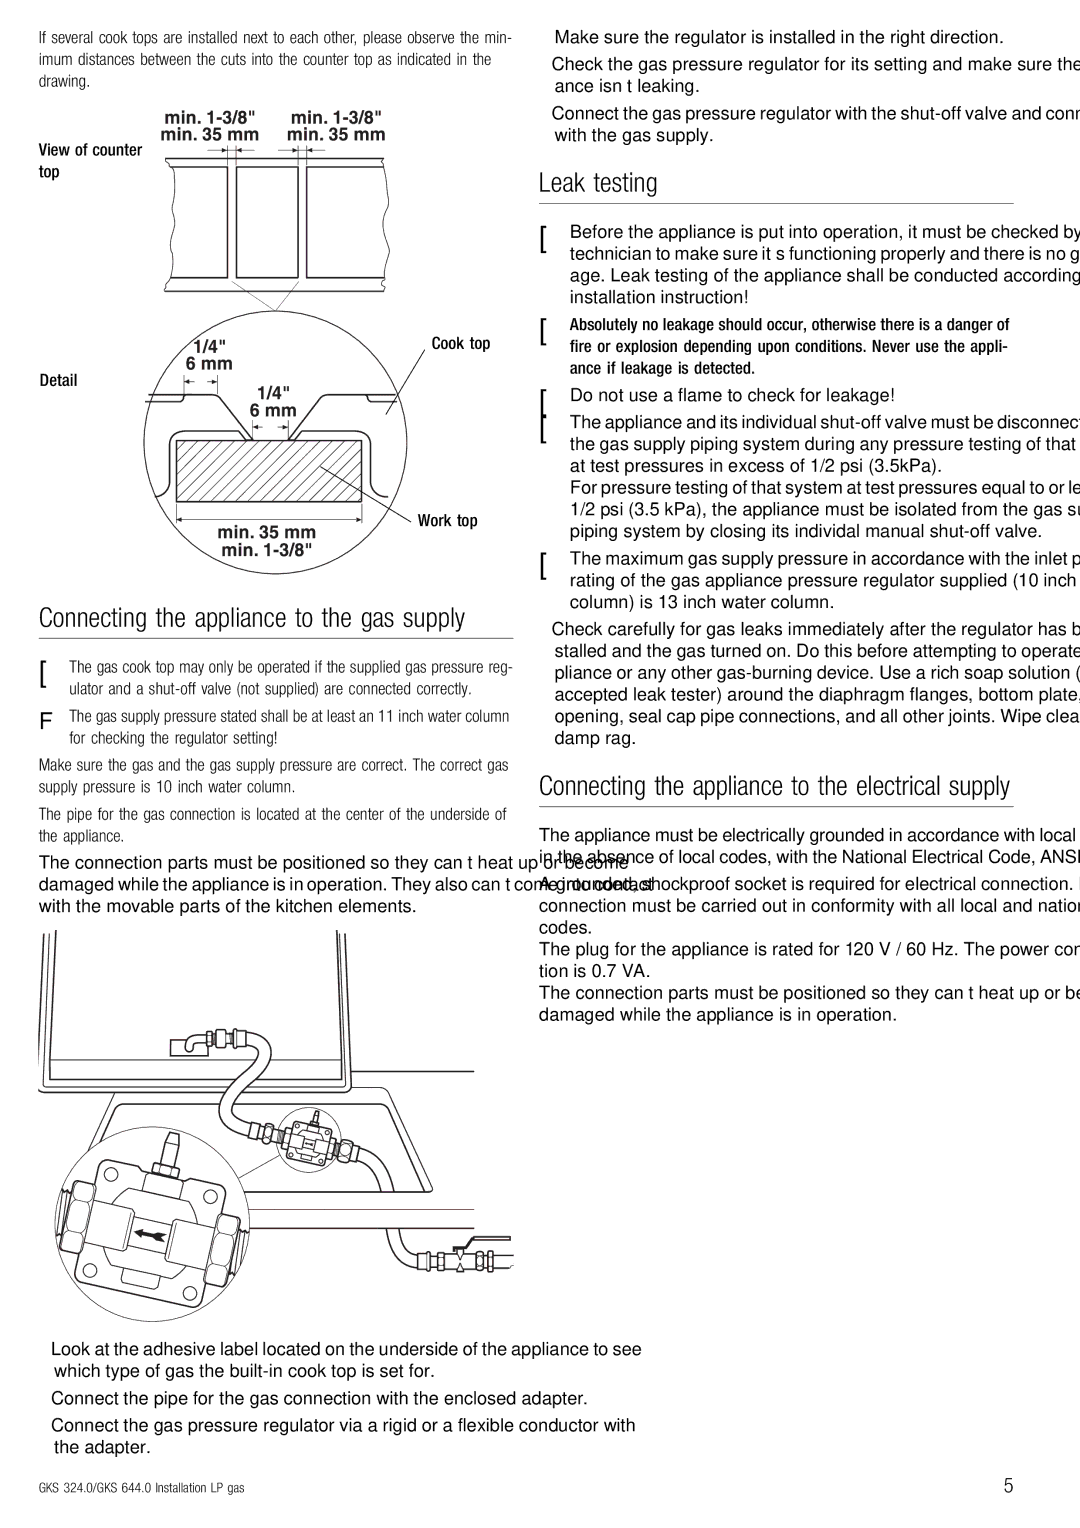
GKS 324.0, GKS 644.0 specifications
Kuppersbusch, a renowned name in the world of premium kitchen appliances, offers a versatile range of cooking solutions that combine innovative technology with impeccable design. Among its lineup, the GKS 644.0 and GKS 324.0 gas hobs stand out, providing exceptional performance and diverse features that cater to the needs of both professional chefs and home cooks alike.The Kuppersbusch GKS 644.0 is a 60 cm gas hob that integrates cutting-edge technology with a minimalist aesthetic. It boasts four high-efficiency gas burners, including a powerful wok burner that delivers superior heat output, ideal for stir-frying and other high-heat cooking techniques. One of the standout features of the GKS 644.0 is its integrated flame failure device, ensuring maximum safety by automatically shutting off the gas supply if a flame is extinguished. The easy-to-clean stainless steel surface not only adds elegance to your kitchen but also facilitates quick maintenance.
On the other hand, the Kuppersbusch GKS 324.0 offers a compact design at 30 cm, perfect for smaller spaces without compromising on functionality. This model features two burners that provide the versatility necessary for everyday cooking. With its precision controls, users can easily adjust the flame intensity to achieve the perfect cooking results. The GKS 324.0 also includes a cast iron pan support, which not only enhances stability for heavy cookware but adds a professional touch to your cooking experience.
Both models are equipped with the innovative Kuppersbusch high-performance ignition system, allowing for immediate ignition with a simple twist of the knob. This sophisticated technology ensures reliable startup every time, minimizing waiting periods and maximizing cooking efficiency.
Moreover, both the GKS 644.0 and GKS 324.0 show versatility in their design, seamlessly fitting into various kitchen styles. Their sleek lines and modern finishes complement contemporary interiors while embodying the timeless elegance that Kuppersbusch appliances are known for.
In conclusion, both the Kuppersbusch GKS 644.0 and GKS 324.0 gas hobs deliver exceptional cooking performance, safety, and style. Whether you're looking for a robust solution for a bustling kitchen or a compact alternative for smaller spaces, these models reflect Kuppersbusch's commitment to quality and innovation in the culinary world.

