
WS-9077TWC-IT specifications
The La Crosse Technology WS-9077TWC-IT is a sophisticated weather station that combines advanced technology with user-friendly features, making it an ideal choice for weather enthusiasts and casual users alike. This device provides precise weather data and a full range of meteorological readings to help users stay informed about local atmospheric conditions.One of the main features of the WS-9077TWC-IT is its ability to monitor both indoor and outdoor temperatures and humidity levels. Equipped with a wireless outdoor sensor, it can transmit data from up to 330 feet away, ensuring accurate readings regardless of the distance from the main unit. This feature allows users to effortlessly track weather conditions outside their homes without the need for cumbersome wiring.
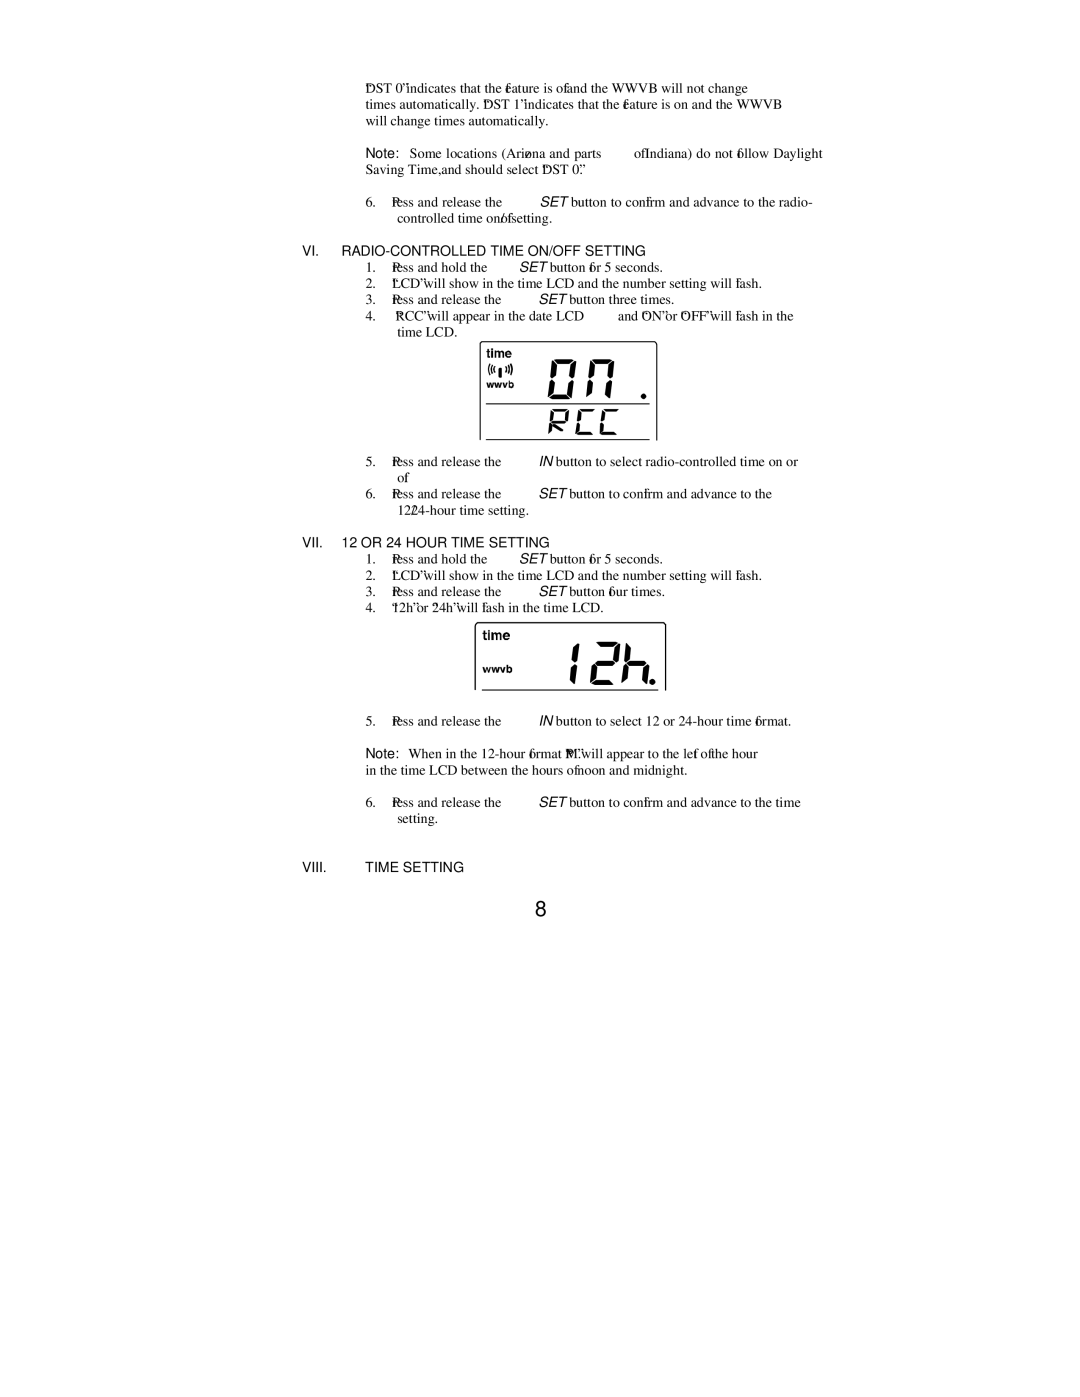
The weather station displays a range of important weather information, including current temperature, humidity levels, and forecast data. The sleek display features a backlit LCD screen that provides excellent visibility both day and night, making it easy to read at a glance. The display also shows trends and records, allowing users to track changes in temperature and humidity over time.
Another notable characteristic of the WS-9077TWC-IT is its ability to provide weather forecasts. Using a combination of barometric pressure readings and advanced algorithms, the device predicts upcoming weather changes, helping users plan their activities accordingly. This forecast feature is represented by easy-to-understand weather icons, simplifying the interpretation of the data.
The weather station is designed with user convenience in mind. It includes a calendar function, providing the date and time, along with a daily alarm for reminders. The intuitive setup process ensures that users can get their device up and running with minimal hassle. The WS-9077TWC-IT is also powered by either batteries or an AC adapter, giving users flexibility in how they choose to operate it.
In terms of technology, the WS-9077TWC-IT utilizes reliable 433 MHz frequency for wireless communication, ensuring a strong and stable connection between the main unit and the outdoor sensor. This technology allows for real-time updates on changing weather conditions, making it easier for users to stay informed.
In summary, the La Crosse Technology WS-9077TWC-IT is a feature-rich weather station that excels in delivering accurate indoor and outdoor weather data. Its sleek design, reliable wireless technology, and user-friendly functions make it an excellent addition to any home, providing valuable insights into local weather patterns and helping users make informed decisions based on the forecast.