Changing the RAID Mode
CAUTION:
•Reformatting the 2big USB 3.0 is the last step for modifying the RAID. Please back up all data before following the steps below.
•The two disk trays must be in place before the RAID mode can be modified.
Note: See the User Manual for information on RAID modes.
1.Unmount the 2big USB 3.0 volumes from your computer and disconnect the interface cable.
2.The 2big USB 3.0 must be turned on to change the level of RAID. Attach the power cable if it is disconnected. Switch on the 2big USB 3.0 by pressing the front LED button. The front LED will blink as the RAID boots. It will become solid blue when ready.
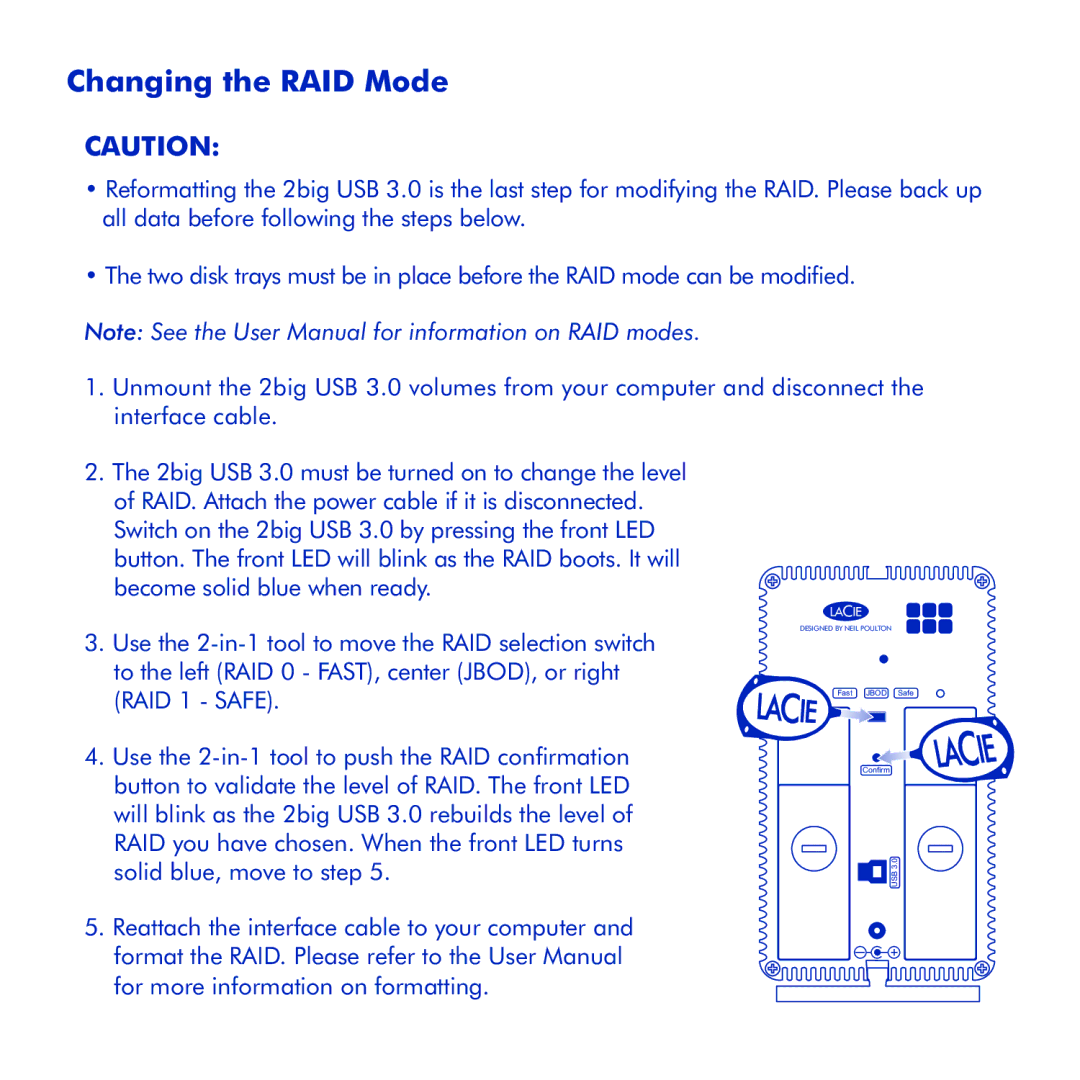
3.Use the
4.Use the
DESIGNED BY NEIL POULTON
Fast JBOD Safe
Confirm
![]() 3.0USB
3.0USB
5.Reattach the interface cable to your computer and format the RAID. Please refer to the User Manual for more information on formatting.