Manuals
/
Lanzar Car Audio
/
Home Audio
/
Stereo Equalizer
Lanzar Car Audio
15
user manual
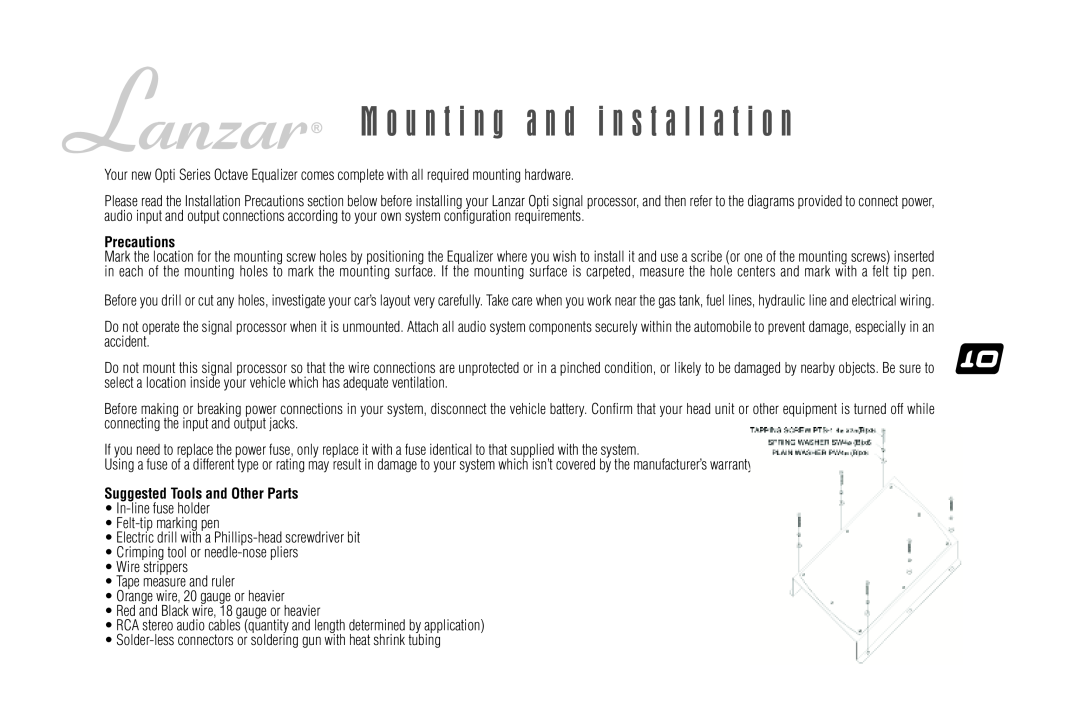
M o u n t i n g a n d i n s t a l l a t i o n, Precautions
Models:
15
1
12
16
16
Download
16 pages
2.2 Kb
9
10
11
12
13
14
15
16
Troubleshooting
Install
Problem
to BATTERY
System Adjustment
Precautions
Power Requirement
R.A. # Lanzar Service Center
EQ Bypass Switch
Page 12
Image 12
Page 11
Page 13
Page 12
Image 12
Page 11
Page 13
Contents
OptiE-15
u s e r ’ s m a n u a l
15-Band
Half/Full Octave
I N T R O D U C T I O N
general features precautions
features and specifications system wiring
mounting and installation
troubleshooting
g e n e r a l f e a t u r e s
Front/Rear Fader Control Power LED Indicator
EQ Bypass Switch
Gold-PlatedConnectors and Terminals
P r e c a u t i o n s
Reconnect the negative battery ground lead
Reinstate all car parts that were removed
f e a t u r e s a n d s p e c i f i c a t i o n s
f e a t u r e s a n d s p e c i f i c a t i o n s
Power Requirement
Control Frequencies
Half Octave
S y s t e m w i r i n g
Standard 4-ChannelOutput
to BATTERY
REMOTE
Dual E-152 + 2 Channel Output Using 4 RCA Inputs
S y s t e m w i r i n g
TO REAR
AMPLIFIER
Dual E-152 + 2 Channel Output Using 2 RCA INPUTS
to BATTERY
to BATTERY
S y s t e m w i r i n g
4 Channel Output Using Speaker Level Inputs
S y s t e m w i r i n g
M o u n t i n g a n d i n s t a l l a t i o n
Precautions
Suggested Tools and Other Parts
Processor Installation
M o u n t i n g a n d i n s t a l l a t i o n
SYSTEM ADJUSTMENT
NOISE CHECK
volume level
connected directly to the battery
disappear when the volume level is
Check the red power wire. It must be
R.A. # Lanzar Service Center
1600 63rd Street Brooklyn, NY
E q u a
l i z e r
Top
Page
Image
Contents