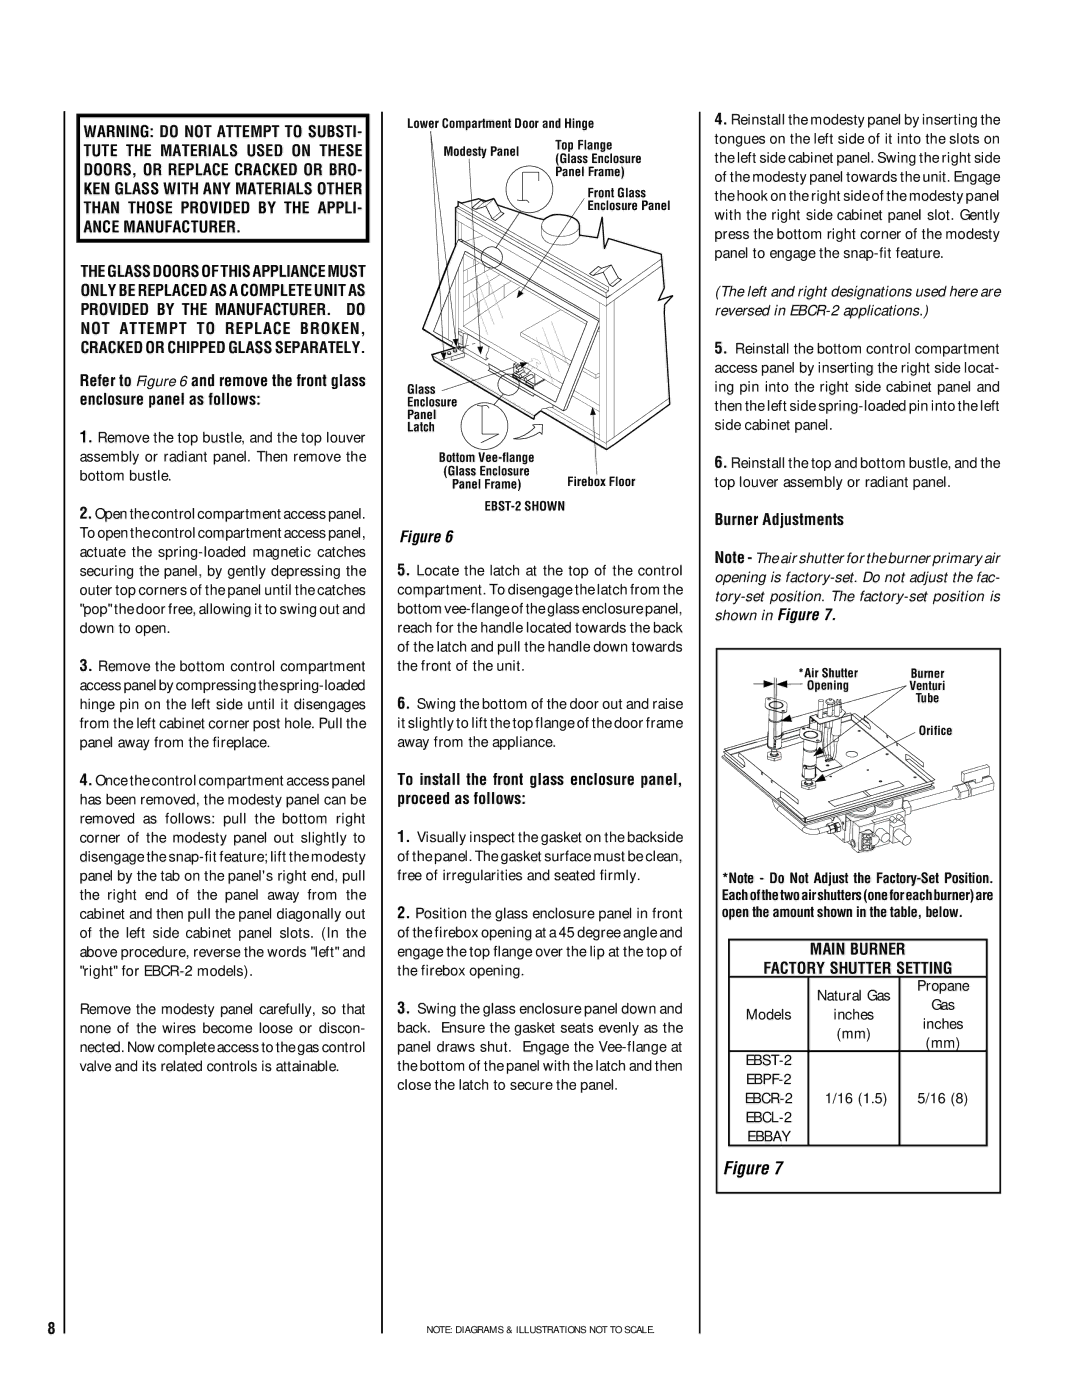
EBSTNM-2, EBSTPM-2 specifications
Lennox Hearth is a reputable name in the heating and ventilation industry, known for producing high-quality, energy-efficient heating solutions. Among their impressive lineup, the EBSTPM-2 and EBSTNM-2 models stand out for their superior performance and innovative features.Both models are designed to provide reliable warmth in residential settings while ensuring ease of use and energy efficiency. The EBSTPM-2 comes with a robust pellet-burning system, boasting a high-efficiency rating that ensures optimal heating output with minimal energy consumption. This model is particularly praised for its environmentally friendly operation, utilizing wood pellets as a renewable energy source.
The EBSTNM-2, on the other hand, features a natural gas burning system that offers convenience and clean-burning technology. With its powerful output and adjustable flame settings, users can customize their heating experience to suit their comfort levels. Both models showcase advanced combustion technology, which ensures that they operate efficiently while minimizing emissions and maximizing heat distribution throughout the space.
One of the key characteristics of the Lennox EBSTPM-2 and EBSTNM-2 is their sleek, modern design. They are constructed with high-quality materials that not only enhance durability but also complement various interior aesthetics. The intuitive controls are user-friendly, making temperature adjustments quick and easy.
Safety features are paramount in both models, with built-in mechanisms that prevent overheating and ensure safe operation. This highlights Lennox’s commitment to user safety and product reliability. For added convenience, both models are equipped with an automatic ignition system, allowing for a hassle-free startup process.
Finally, the compact size of the EBSTPM-2 and EBSTNM-2 makes them suitable for a range of spaces, ensuring that homeowners can enjoy efficient heating without sacrificing valuable room space.
In conclusion, the Lennox Hearth EBSTPM-2 and EBSTNM-2 are exemplary models that combine innovative technology, safety, and eco-friendliness. Their ability to provide consistent and efficient heat makes them ideal choices for homeowners looking to enhance their comfort while also being mindful of energy consumption and the environment.

