4.Lower the adapter retaining latch until it snaps closed.
5.Insert the adapter into the Ultrabay media bay.
Note: For information on the Ultrabay media bay, refer to your system documentation that comes with your computer.
Installing the ThinkPad hard disk drive using the adapter
To install a ThinkPad hard disk drive using the adapter, do the following:
1.Remove the hard disk drive by doing the following:
a.Turn off your ThinkPad computer.
b.Disconnect the AC power adapter and all cables from the computer.
c.Close the display and turn the computer over.
d.Remove the battery.
e.Remove the screw that secures the hard disk drive.
f.Remove the cover, and then remove the hard disk drive by pulling on the tab.
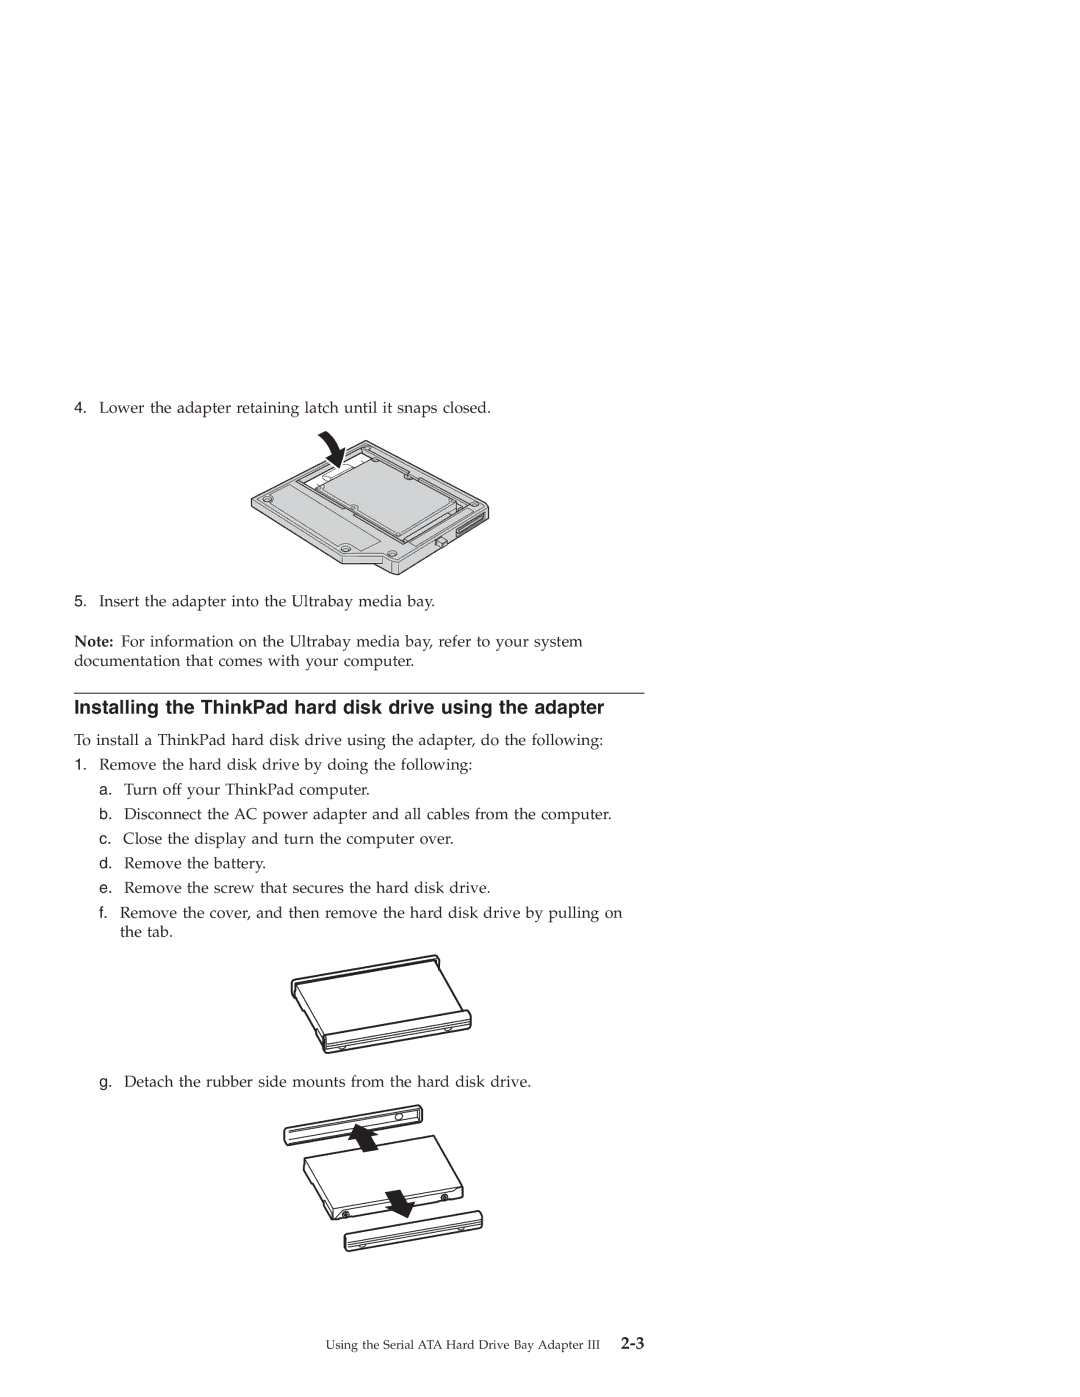
g.Detach the rubber side mounts from the hard disk drive.
Using the Serial ATA Hard Drive Bay Adapter III