5.PCMCIA CARD Checking Method
•You must adjust DTV 29 Channel and insert PCMCIA CARD to socket.
1) If PCMCIA CARD works normally, normal signals display on screen. But it works abnormally, "No CA module" words display on screen.
=> Caution: Set up "RF mode" before launching products.
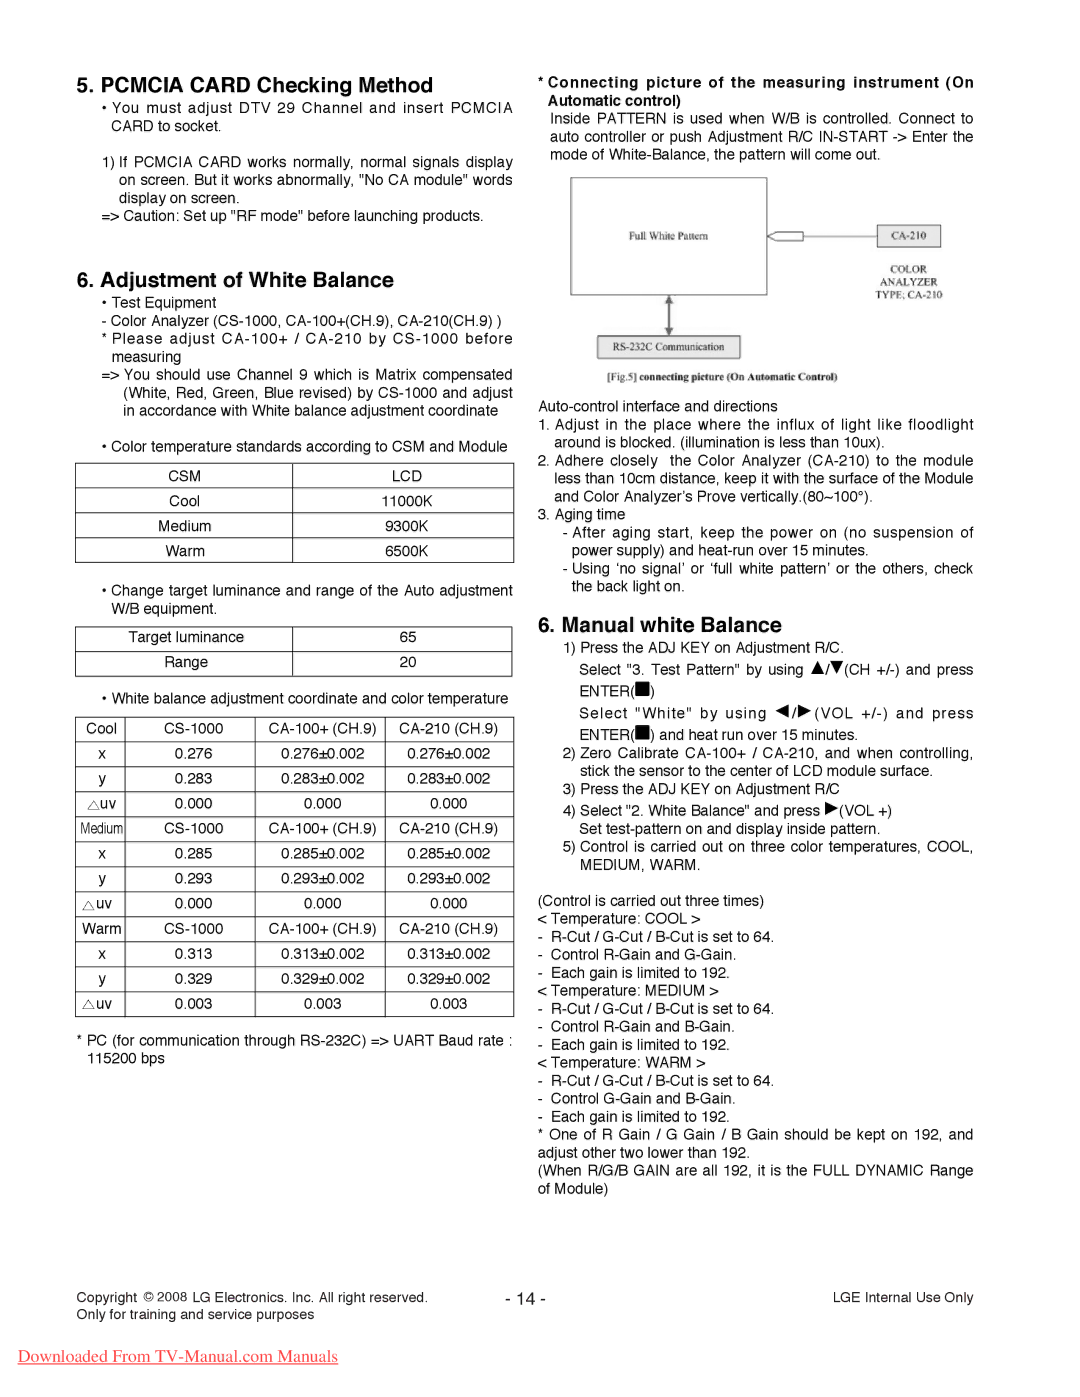
*Connecting picture of the measuring instrument (On Automatic control)
Inside PATTERN is used when W/B is controlled. Connect to auto controller or push Adjustment R/C
6. Adjustment of White Balance
• Test Equipment
-Color Analyzer
measuring
=> You should use Channel 9 which is Matrix compensated (White, Red, Green, Blue revised) by
• Color temperature standards according to CSM and Module
CSM | LCD |
|
|
Cool | 11000K |
|
|
Medium | 9300K |
|
|
Warm | 6500K |
|
|
•Change target luminance and range of the Auto adjustment W/B equipment.
Target luminance | 65 |
|
|
Range | 20 |
|
|
• White balance adjustment coordinate and color temperature
Cool | |||
|
|
|
|
x | 0.276 | 0.276±0.002 | 0.276±0.002 |
|
|
|
|
y | 0.283 | 0.283±0.002 | 0.283±0.002 |
|
|
|
|
uv | 0.000 | 0.000 | 0.000 |
|
|
|
|
Medium | |||
|
|
|
|
x | 0.285 | 0.285±0.002 | 0.285±0.002 |
|
|
|
|
y | 0.293 | 0.293±0.002 | 0.293±0.002 |
|
|
|
|
uv | 0.000 | 0.000 | 0.000 |
|
|
|
|
Warm | |||
|
|
|
|
x | 0.313 | 0.313±0.002 | 0.313±0.002 |
|
|
|
|
y | 0.329 | 0.329±0.002 | 0.329±0.002 |
|
|
|
|
uv | 0.003 | 0.003 | 0.003 |
|
|
|
|
*PC (for communication through
1.Adjust in the place where the influx of light like floodlight around is blocked. (illumination is less than 10ux).
2.Adhere closely the Color Analyzer
3.Aging time
-After aging start, keep the power on (no suspension of power supply) and
-Using ‘no signal’ or ‘full white pattern’ or the others, check the back light on.
6.Manual white Balance
1)Press the ADJ KEY on Adjustment R/C.
Select "3. Test Pattern" by using D/E(CH
Select "White" by using F/G(VOL
2)Zero Calibrate
3)Press the ADJ KEY on Adjustment R/C
4)Select "2. White Balance" and press G(VOL +) Set
5)Control is carried out on three color temperatures, COOL,
MEDIUM, WARM.
(Control is carried out three times) < Temperature: COOL >
-
-Control
-Each gain is limited to 192.
< Temperature: MEDIUM >
-
-Control
-Each gain is limited to 192.
< Temperature: WARM >
-
-Control
-Each gain is limited to 192.
*One of R Gain / G Gain / B Gain should be kept on 192, and adjust other two lower than 192.
(When R/G/B GAIN are all 192, it is the FULL DYNAMIC Range of Module)
Copyright C 2008 LG Electronics. Inc. All right reserved. | - 14 - | LGE Internal Use Only |
Only for training and service purposes |
|
|
Downloaded From