®
A Division of Cisco Systems, Inc.
Package Contents
•
• Setup Wizard
• User Guide on
• USB 2.0 Cable
• Network Cable
• Power Supply
• Quick Installation
• Registration Card
2.4802.11gGHz Wireless-G
|
| PrintServer |
| Wireless | Quick Installation |
|
| |
Model No. | WPS54G |
|
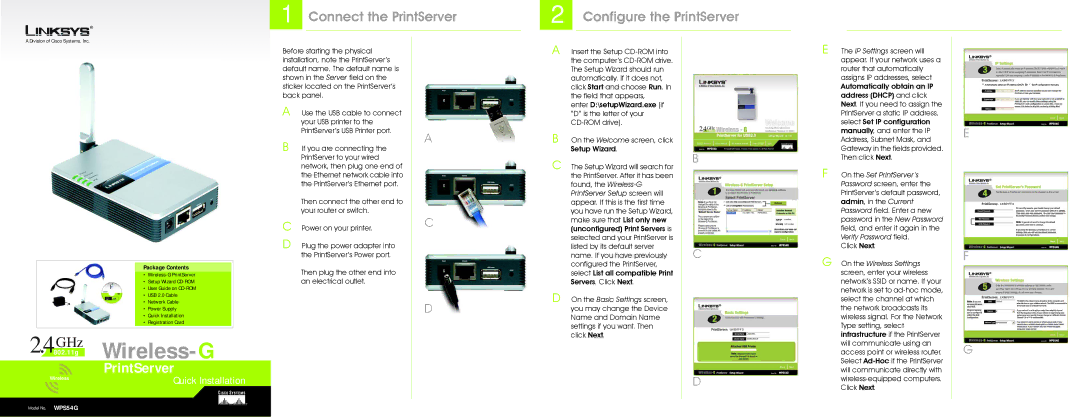
1 Connect the PrintServer
Before starting the physical |
| ||
installation, note the PrintServer’s |
| ||
default name. The default name is |
| ||
shown in the Server field on the |
| ||
sticker located on the PrintServer’s |
| ||
back panel. |
| ||
A Use the USB cable to connect |
| ||
| your USB printer to the |
| |
| PrintServer’s USB Printer port. | A | |
B | If you are connecting the | ||
| |||
| PrintServer to your wired |
| |
| network, then plug one end of |
| |
| the Ethernet network cable into |
| |
| the PrintServer’s Ethernet port. |
| |
| Then connect the other end to |
| |
| your router or switch. |
| |
C | Power on your printer. | C | |
| |||
D Plug the power adapter into |
| ||
| the PrintServer’s Power port. |
| |
| Then plug the other end into |
| |
| an electrical outlet. |
| |
|
| D | |
|
|
| |
2 Configure the PrintServer
A Insert the Setup |
| |
the computer’s |
| |
The Setup Wizard should run |
| |
automatically. If it does not, |
| |
click Start and choose Run. In |
| |
the field that appears, |
| |
enter D:\setupWizard.exe (if |
| |
“D” is the letter of your |
| |
| ||
B On the Welcome screen, click |
| |
Setup Wizard. | B | |
C The Setup Wizard will search for | ||
| ||
the PrintServer. After it has been |
| |
found, the |
| |
PrintServer Setup screen will |
| |
appear. If this is the first time |
| |
you have run the Setup Wizard, |
| |
make sure that List only new |
| |
(unconfigured) Print Servers is |
| |
selected and your PrintServer is |
| |
listed by its default server | C | |
name. If you have previously | ||
configured the PrintServer, |
| |
select List all compatible Print |
| |
Servers. Click Next. |
| |
D On the Basic Settings screen, |
| |
you may change the Device |
| |
Name and Domain Name |
| |
settings if you want. Then |
| |
click Next. |
|
D
E The IP Settings screen will appear. If your network uses a router that automatically assigns IP addresses, select Automatically obtain an IP address (DHCP) and click Next. If you need to assign the PrintServer a static IP address, select Set IP configuration manually, and enter the IP Address, Subnet Mask, and Gateway in the fields provided. Then click Next.
F On the Set PrintServer’s Password screen, enter the PrintServer’s default password, admin, in the Current Password field. Enter a new password in the New Password field, and enter it again in the Verify Password field.
Click Next.
G On the Wireless Settings screen, enter your wireless network’s SSID or name. If your network is set to
E
F
G
