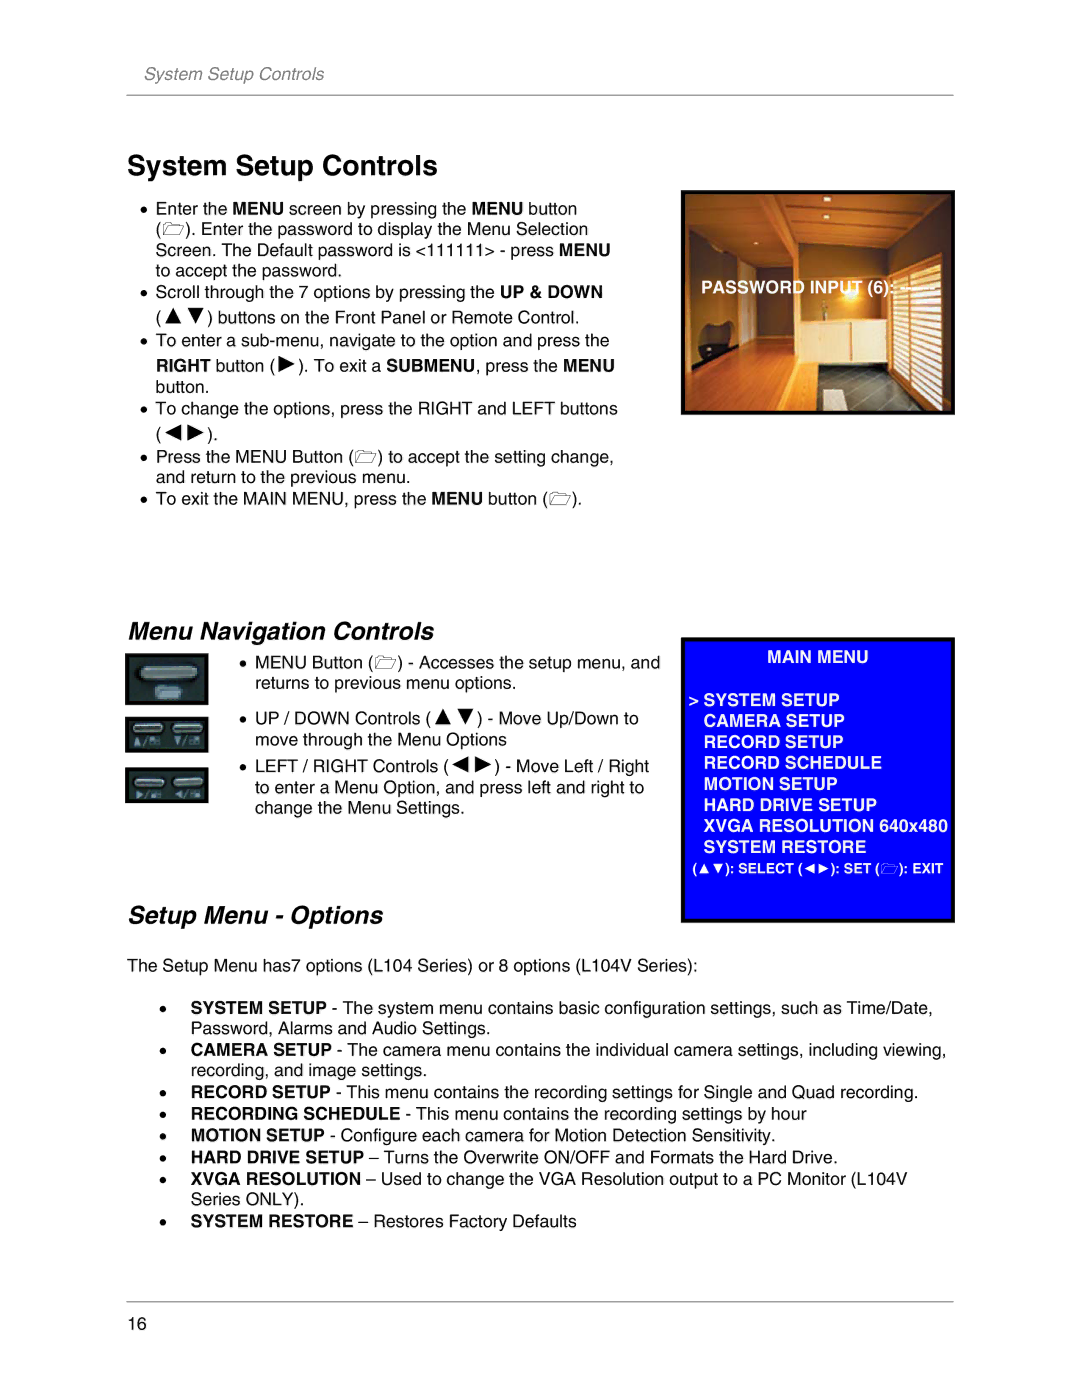
L104V Series specifications
The LOREX Technology L104V Series is a popular line of security cameras designed for both residential and commercial surveillance applications. Known for its advanced features and user-friendly interface, this series offers an impressive level of security and peace of mind for users.One of the standout features of the L104V Series is its high-resolution video quality. With the capability to record in Full HD 1080p, users can expect clear and detailed footage, making identification of individuals and events a straightforward process. This level of resolution is especially important for monitoring large areas or capturing small details, such as license plates or facial features.
The L104V Series employs infrared night vision technology, allowing users to maintain visibility even in low-light conditions. This feature is crucial for 24/7 surveillance, enabling effective monitoring during the night or in poorly lit areas. The integrated infrared LEDs ensure that the camera can capture clear images even in total darkness, making it a reliable choice for round-the-clock security.
Another notable characteristic of the LOREX L104V Series is its weatherproof design. These cameras are rated for outdoor use, meaning they can withstand various environmental conditions, including rain, snow, and dust. This durability ensures that the cameras will continue to perform effectively regardless of the weather, providing consistent surveillance throughout the year.
The L104V Series also incorporates advanced motion detection technology. Users benefit from customizable motion detection zones, allowing them to set specific areas to monitor for movement. This feature reduces the number of false alerts and helps users focus on relevant events, enhancing the overall efficiency of the surveillance system.
In terms of installation, the LOREX L104V Series is designed for ease of use. The cameras can be integrated into existing systems with minimal hassle, and their flexible mounting options allow for versatile placement in various settings. Additionally, the series supports remote viewing capabilities through mobile apps or desktop software, enabling users to access live feeds and recorded footage from anywhere.
Overall, the LOREX Technology L104V Series stands out for its combination of high-definition video quality, night vision capabilities, rugged weatherproof design, and user-friendly features. Whether for home security or business applications, this series offers reliable performance that meets the demands of modern surveillance. With these advanced technologies, users can feel confident in their ability to monitor their properties effectively.

