Menu Setup
Camera Setup
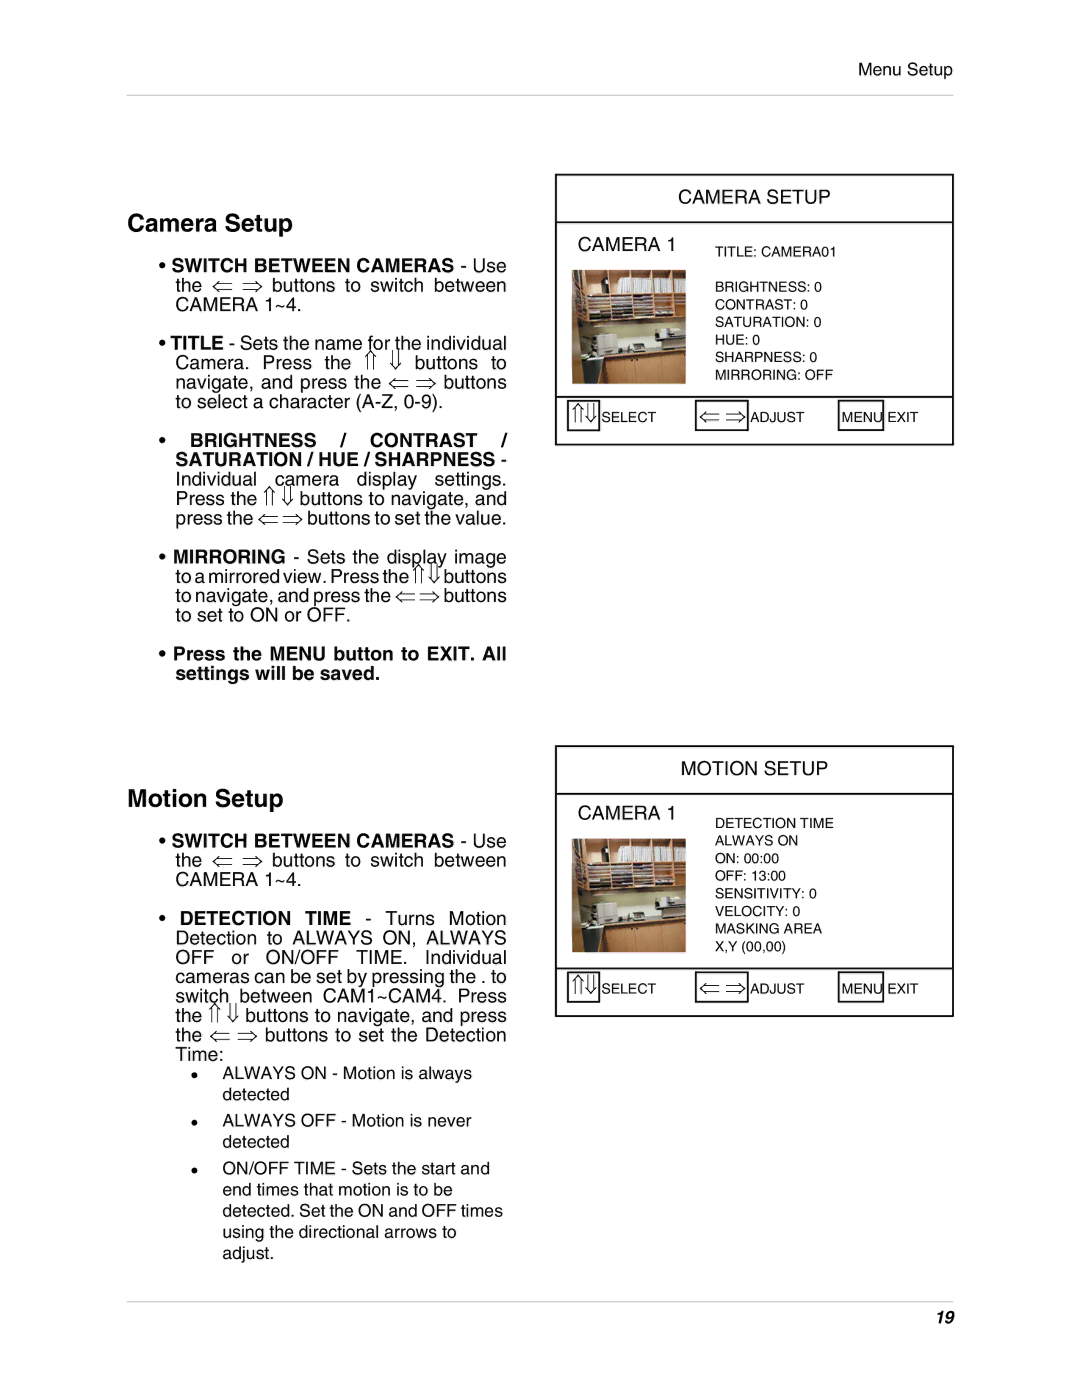
•SWITCH BETWEEN CAMERAS - Use the ⇐ ⇒ buttons to switch between CAMERA 1~4.
•TITLE - Sets the name for the individual Camera. Press the ⇑ ⇓ buttons to navigate, and press the ⇐ ⇒ buttons to select a character
•BRIGHTNESS / CONTRAST / SATURATION / HUE / SHARPNESS -
Individual camera display settings. Press the ⇑ ⇓ buttons to navigate, and press the ⇐ ⇒ buttons to set the value.
•MIRRORING - Sets the display image to a mirrored view. Press the ⇑ ⇓ buttons to navigate, and press the ⇐ ⇒ buttons to set to ON or OFF.
•Press the MENU button to EXIT. All settings will be saved.
CAMERA SETUP
| CAMERA 1 | TITLE: CAMERA01 |
|
| ||
|
|
|
|
| ||
|
|
| BRIGHTNESS: 0 |
|
| |
|
|
| CONTRAST: 0 |
|
| |
|
|
| SATURATION: 0 |
|
| |
|
|
| HUE: 0 |
|
| |
|
|
| SHARPNESS: 0 |
|
| |
|
|
| MIRRORING: OFF |
|
| |
|
|
|
|
|
|
|
|
|
|
| ADJUST |
|
|
| ⇑⇓ | SELECT | ⇐ ⇒ | MENU | EXIT | |
|
|
|
|
|
|
|
Motion Setup
•SWITCH BETWEEN CAMERAS - Use the ⇐ ⇒ buttons to switch between CAMERA 1~4.
•DETECTION TIME - Turns Motion Detection to ALWAYS ON, ALWAYS OFF or ON/OFF TIME. Individual cameras can be set by pressing the . to
switch between CAM1~CAM4. Press the ⇑ ⇓ buttons to navigate, and press the ⇐ ⇒ buttons to set the Detection Time:
z ALWAYS ON - Motion is always detected
zALWAYS OFF - Motion is never detected
zON/OFF TIME - Sets the start and end times that motion is to be detected. Set the ON and OFF times using the directional arrows to adjust.
MOTION SETUP
| CAMERA 1 | DETECTION TIME |
|
| ||
|
|
|
|
| ||
|
|
| ALWAYS ON |
|
| |
|
|
| ON: 00:00 |
|
| |
|
|
| OFF: 13:00 |
|
| |
|
|
| SENSITIVITY: 0 |
|
| |
|
|
| VELOCITY: 0 |
|
| |
|
|
| MASKING AREA |
|
| |
|
|
| X,Y (00,00) |
|
| |
|
|
|
|
|
|
|
|
|
|
| ADJUST |
|
|
| ⇑⇓ | SELECT | ⇐ ⇒ | MENU | EXIT | |
|
|
|
|
|
|
|
19
