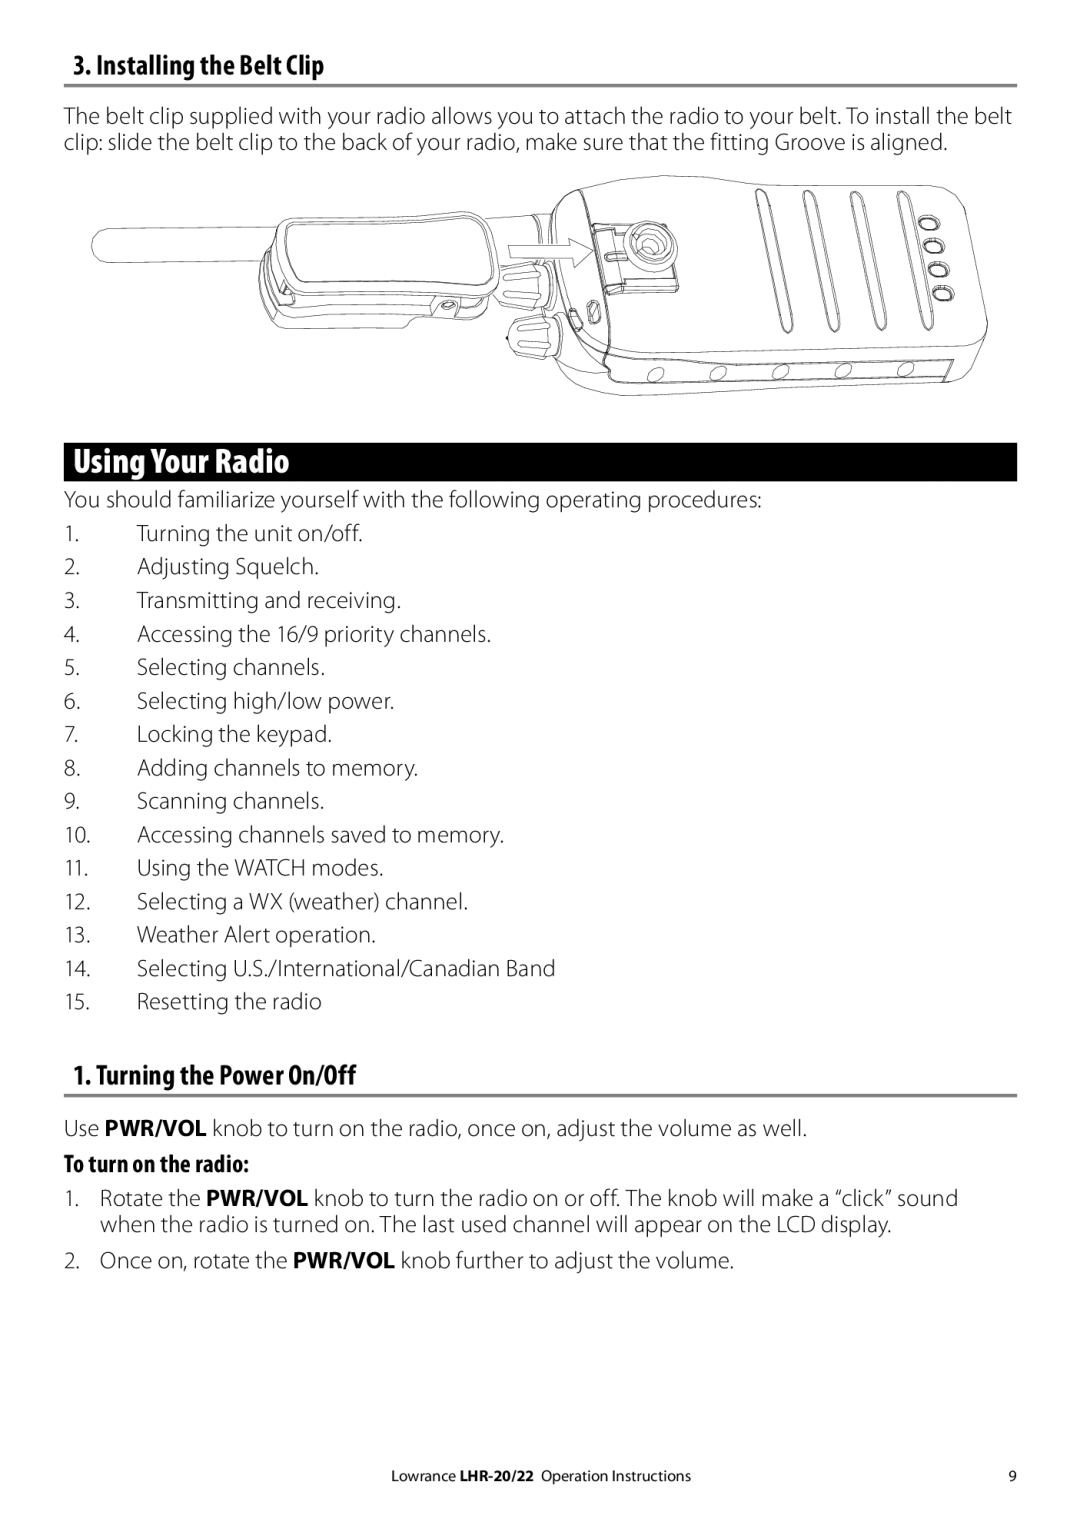
3. Installing the Belt Clip
The belt clip supplied with your radio allows you to attach the radio to your belt. To install the belt clip: slide the belt clip to the back of your radio, make sure that the fitting Groove is aligned.
Using Your Radio
You should familiarize yourself with the following operating procedures:
1.Turning the unit on/off.
2.Adjusting Squelch.
3.Transmitting and receiving.
4.Accessing the 16/9 priority channels.
5.Selecting channels.
6.Selecting high/low power.
7.Locking the keypad.
8.Adding channels to memory.
9.Scanning channels.
10.Accessing channels saved to memory.
11.Using the WATCH modes.
12.Selecting a WX (weather) channel.
13.Weather Alert operation.
14.Selecting U.S./International/Canadian Band
15.Resetting the radio
1. Turning the Power On/Off
Use PWR/VOL knob to turn on the radio, once on, adjust the volume as well.
To turn on the radio:
1.Rotate the PWR/VOL knob to turn the radio on or off. The knob will make a “click” sound when the radio is turned on. The last used channel will appear on the LCD display.
2.Once on, rotate the PWR/VOL knob further to adjust the volume.
Lowrance | 9 |