Layout
Whenever possible, plan the layout so that the joints in the planks do not fall on top of joints or seams in the existing substrate.The end joints of the planks should be staggered a minimum of 6˝ apart. Do not install over expansion joints.
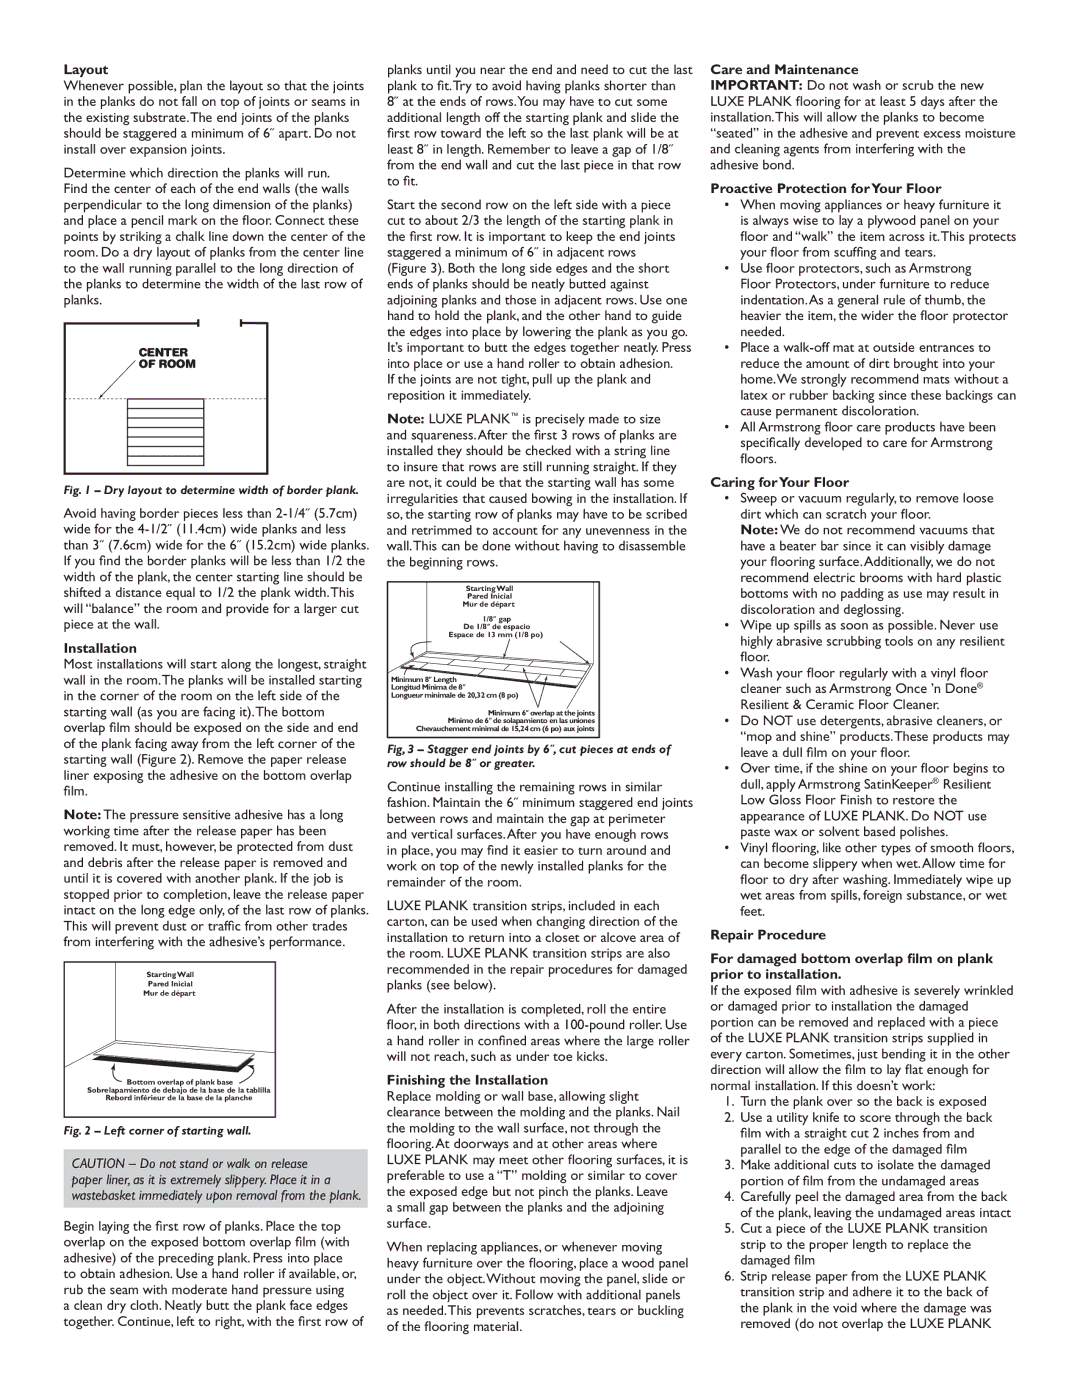
Determine which direction the planks will run. Find the center of each of the end walls (the walls perpendicular to the long dimension of the planks) and place a pencil mark on the floor. Connect these points by striking a chalk line down the center of the room. Do a dry layout of planks from the center line to the wall running parallel to the long direction of the planks to determine the width of the last row of planks.
CENTER
 OF ROOM
Fig. 1 – Dry layout to determine width of border plank.
Avoid having border pieces less than 2-1/4˝ (5.7cm) wide for the 4-1/2˝ (11.4cm) wide planks and less than 3˝ (7.6cm) wide for the 6˝ (15.2cm) wide planks. If you find the border planks will be less than 1/2 the width of the plank, the center starting line should be shifted a distance equal to 1/2 the plank width.This will “balance” the room and provide for a larger cut piece at the wall.
Installation
Most installations will start along the longest, straight wall in the room.The planks will be installed starting in the corner of the room on the left side of the starting wall (as you are facing it).The bottom overlap film should be exposed on the side and end of the plank facing away from the left corner of the starting wall (Figure 2). Remove the paper release liner exposing the adhesive on the bottom overlap film.
Note: The pressure sensitive adhesive has a long working time after the release paper has been removed. It must, however, be protected from dust and debris after the release paper is removed and until it is covered with another plank. If the job is stopped prior to completion, leave the release paper intact on the long edge only, of the last row of planks. This will prevent dust or traffic from other trades from interfering with the adhesive’s performance.
Starting Wall
Pared Inicial
Mur de départ
Bottom overlap of plank base
Sobrelapamiento de debajo de la base de la tablilla
Rebord inférieur de la base de la planche
Fig. 2 – Left corner of starting wall.
CAUTION – Do not stand or walk on release paper liner, as it is extremely slippery. Place it in a wastebasket immediately upon removal from the plank.
Begin laying the first row of planks. Place the top overlap on the exposed bottom overlap film (with adhesive) of the preceding plank. Press into place to obtain adhesion. Use a hand roller if available, or, rub the seam with moderate hand pressure using a clean dry cloth. Neatly butt the plank face edges together. Continue, left to right, with the first row of
planks until you near the end and need to cut the last plank to fit.Try to avoid having planks shorter than 8˝ at the ends of rows.You may have to cut some additional length off the starting plank and slide the first row toward the left so the last plank will be at least 8˝ in length. Remember to leave a gap of 1/8˝ from the end wall and cut the last piece in that row to fit.
Start the second row on the left side with a piece cut to about 2/3 the length of the starting plank in the first row. It is important to keep the end joints staggered a minimum of 6˝ in adjacent rows (Figure 3). Both the long side edges and the short ends of planks should be neatly butted against adjoining planks and those in adjacent rows. Use one hand to hold the plank, and the other hand to guide the edges into place by lowering the plank as you go. It’s important to butt the edges together neatly. Press into place or use a hand roller to obtain adhesion.
If the joints are not tight, pull up the plank and reposition it immediately.
Note: Luxe plank™ is precisely made to size and squareness.After the first 3 rows of planks are installed they should be checked with a string line to insure that rows are still running straight. If they are not, it could be that the starting wall has some irregularities that caused bowing in the installation. If so, the starting row of planks may have to be scribed and retrimmed to account for any unevenness in the wall.This can be done without having to disassemble the beginning rows.
Starting Wall
Pared Inicial
Mur de départ
1/8” gap
De 1/8” de espacio Espace de 13 mm (1/8 po)
Minimum 8” Length
Longitud Mínima de 8”
Longueur minimale de 20,32 cm (8 po)
Minimum 6” overlap at the joints
Mínimo de 6” de solapamiento en las uniones
Chevauchement minimal de 15,24 cm (6 po) aux joints
Fig, 3 – Stagger end joints by 6˝, cut pieces at ends of row should be 8˝ or greater.
Continue installing the remaining rows in similar fashion. Maintain the 6˝ minimum staggered end joints between rows and maintain the gap at perimeter and vertical surfaces.After you have enough rows
in place, you may find it easier to turn around and work on top of the newly installed planks for the remainder of the room.
LUXE PLANK transition strips, included in each carton, can be used when changing direction of the installation to return into a closet or alcove area of the room. LUXE PLANK transition strips are also recommended in the repair procedures for damaged planks (see below).
After the installation is completed, roll the entire floor, in both directions with a 100-pound roller. Use a hand roller in confined areas where the large roller will not reach, such as under toe kicks.
Finishing the Installation
Replace molding or wall base, allowing slight clearance between the molding and the planks. Nail the molding to the wall surface, not through the flooring.At doorways and at other areas where Luxe Plank may meet other flooring surfaces, it is preferable to use a “T” molding or similar to cover the exposed edge but not pinch the planks. Leave
a small gap between the planks and the adjoining surface.
When replacing appliances, or whenever moving heavy furniture over the flooring, place a wood panel under the object.Without moving the panel, slide or roll the object over it. Follow with additional panels as needed.This prevents scratches, tears or buckling of the flooring material.
Care and Maintenance
IMPORTANT: Do not wash or scrub the new Luxe Plank flooring for at least 5 days after the installation.This will allow the planks to become “seated” in the adhesive and prevent excess moisture and cleaning agents from interfering with the adhesive bond.
Proactive Protection forYour Floor
•When moving appliances or heavy furniture it is always wise to lay a plywood panel on your floor and “walk” the item across it.This protects your floor from scuffing and tears.
•Use floor protectors, such as Armstrong
Floor Protectors, under furniture to reduce indentation.As a general rule of thumb, the heavier the item, the wider the floor protector needed.
•Place a walk-off mat at outside entrances to reduce the amount of dirt brought into your home.We strongly recommend mats without a latex or rubber backing since these backings can cause permanent discoloration.
•All Armstrong floor care products have been specifically developed to care for Armstrong floors.
Caring forYour Floor
•Sweep or vacuum regularly, to remove loose dirt which can scratch your floor.
Note: We do not recommend vacuums that have a beater bar since it can visibly damage your flooring surface.Additionally, we do not recommend electric brooms with hard plastic bottoms with no padding as use may result in discoloration and deglossing.
•Wipe up spills as soon as possible. Never use highly abrasive scrubbing tools on any resilient floor.
•Wash your floor regularly with a vinyl floor cleaner such as Armstrong Once ’n Done® Resilient & Ceramic Floor Cleaner.
•Do NOT use detergents, abrasive cleaners, or
“mop and shine” products.These products may leave a dull film on your floor.
•Over time, if the shine on your floor begins to dull, apply Armstrong SatinKeeper® Resilient Low Gloss Floor Finish to restore the appearance of Luxe Plank. Do NOT use paste wax or solvent based polishes.
•Vinyl flooring, like other types of smooth floors, can become slippery when wet.Allow time for floor to dry after washing. Immediately wipe up wet areas from spills, foreign substance, or wet feet.
Repair Procedure
For damaged bottom overlap film on plank prior to installation.
If the exposed film with adhesive is severely wrinkled or damaged prior to installation the damaged portion can be removed and replaced with a piece of the LUXE PLANK transition strips supplied in every carton. Sometimes, just bending it in the other direction will allow the film to lay flat enough for normal installation. If this doesn’t work:
1.Turn the plank over so the back is exposed
2.Use a utility knife to score through the back film with a straight cut 2 inches from and parallel to the edge of the damaged film
3.Make additional cuts to isolate the damaged portion of film from the undamaged areas
4.Carefully peel the damaged area from the back of the plank, leaving the undamaged areas intact
5.Cut a piece of the Luxe Plank transition strip to the proper length to replace the damaged film
6.Strip release paper from the LUXE PLANK transition strip and adhere it to the back of the plank in the void where the damage was removed (do not overlap the LUXE PLANK