
25 specifications
M-Audio, a prominent name in the world of music production equipment, offers a diverse range of MIDI controllers to cater to the needs of musicians and producers. Among its lineup, the M-Audio 25 stands out as a compact yet powerful keyboard that appeals to both beginners and experienced users alike.The M-Audio 25 features a 25-key velocity-sensitive keyboard, providing a responsive playing experience that allows musicians to express their creativity effectively. The keys are designed to replicate the feel of an acoustic keyboard, making it comfortable for extended sessions of play and composition. Despite its compact size, the instrument maintains a professional quality, ensuring that users do not have to compromise on performance.
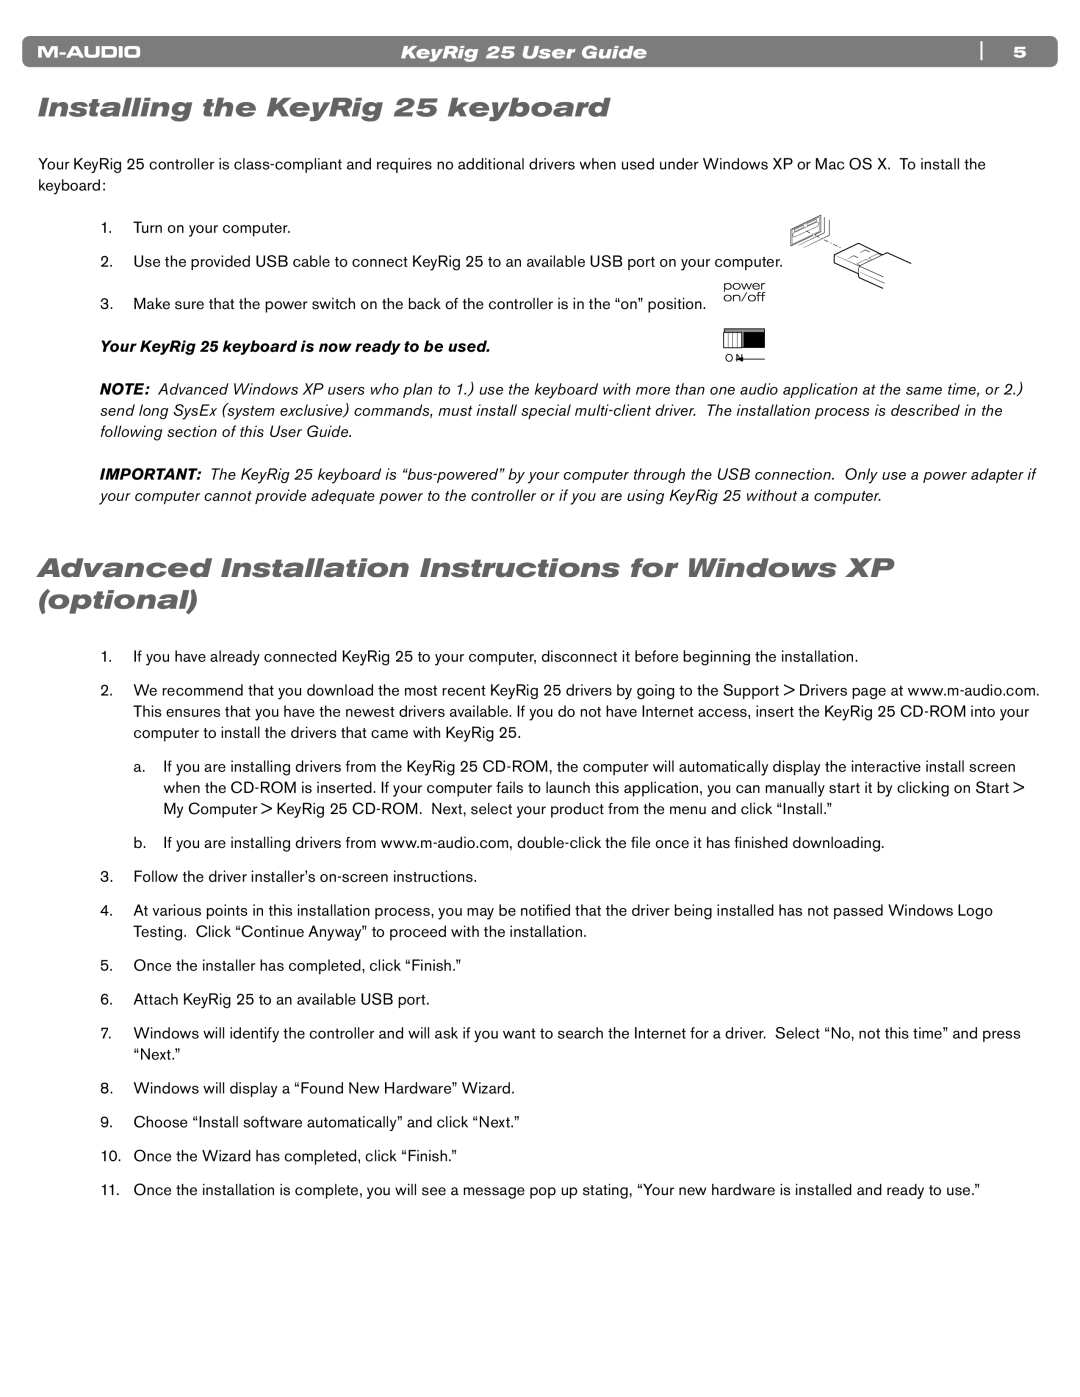
One of the standout technologies featured in the M-Audio 25 is its ergonomic design, which makes it highly portable. Weighing in at just a few pounds, it can easily fit into a backpack or gig bag, making it an ideal choice for musicians on the go. This portability does not detract from its functionality, as the controller includes a variety of knobs, pads, and buttons for dynamic control of software synthesizers and DAWs (Digital Audio Workstations).
Another key characteristic of the M-Audio 25 is its comprehensive software bundle, which enhances its value significantly. It typically includes a selection of virtual instruments, production software, and plugins that empower users to start making music right out of the box. This integrated approach helps to streamline the music production process for users of all skill levels.
In terms of connectivity, the M-Audio 25 offers USB connectivity, allowing for a simple plug-and-play setup. There's no need for cumbersome external power supplies, as the keyboard draws power directly from the computer. This user-friendly aspect is perfect for laptop musicians working in live settings or home studios.
The pads on the M-Audio 25 are pressure-sensitive, allowing for expressive playing styles, whether drumming or triggering samples. The knobs and faders are assignable, granting users the flexibility to customize the controller according to their specific needs and preferences.
In conclusion, the M-Audio 25 is a compact MIDI controller that brings together key features like velocity-sensitive keys, portable design, and an array of control options. It caters to musicians seeking versatility, responsiveness, and convenience in their music production workflow, making it a valuable addition to any setup.