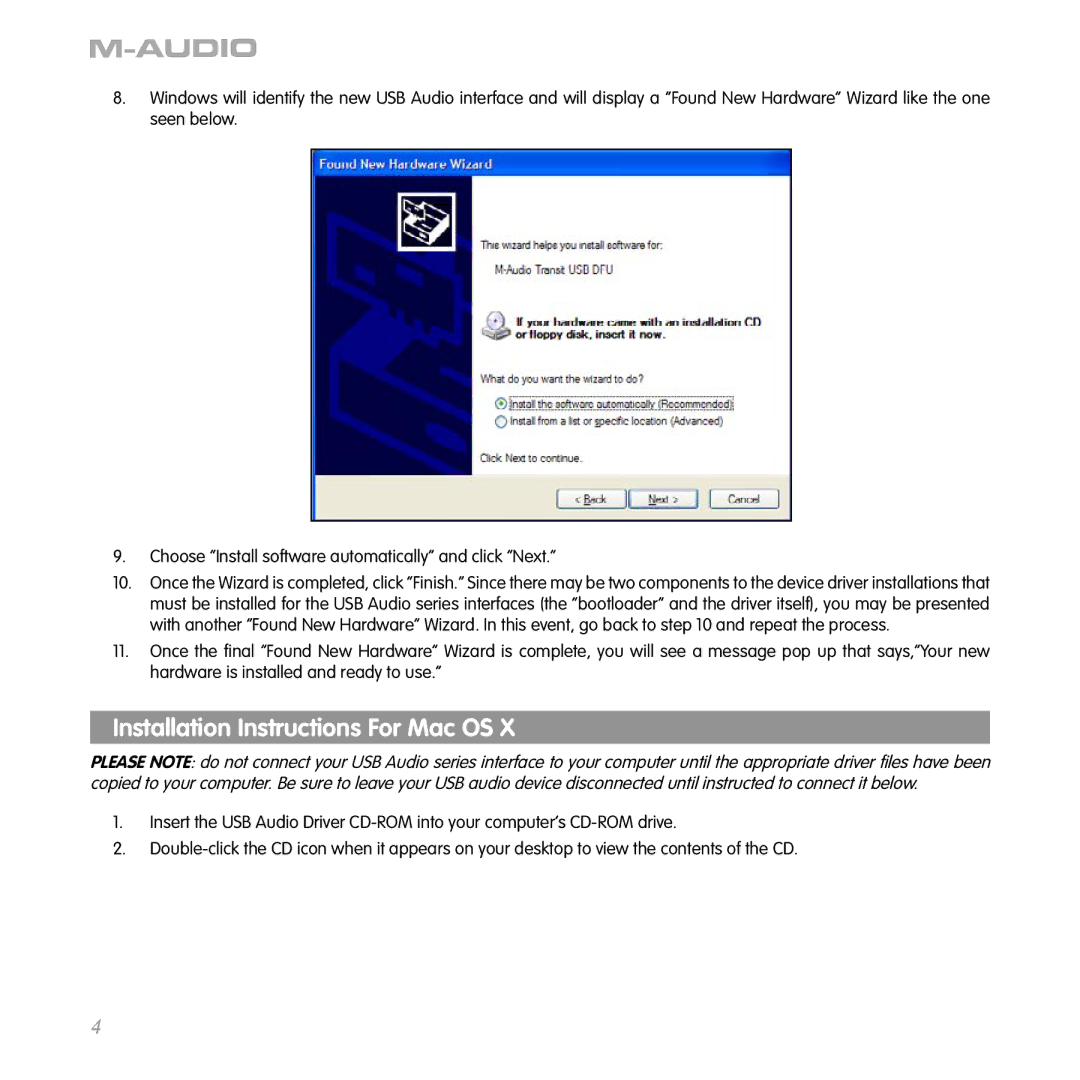
8.Windows will identify the new USB Audio interface and will display a “Found New Hardware” Wizard like the one seen below.
9.Choose “Install software automatically” and click “Next.”
10.Once the Wizard is completed, click “Finish.” Since there may be two components to the device driver installations that must be installed for the USB Audio series interfaces (the “bootloader” and the driver itself), you may be presented with another “Found New Hardware” Wizard. In this event, go back to step 10 and repeat the process.
11.Once the final “Found New Hardware” Wizard is complete, you will see a message pop up that says,“Your new hardware is installed and ready to use.”
Installation Instructions For Mac OS X
PLEASE NOTE: do not connect your USB Audio series interface to your computer until the appropriate driver files have been copied to your computer. Be sure to leave your USB audio device disconnected until instructed to connect it below.
1.Insert the USB Audio Driver
2.
4
