Fast Track Pro | USB Audio Series Quick Start Guide |
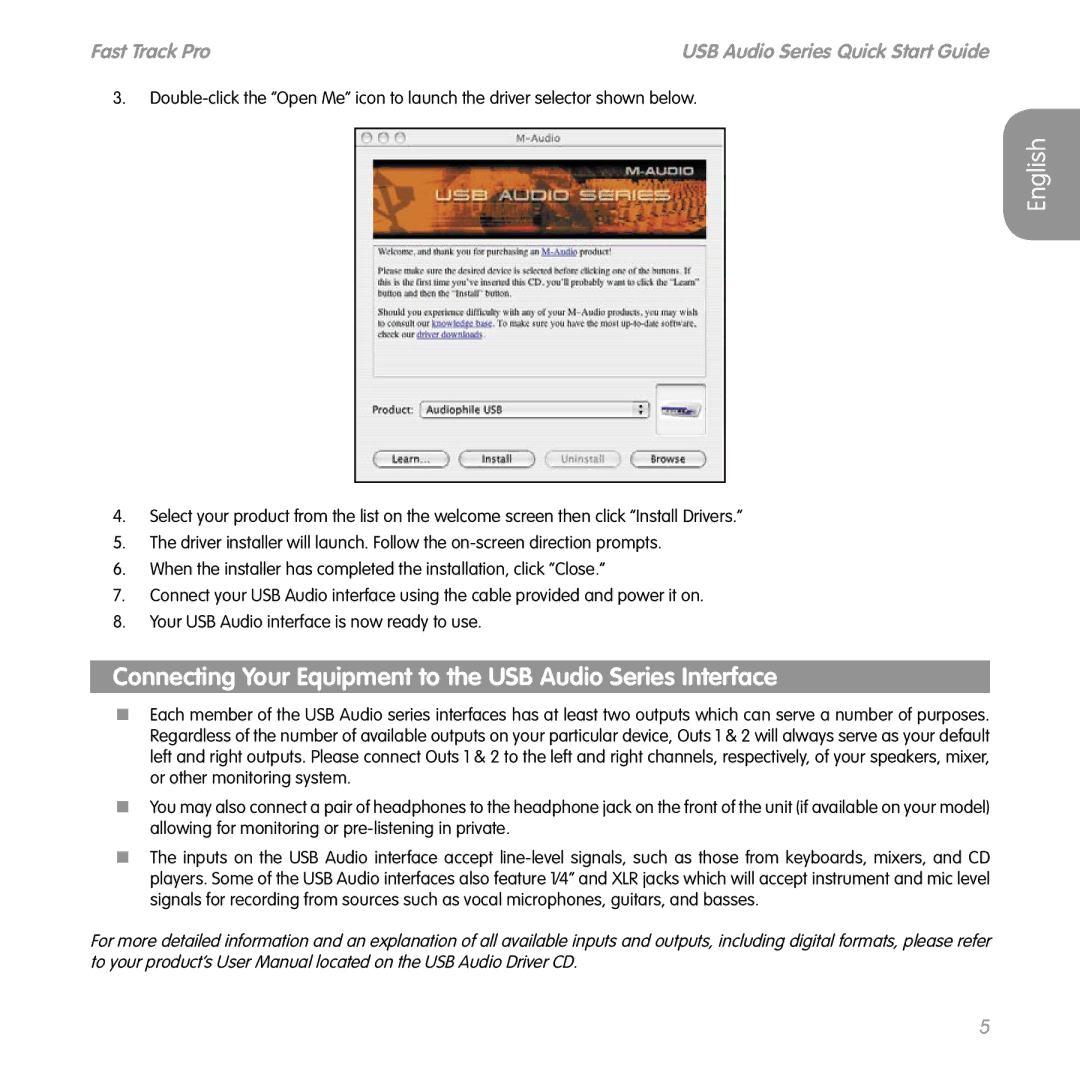
3.
English
4.Select your product from the list on the welcome screen then click “Install Drivers.”
5.The driver installer will launch. Follow the
6.When the installer has completed the installation, click “Close.”
7.Connect your USB Audio interface using the cable provided and power it on.
8.Your USB Audio interface is now ready to use.
Connecting Your Equipment to the USB Audio Series Interface
<Each member of the USB Audio series interfaces has at least two outputs which can serve a number of purposes. Regardless of the number of available outputs on your particular device, Outs 1 & 2 will always serve as your default left and right outputs. Please connect Outs 1 & 2 to the left and right channels, respectively, of your speakers, mixer, or other monitoring system.
<You may also connect a pair of headphones to the headphone jack on the front of the unit (if available on your model) allowing for monitoring or
<The inputs on the USB Audio interface accept
For more detailed information and an explanation of all available inputs and outputs, including digital formats, please refer to your product’s User Manual located on the USB Audio Driver CD.
5