Assigning MMC Control to a Button

1.Select the button to control the MMC message.

2.Press the Advanced Function button.

3.Press the Control Assign key. Type the number 149 with the keypad, and confirm by pressing the Enter key.

4.Press the Advanced Function button.

5.Press the Channel Assign key.

6.Enter 127 using the key pad, then press Enter. This ensures all receiving devices will respond to the MMC message.

7.Press the Advanced Function button.

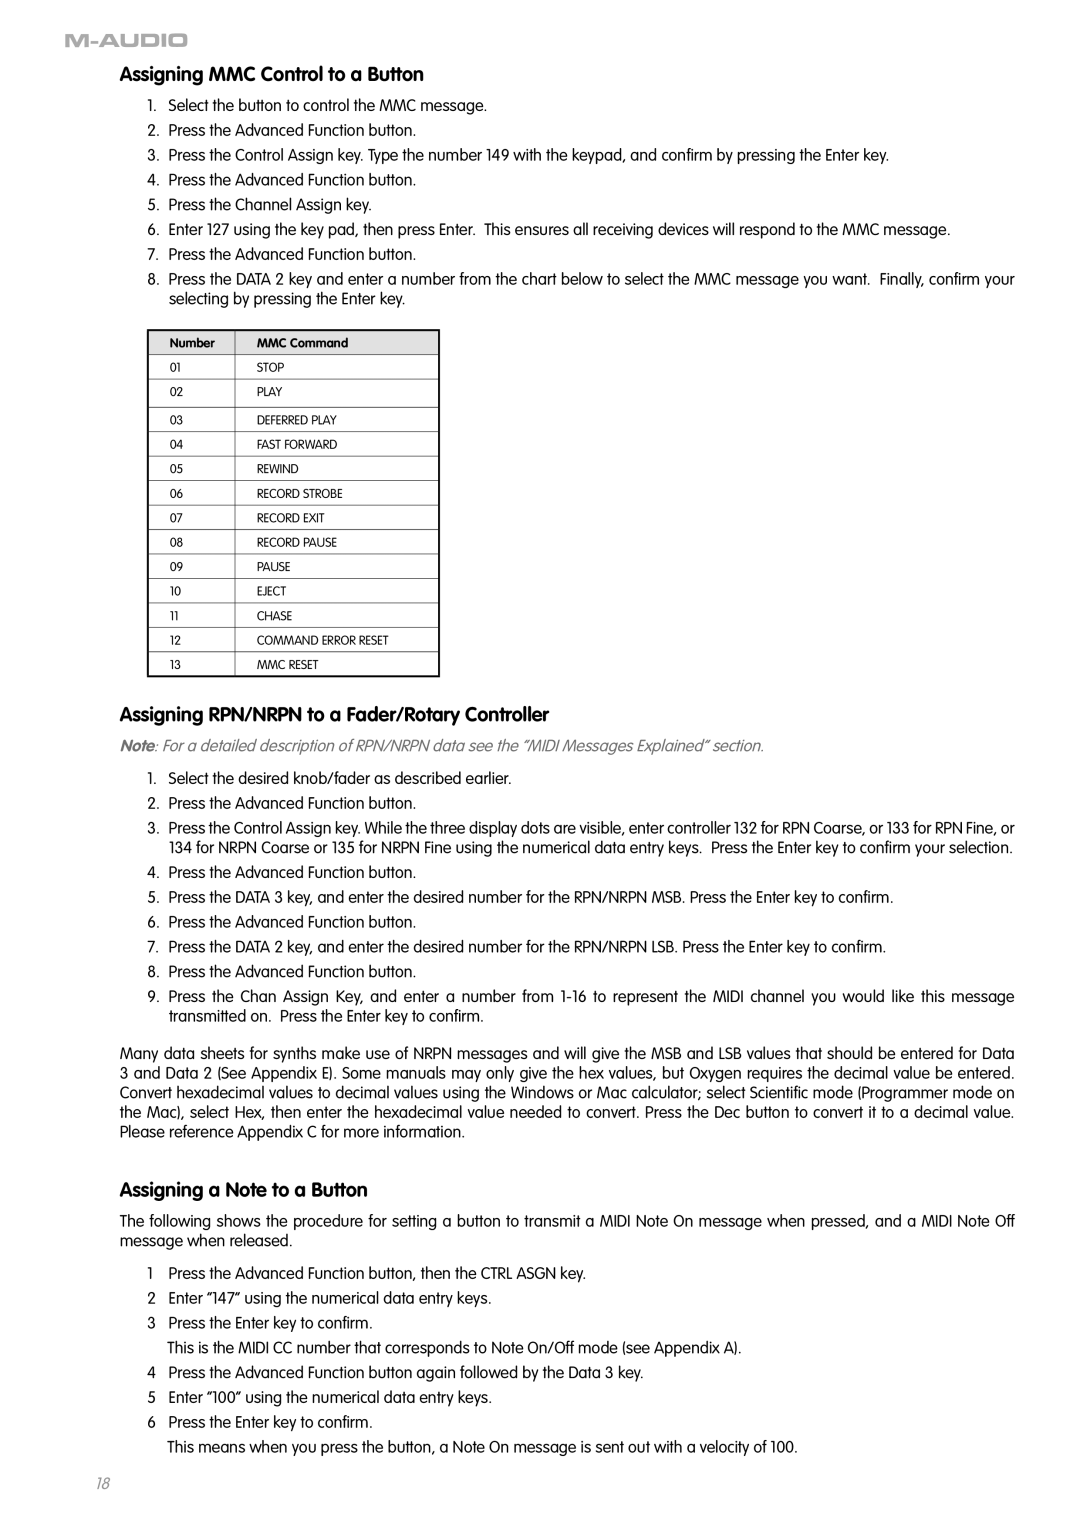
8.Press the DATA 2 key and enter a number from the chart below to select the MMC message you want. Finally, confirm your selecting by pressing the Enter key.

Number

MMC Command


01

STOP


02

PLAY


03

DEFERRED PLAY


04

FAST FORWARD


05

REWIND


06

RECORD STROBE


07

RECORD EXIT


08

RECORD PAUSE

09PAUSE

10EJECT

11CHASE

12COMMAND ERROR RESET

13MMC RESET

Assigning RPN/NRPN to a Fader/Rotary Controller

Note: For a detailed description of RPN/NRPN data see the “MIDI Messages Explained” section.

1.Select the desired knob/fader as described earlier.

2.Press the Advanced Function button.

3.Press the Control Assign key. While the three display dots are visible, enter controller 132 for RPN Coarse, or 133 for RPN Fine, or 134 for NRPN Coarse or 135 for NRPN Fine using the numerical data entry keys. Press the Enter key to confirm your selection.

4.Press the Advanced Function button.

5.Press the DATA 3 key, and enter the desired number for the RPN/NRPN MSB. Press the Enter key to confirm.

6.Press the Advanced Function button.

7.Press the DATA 2 key, and enter the desired number for the RPN/NRPN LSB. Press the Enter key to confirm.

8.Press the Advanced Function button.

9.Press the Chan Assign Key, and enter a number from 1-16 to represent the MIDI channel you would like this message transmitted on. Press the Enter key to confirm.

Many data sheets for synths make use of NRPN messages and will give the MSB and LSB values that should be entered for Data 3 and Data 2 (See Appendix E). Some manuals may only give the hex values, but Oxygen requires the decimal value be entered. Convert hexadecimal values to decimal values using the Windows or Mac calculator; select Scientific mode (Programmer mode on the Mac), select Hex, then enter the hexadecimal value needed to convert. Press the Dec button to convert it to a decimal value. Please reference Appendix C for more information.

Assigning a Note to a Button

The following shows the procedure for setting a button to transmit a MIDI Note On message when pressed, and a MIDI Note Off message when released.

1Press the Advanced Function button, then the CTRL ASGN key.

2 Enter “147” using the numerical data entry keys.

3 Press the Enter key to confirm.

This is the MIDI CC number that corresponds to Note On/Off mode (see Appendix A).

4 Press the Advanced Function button again followed by the Data 3 key.

5 Enter “100” using the numerical data entry keys.

6 Press the Enter key to confirm.

This means when you press the button, a Note On message is sent out with a velocity of 100.

18

Page 17
Image 17
M-Audio OXYGEN 8 V2 manual Assigning MMC Control to a Button, Assigning RPN/NRPN to a Fader/Rotary Controller

OXYGEN 8 V2 specifications

The M-Audio OXYGEN 8 V2 is a compact, highly versatile MIDI controller designed to enhance the creative workflow of musicians and producers. Its portable design, combined with an array of features, makes it a perfect choice for both studio and live performance settings.

One of the standout characteristics of the OXYGEN 8 V2 is its 32 velocity-sensitive keys. These mini keys provide a responsive playing experience, allowing for expressive performances that can capture the nuances of each note. The velocity sensitivity means that the harder you play, the louder the sound, which is particularly beneficial for expressive playing styles.

Another significant feature of the OXYGEN 8 V2 is its bank of eight assignable knobs. These knobs can be mapped to various parameters within your DAW or virtual instruments, enabling you to control volume levels, pan settings, or any other parameter at your fingertips. This level of customization allows musicians to tailor the controller to their specific workflow and preferences.

The controller also includes eight backlit drum pads that are perfect for finger drumming, triggering samples, or launching clips in performance settings. These pads are sensitive to pressure, providing dynamic control over MIDI notes for rhythmic play. The ability to assign different functions to these pads makes them a versatile tool for live performances and studio compositions alike.

The OXYGEN 8 V2 features a transport control section that allows for seamless interaction with your DAW. With buttons for play, stop, record, and more, you can easily navigate your sessions without having to reach for your mouse, streamlining the creative process.

With USB bus power, the M-Audio OXYGEN 8 V2 eliminates the need for an external power supply, making it ideal for mobile musicians and producers. The plug-and-play capability ensures that it is compatible with most major DAWs on the market, including Ableton Live, Pro Tools, and Logic Pro, allowing for quick setup.

Combining portability, versatility, and functionality, the M-Audio OXYGEN 8 V2 is an excellent tool for any musician looking to enhance their production and performance capabilities. Whether you are a beginner or an experienced professional, this controller supports a wide range of creative possibilities, making it a valuable addition to any musical setup.