VR601BMX, VR401BMX specifications
The Magnavox VR601BMX and VR401BMX are two notable models from the renowned electronics brand Magnavox, catering to enthusiasts looking for quality and performance in the realm of VHS playback and recording. These devices blend classic functionality with modern features, appealing to both retro aficionados and those in need of reliable video playback solutions.The VR601BMX stands out with its advanced capabilities, including a built-in VCR and DVD player combination. This allows users to enjoy a variety of media formats, transitioning smoothly between VHS tapes and DVDs. The device supports a wide range of playback options, ensuring compatibility with old tapes and newer disc formats alike. One of its most appreciated features is the S-VHS (Super VHS) playback, which offers superior picture quality compared to standard VHS. This makes it an excellent choice for individuals looking to relive cherished memories stored on S-VHS tapes.
Meanwhile, the VR401BMX focuses primarily on VHS playback, delivering dependable performance without the complications of multiple formats. This model emphasizes simplicity and ease of use, making it ideal for those who primarily own VHS collections. The VR401BMX also provides reliable recording features, allowing users to transfer shows from cable or satellite directly onto tapes. This functionality is a boon for those who wish to preserve live broadcasts or favorite programs.
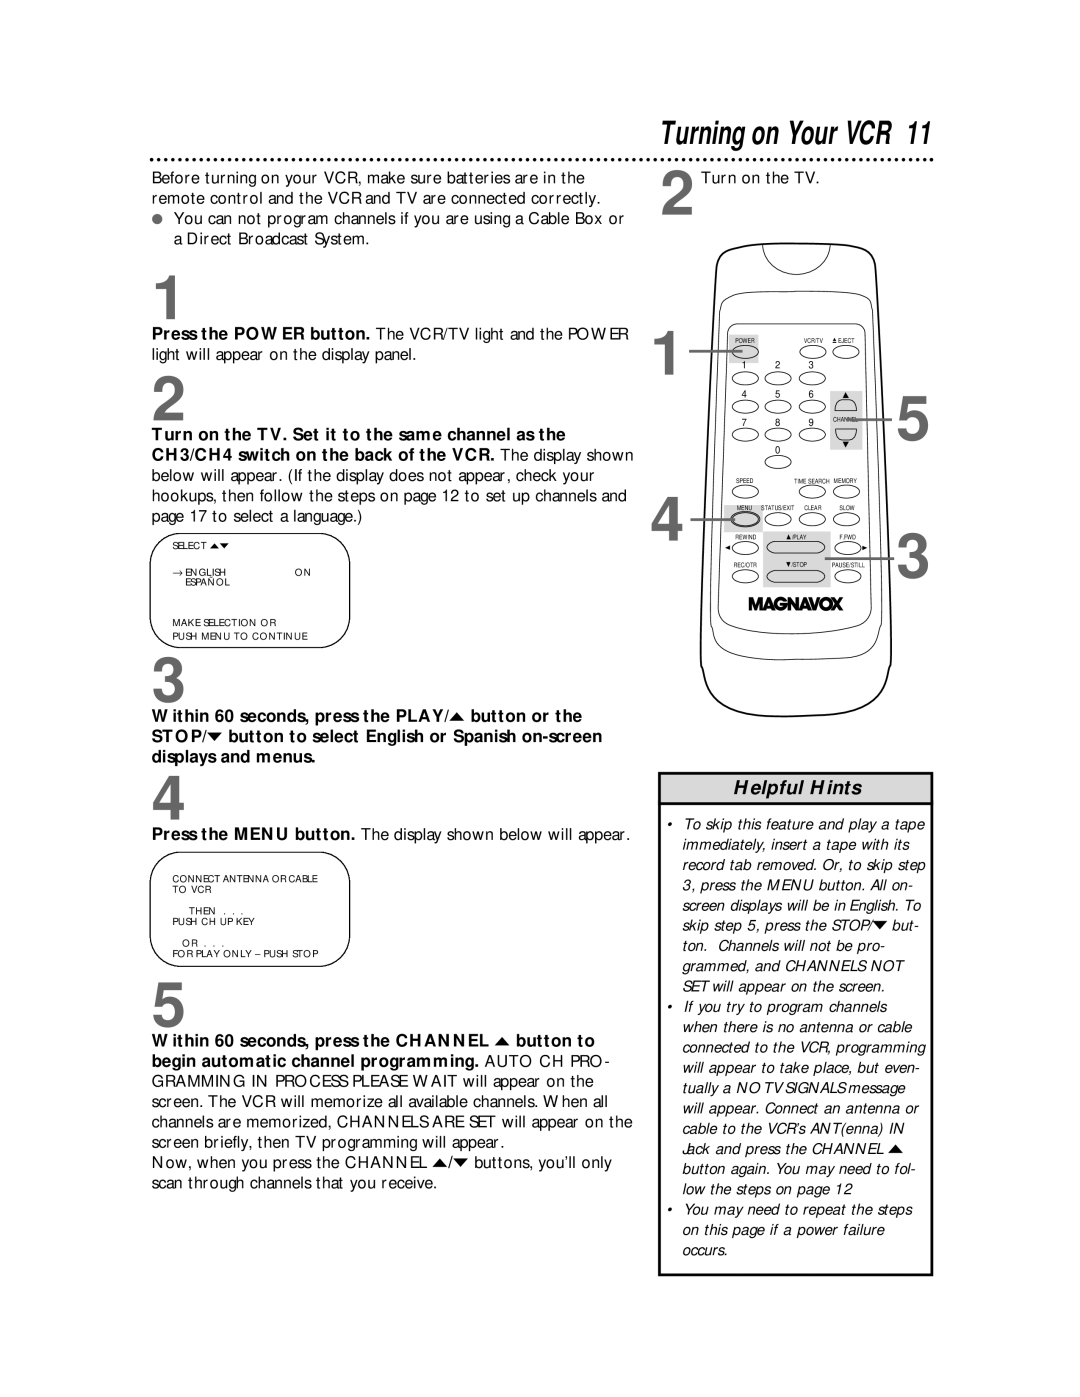
Both models incorporate advanced technologies such as features for noise reduction, which significantly enhances audio and video quality, resulting in a more enjoyable viewing experience. They are designed with user-friendly interfaces, featuring intuitive remote controls and on-screen menus that simplify navigation.
In terms of connectivity, these Magnavox models come equipped with standard AV outputs, making it easy to connect to televisions and audio systems. They also support various recording speeds, giving users the flexibility to choose between extended play for longer recordings or standard play for regular viewing.
Overall, the Magnavox VR601BMX and VR401BMX exemplify a blend of reliability, versatility, and user-centered design. With their impressive features and high-quality performance, these models are perfect for anyone looking to explore the nostalgia of VHS while ensuring compatibility with contemporary media formats. Whether you're archiving old tapes or enjoying classic films, these Magnavox devices deliver a satisfying and seamless experience.

