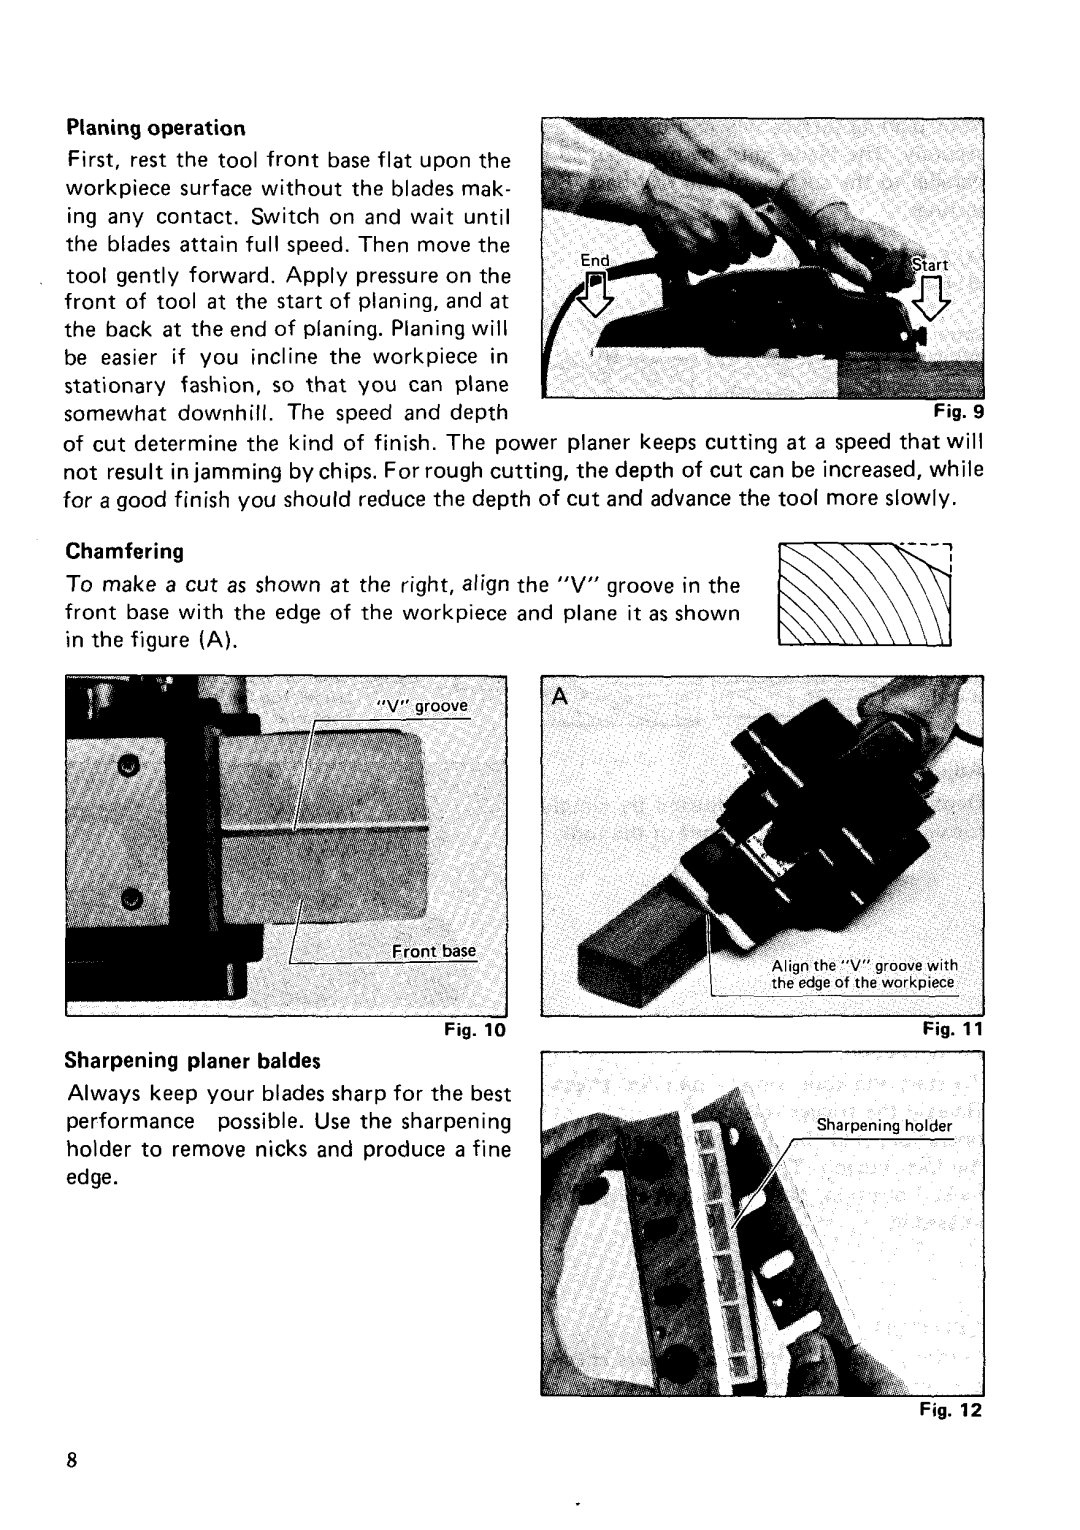
Planing operation
First, rest the tool front base flat upon the workpiece surface without the blades mak- ing any contact. Switch on and wait until the blades attain full speed. Then move the
tool gently forward. Apply pressure on the front of tool a t the start of planing, and a t the back a t the end of planing. Planing will be easier if you incline the workpiece in stationary fashion, so that you can plane
somewhat downhill. The speed and depthFig. 9 of cut determine the kind of finish. The power planer keeps cutting a t a speed that will not result in jamming by chips. For rough cutting, the depth of cut can be increased, while for a good finish you should reduce the depth of cut and advance the tool more slowly.
Chamfering
To make a cut as shown a t the right, align the "V" groove in the front base with the edge of the workpiece and plane it as shown in the figure (A).
|
| A Ign the "V" groove w th |
|
| the edge of the worcpiece |
|
| Fig. 11 |
Sharpening planer baldes | I | 1 |
Always keep your blades sharp for the best |
|
|
performance possible. Use the sharpening |
|
|
holder to remove nicks and produce a fine |
|
|
edge. |
|
|
Fig. 12
8
